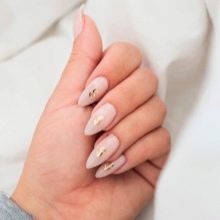
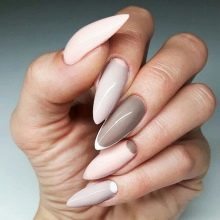
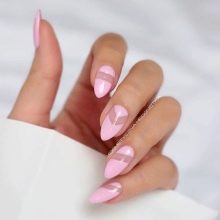
Nail decoration with the shape of a sharp almond and the technique of their creation
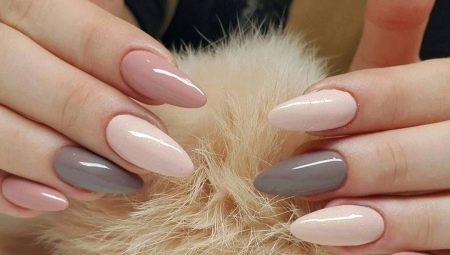
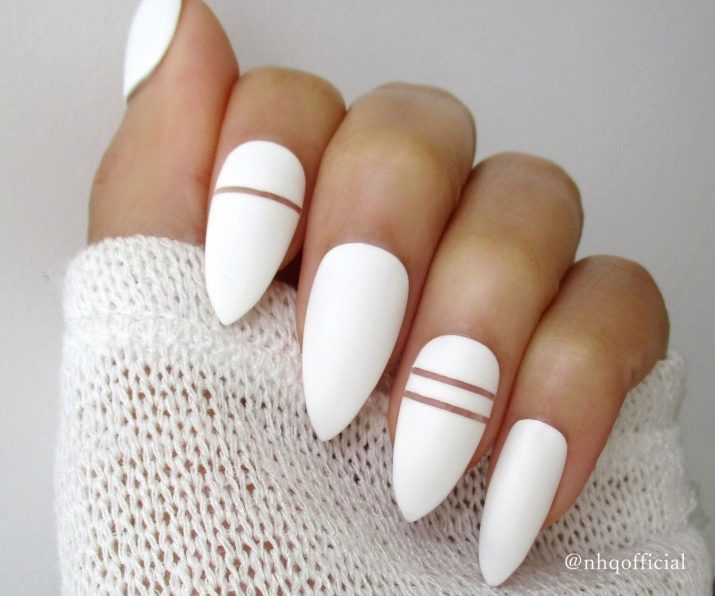
Almond-shaped nails are considered classics and are suitable for everyone. This shape makes the fingers visually longer and sleeker, so it is ideal for owners of short fingers and plump hands. It has this name due to external similarity with almonds. Externally, the almond-shaped nail is similar to the oval, but the difference is in a narrower shape and a sharp edge.
How to create?
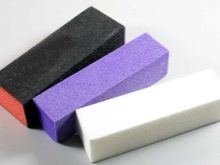
In order to give the nails a beautiful almond shape, it is necessary that their length was not less than half a centimeter. This is because most of the nail plate will have to be cut and filed. For the formation of the shape of the nail plate will need such tools:
- nail files of different caliber (a coarse nail file is well suited for extended nails);
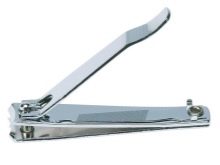
- cutting pliers;
- grinder.
The almond-shaped technique includes the following steps:
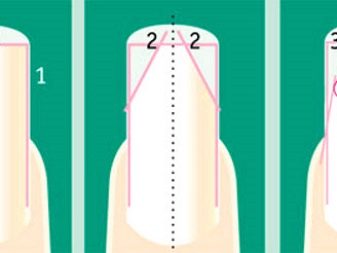
- First of all, with the help of pliers, it is necessary to precisely cut off the free edge of the nail plate;
- file the corners to a trapezoidal shape with a nail file; At this stage, you can use a coarse-grained nail file to speed up the process, but do not press it too hard so as not to damage the nail;
- the remaining free corners should be given a rounded shape with a fine-grained nail file; at this stage, the main thing is to slightly narrow the corners, because in this case we get stilettos.
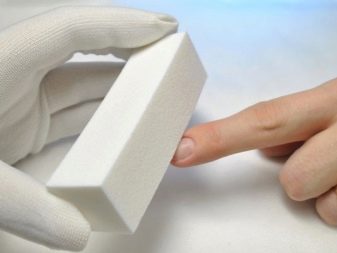
- After the desired shape is cut, you can process the nail plate with a grinder.
Greater difficulty in creating nails with the shape of a sharp almond is the same cutting of corners on all the nails, because if the nails in the final form have different widths, it will not look very nice and harmonious. Therefore, it is recommended at first to file the corners neatly and slightly, since it will be easier to remove the excess. Also, it is possible to cut out the shape of the sharp almond from the oval shape, but this will be more difficult in comparison with the square one. This is due to the fact that it is quite difficult “by eye” to make all the nails equally narrow.
If the nails are not natural, but extended, then in no case can you use clippers. In this case, you must use only nail files. To process went faster, it is better to take a coarse-grained nail file. She will be able to give the nails the desired shape, but the use of pliers will lead to the separation of the nail plate. But nevertheless it is recommended to initially do the extended nails of the desired shape.
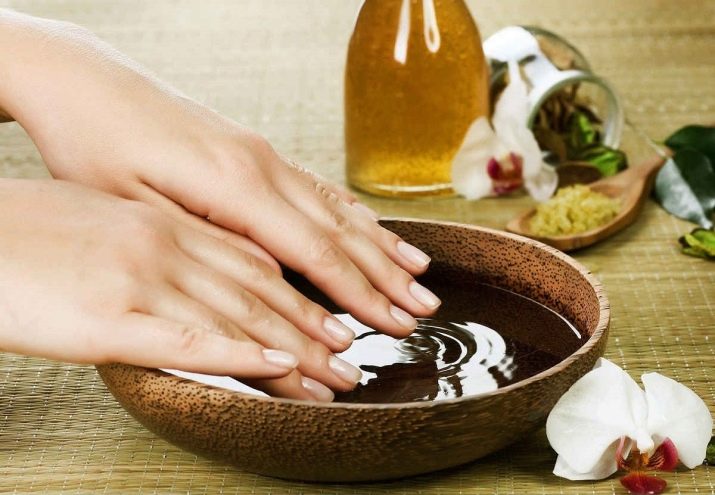
Before you give the nails the appropriate shape, it is desirable to prepare them. First of all it is recommended to make a bath for nails with essential oils. It will relax and moisturize the hands, soften the cuticle and nail plate, due to which it will be easier to work with them further.
Oils have a positive effect on the skin and nails. Most often, for the bath use rose, ylang-ylang and sandalwood essential oils, but you can add any one you like.
After the bath should be well dry your hands with a paper towel and you can proceed to remove the cuticle, and then give almond-shaped nails.
Design Ideas
On almond-shaped nails any design will look great, from classic French manicure to various patterns. Even if you simply cover the nails with a colorless varnish, they will look well-groomed and tidy. By itself, the almond shape embodies femininity and elegance, and monochromatic manicure of pastel shades can further emphasize these qualities.In order to "revive" and add bright colors to such a discreet manicure, you can select one nail with rhinestones or sparkles. If the French manicure seems simple and has gone through, then you can arrange your nails with a moon manicure, which does not lose its popularity. All sorts of drawings and patterns that are applied with a brush or using a stemping look great. But also you should not overload your nails with an abundance of bright colors and decorations, so that the almond-shaped nails do not lose their beauty and grace.
On how to make a gel nail modeling forms a sharp almond, you will learn from the following video.
