The demand for square-shaped nails only increases every year. Despite the new fashion trends, since the mid-80s, the “squares” have not yielded to their positions. However, it is better to refuse such a form to the following categories of girls:
- those who have the surface of the nails too wide, and the tartar's bed is very short, you will visually emphasize the shortcomings;
- owners of narrow nails, as to achieve the square just will not work;
- those who have a palm wide, and fingers are deprived of elegance, the square significantly weights the brush;
- to owners of fragile, thinned surfaces, since it will be extremely difficult to create a square, especially in the process of regrowth - they will be bent.

But for those who have thin fingers and an elongated brush, you can safely wear such nails.
In this case, we must not forget about the obvious advantage of the square: The possibilities of nail design are extremely wide. When using this form, you can embody your wildest fantasies and complex compositions in the design.
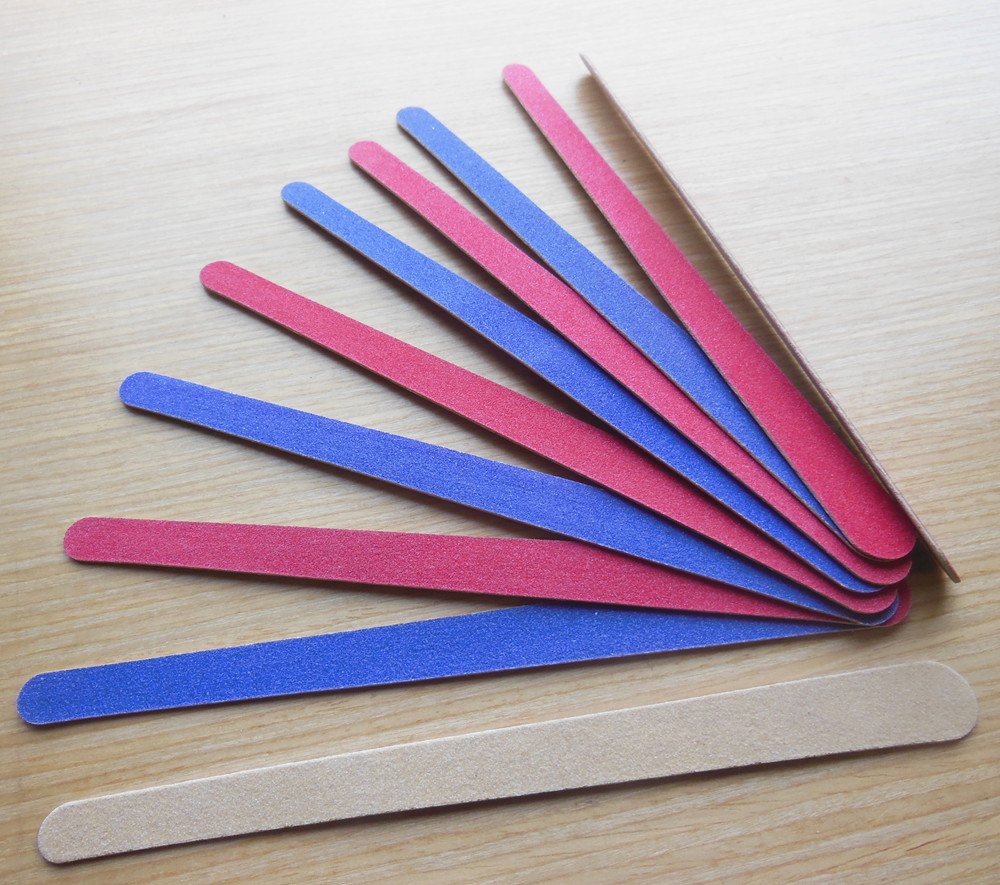
Necessary tools and inventory
Starting the procedure, prepare in advance the following devices.
- Knipsters or scissors with a straight blade. They should be sharp enough. A special type of pliers is also suitable. The task of this toolkit is to easily, preferably the first time, cut off the nail plate without damaging it.
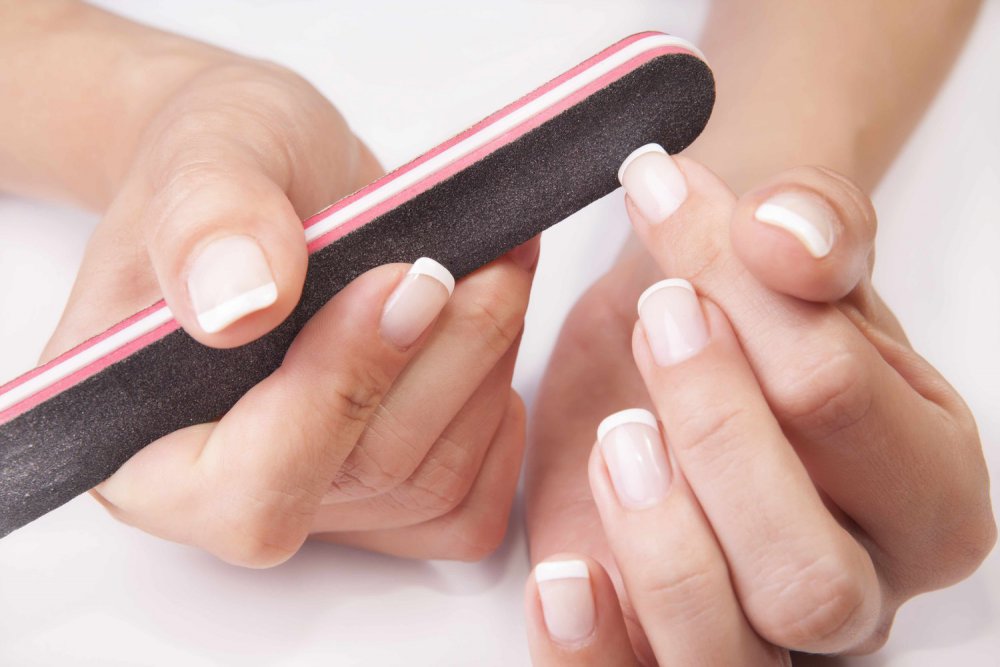
- File in order to accurately give the nail the desired shape.
- Disinfector: any varnish remover is suitable to remove the coating and degrease the surface.
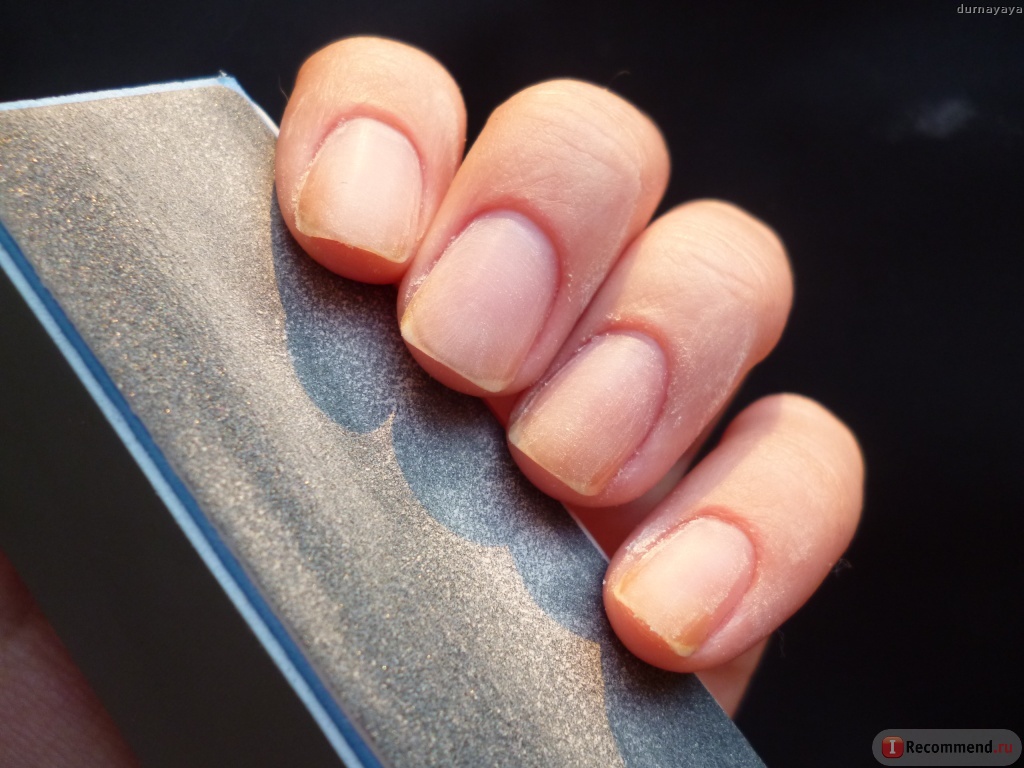
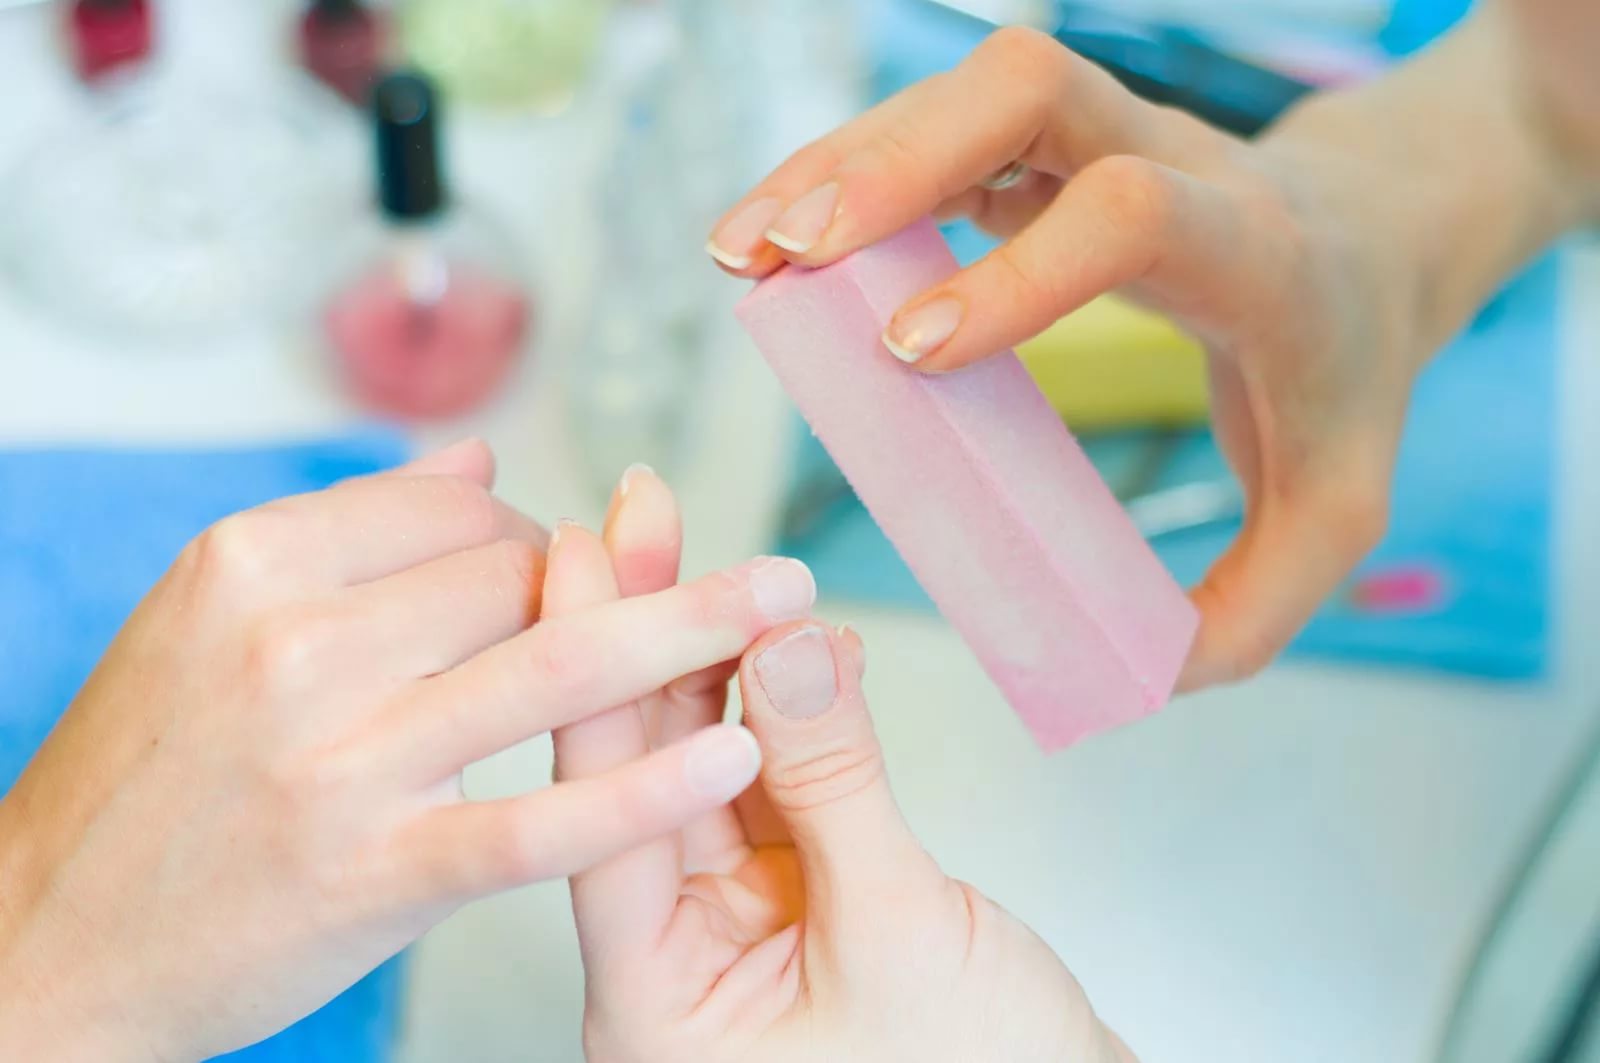
- Baf, which can replace the small abrasive file, for polishing the nail plate.
Preparation for the procedure
In addition to the acquisition of tools, you should properly prepare for the procedure. Despite the fact that the "square" is quite light in execution, it may be impractical to wear. That is why the masters recommend a similar form for extended nails. However, you can strengthen and their nail plate, qualitatively preparing them to form a square. In this case, the manicure will be more durable, and the shape is unchanged. To enhance the effect, you can use acrylic powder.

In any case, before the procedure it is necessary to undergo a course of improvement for the nails, since brittle, thinned plates look very careless and unaesthetic.
In addition to the health of the nails, care should be taken about their length. It must be at least medium in order for the square to actually turn out.
Step by Step Instructions
This form can be made in two versions - in a soft style, with slightly rounded edges, and in sharp, where roundness is unacceptable.
The first option is more practical, with the second one will have to be more careful in the process of wearing, as the sharp angle often gets caught on foreign objects (for example, clothes), which leads to cracks and other damage on the nails.
Making a square shape at home is pretty simple. You can make this look absolutely any original form of nails.
A square can be actually formed from rounded nails, or made from an oval shape. To do this, it is sufficient to follow the step-by-step algorithm below:
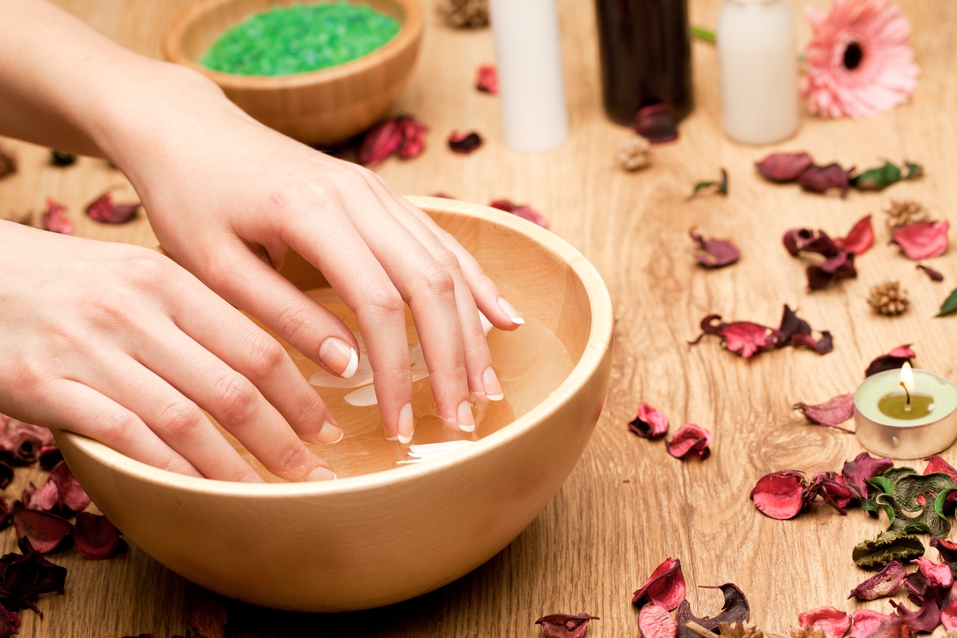
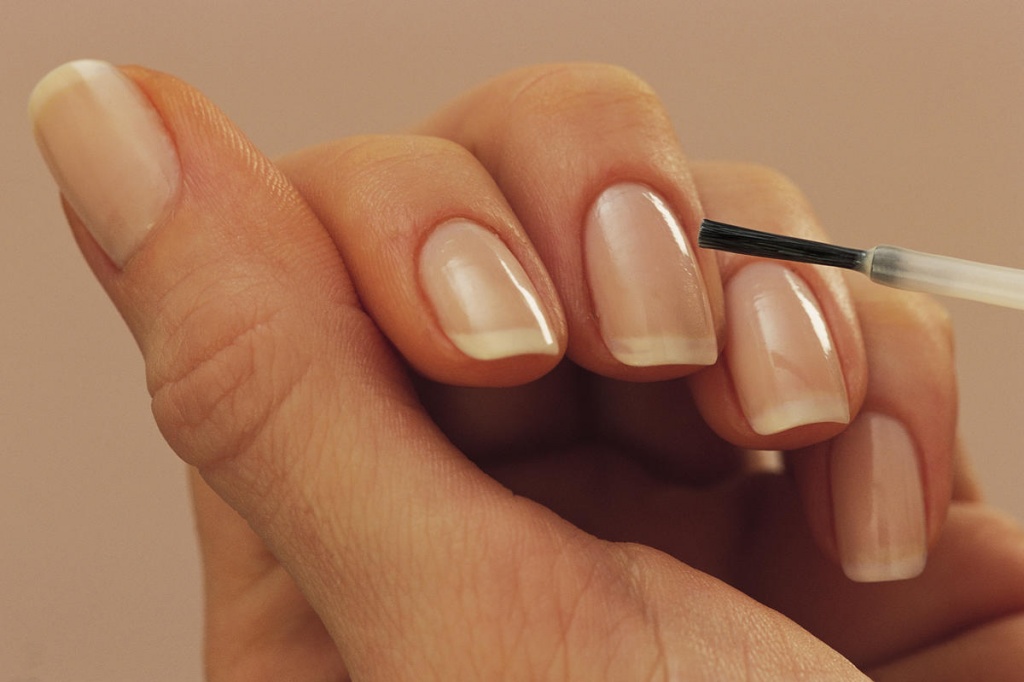
- the beginning of the procedure should include the removal of the previous coating, then spread the nails with a special cream for moisturizing hands and nails, you can also hold the nails in a solution of sea salt or in a bath with other means;
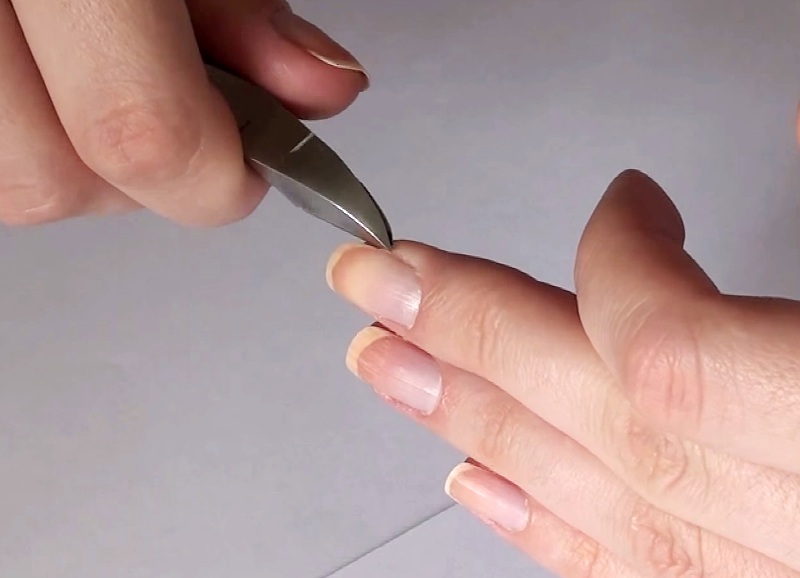
- determine the length of the final nail and with one movement cut the edge strictly along the parallel from the base, leaving a couple of millimeters for the next cut;
- cut the edges of the small-abrasive nail file, it is necessary to file it strictly in one direction, so as not to violate the integrity of the nail plate;
- You can cut corners a little if the target is a soft-type square;
- gently polish the surface of the nail plate;
- if necessary, make a manicure, removing the cuticle;
- Treat the surface with a buff or the same small abrasive nail file.
Square ready. Now you can proceed directly to the coating.
It should be noted that in the formation of the square there is no need for precise harmonious selection of visually identical roundness. Everything is as simple as possible here, especially since a square nail can be absolutely any length. However, nail art masters do not recommend wearing too long squares. The best options are the nails of medium length and short.
If you decide to achieve a square shape from a rounded (oval or round), then start off the upper edge of the nail to form a straight line.
Then carefully decorate the corners, they will have to be slightly rounded, since it is unlikely that you will be able to form an ideally clear straight line, without any irregularities.

When the nails begin to grow, they should be periodically adjusted to reflect the new, desired shape, until they reach the required size to form the ideal right angles later.
As you can see, the procedure for processing square nails is quite simple even for home conditions. There are many advantages of this form:
- relevance and stylish appearance;
- ample opportunities for the embodiment of fantasies when choosing a design;
- versatility and practicality;
- no need to grow long nails;
- You can do it yourself by following all the instructions.
Care Secrets
Square nails are quite capricious in their socks, especially if the corners are sharp. Therefore, it is recommended to take care of them very carefully:
- pick up high-quality files, one of which you always carry in your purse, in order to quickly cut off the chip and prevent a clue from forming;
- adjusting the nails, in no case do not nail files in different directions;
- nails must be dry;

- once a week, nourish the nails with special baths or other care products;
- at least once a month, let your nails relax without varnish;
- trust the design of manicure only proven masters.
By following these simple recommendations, you will for a rather long time enjoy the view of your perfect manicure.
Tips masters
The most difficult, according to manicurists, for beginners is the formation of an ideal right angle. After all, one of them is often higher or much wider than the other. To make the corners look harmonious, use the following recommendation. In the process of giving the desired shape, the file should be held so that it is in a parallel position to the base of the nail. Follow this need throughout the ongoing manipulation.

The tool is definitely needed straight, only such a file will be able to form a clear, absolutely right angle.
Make stencils for each nail in advance, then simply match the plate and the stencil. It is enough to hold a thin line on the surface of the nail, which will be very easy to navigate. The line can be made a thin marker, the remnants of which will later need to be removed.
Nail art councils concern not only the formation of nails and their further care, but also the choice of a suitable design.It is extremely important to choose the right design for the square nail, so that it looks organic, not cumbersome and at the same time does not spoil the shape of the hands and fingers.
The shortened square very ambiguously affects the visual shape of the fingers and the hands themselves. Therefore, it is only suitable for the perfect shape of the limbs - long hand and long fingers. Here is a medium-sized square less capricious, this is one of the most optimal options, but the initial length of the plate should allow it to form. This form visually stretches the nails and fingers.
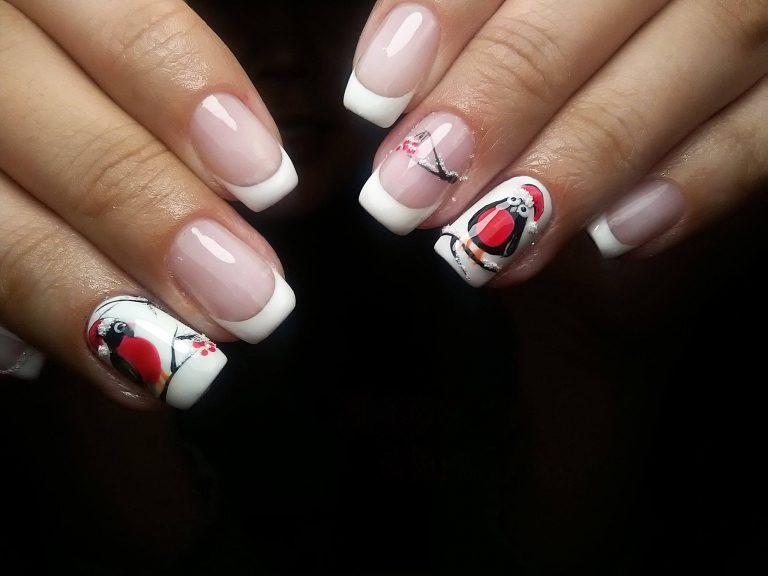
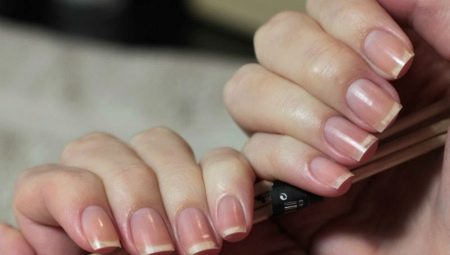
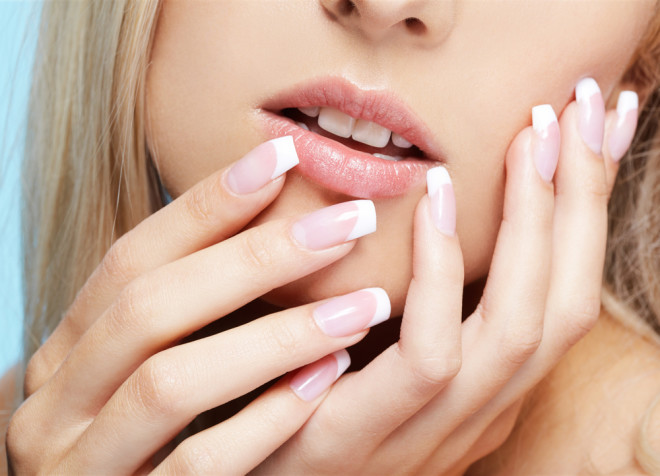
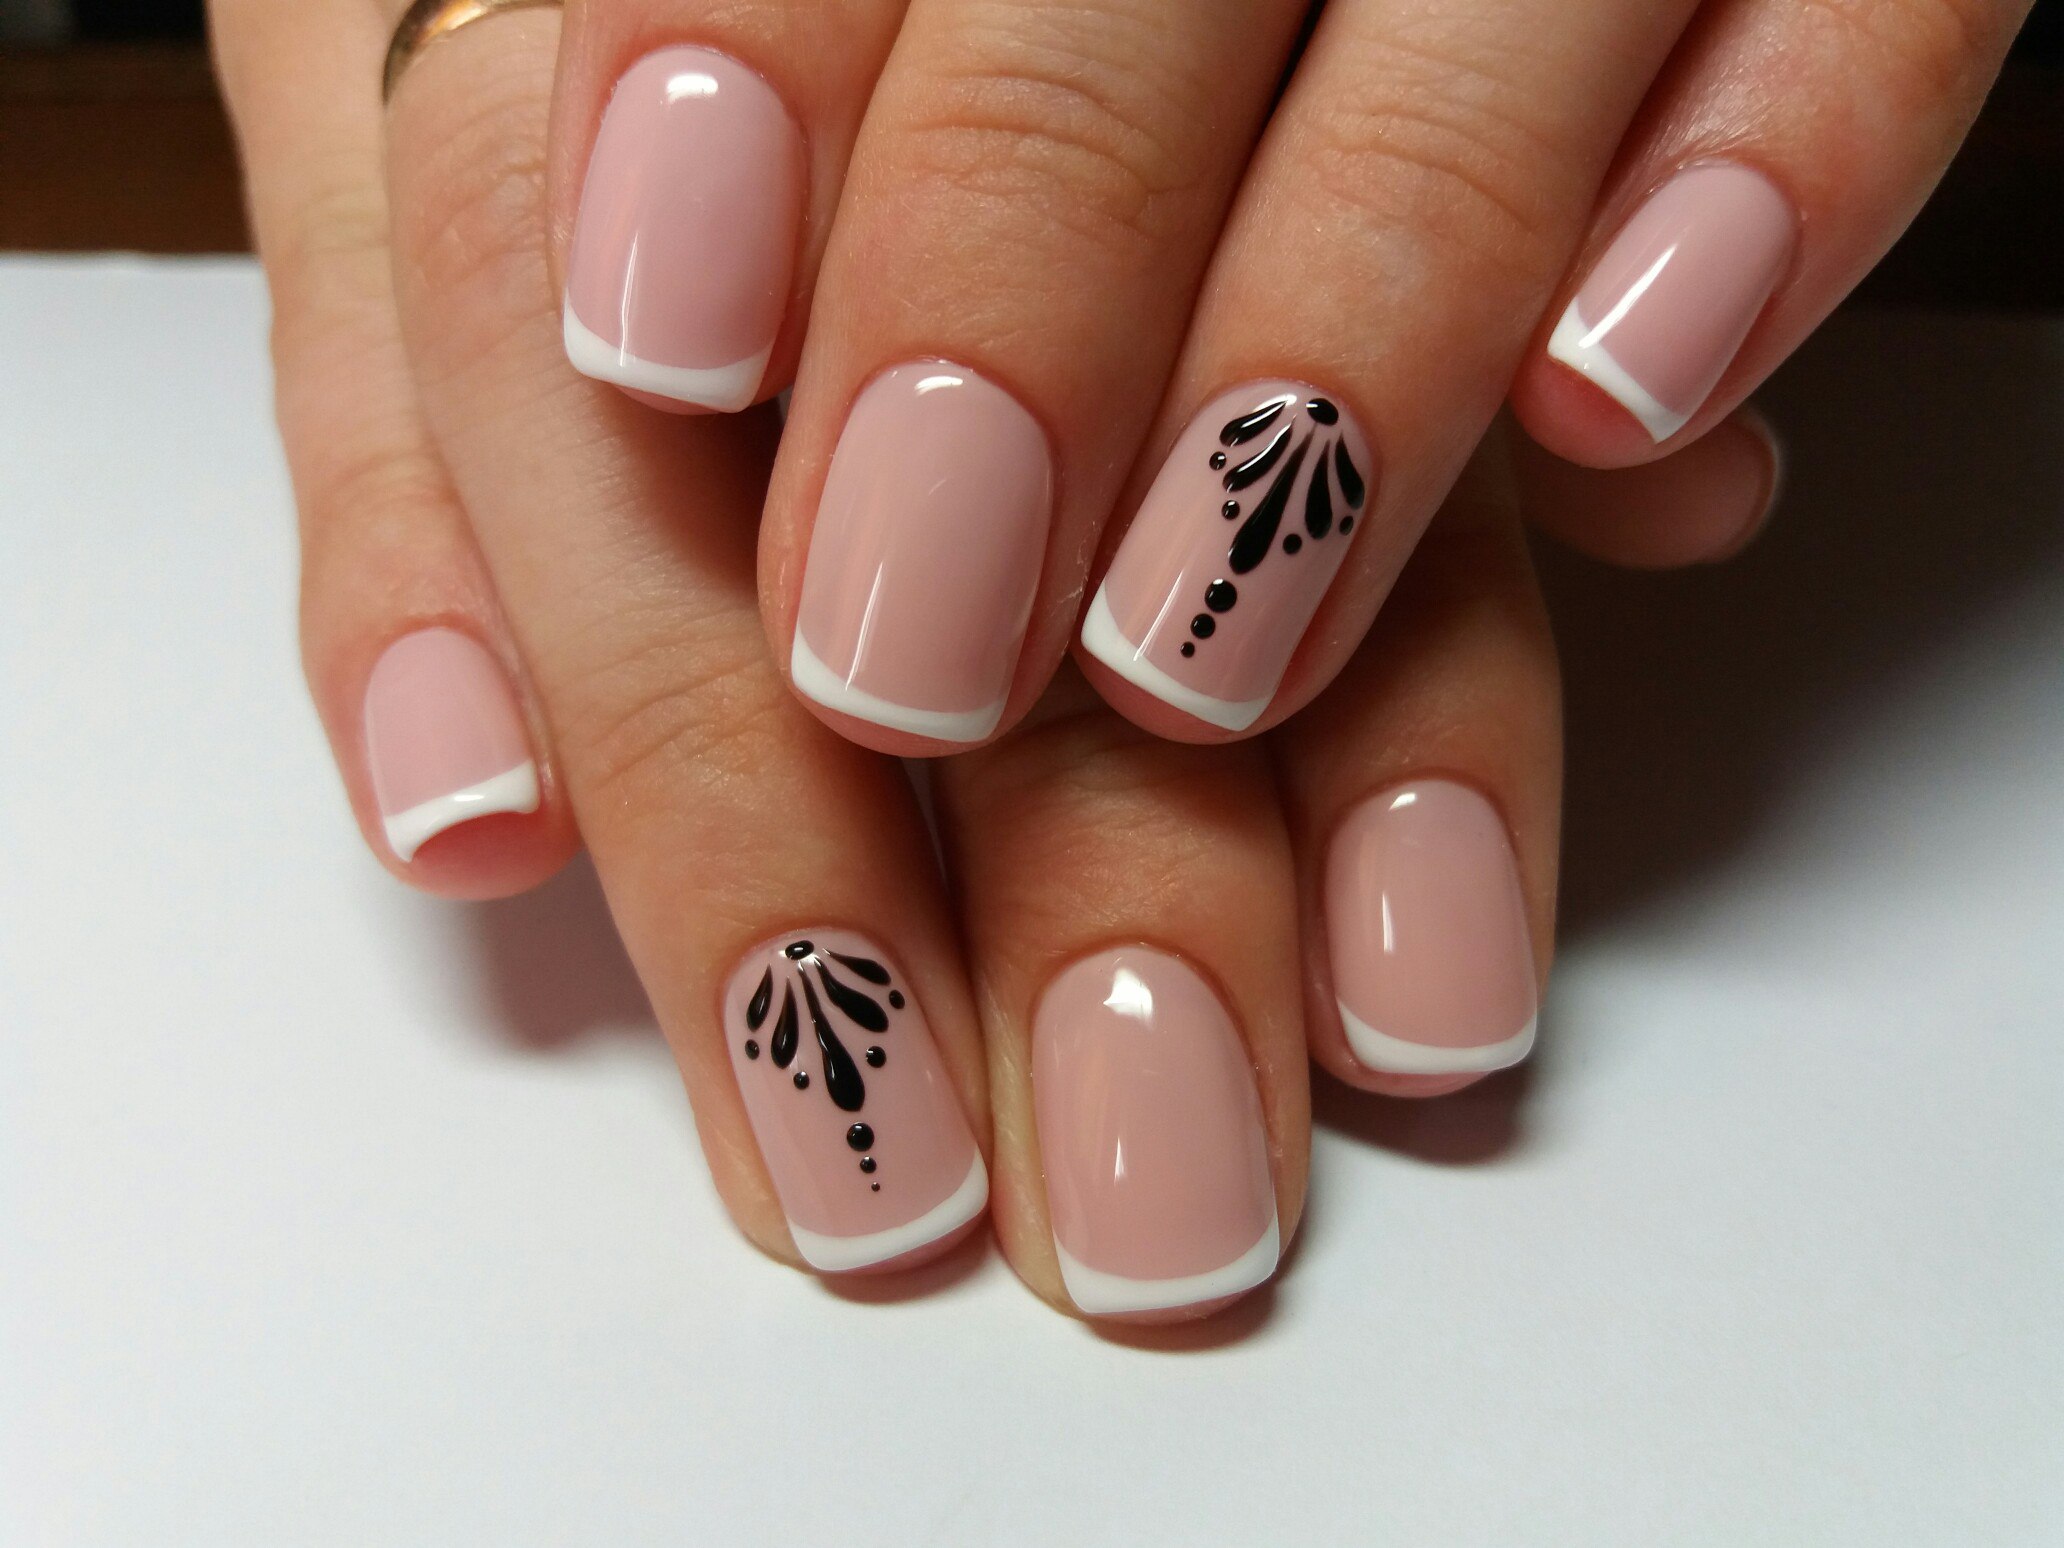
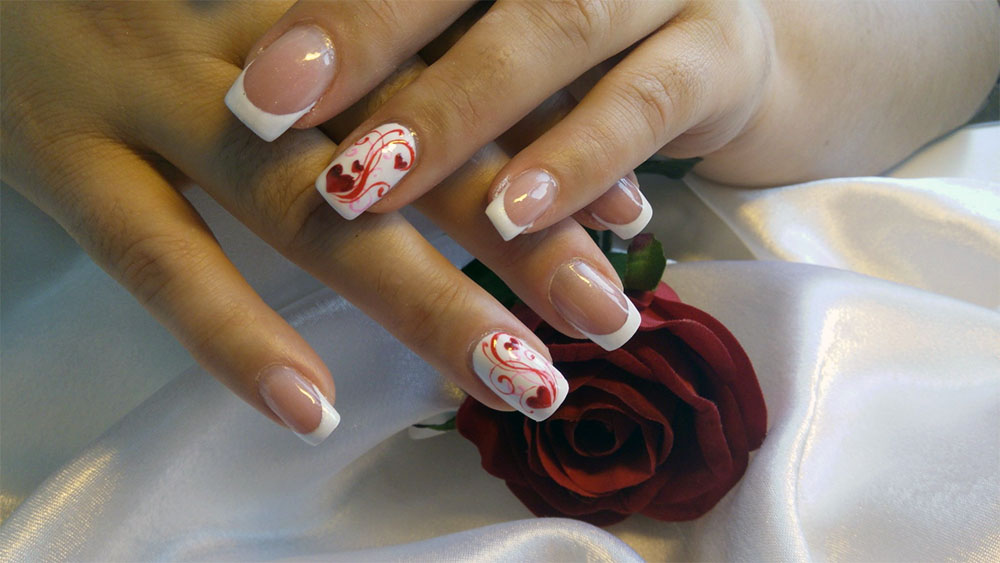
As for the design, as already mentioned above, it must necessarily be directed to visual drawing. This can help, for example, canonical French manicure, while the edge is slightly shifted above the natural.
However, this option is not suitable for a very short square and wide plate. Only a dark jacket will save this nail shape, which will visually narrow the nail to the maximum.
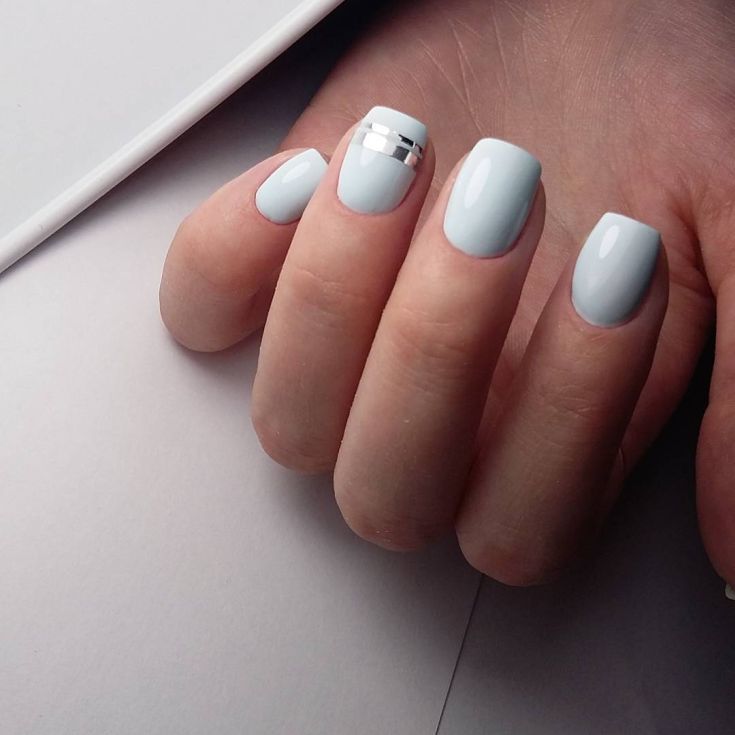
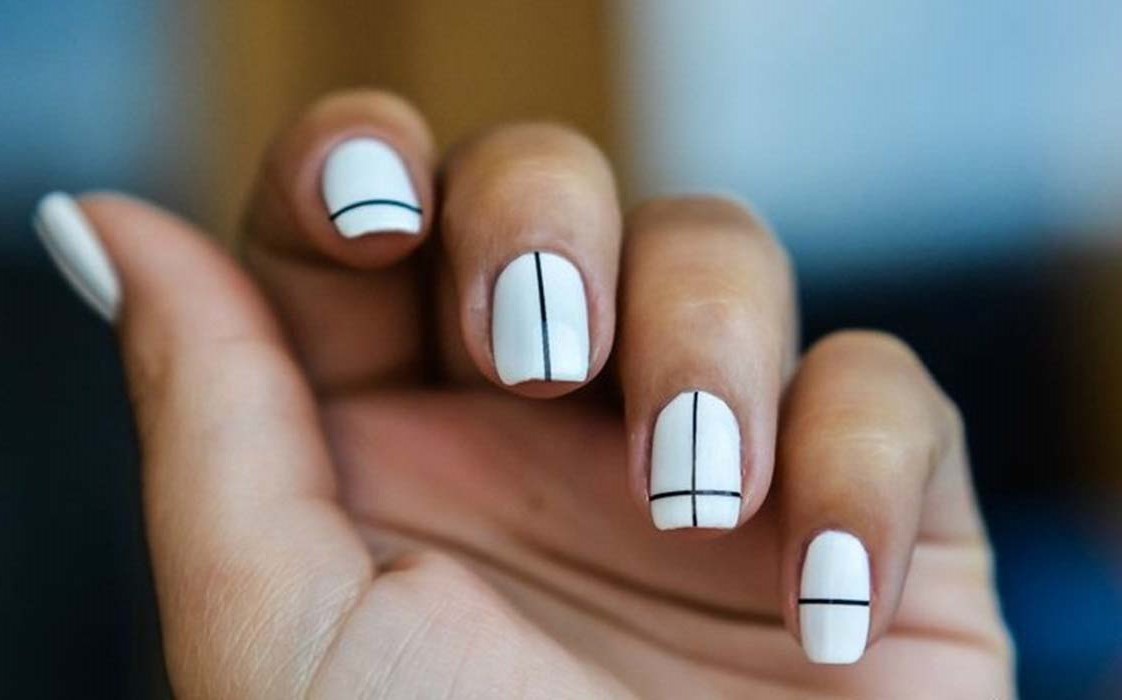
Great for not very long squares of the "gradient" and "ombre" techniques. Smooth stretch creates an illusory idea of the length. It is necessary to do it vertically, smoothly moving from light to dark shade, maximally visually narrowing the nail. Geometric compositions, which are now at the peak of popularity, or rather stripes and lines, will also do. They should be placed vertically. Any horizontal drawings and patterns are categorically not recommended for use with a square shape of the nail plate.
Beautiful examples
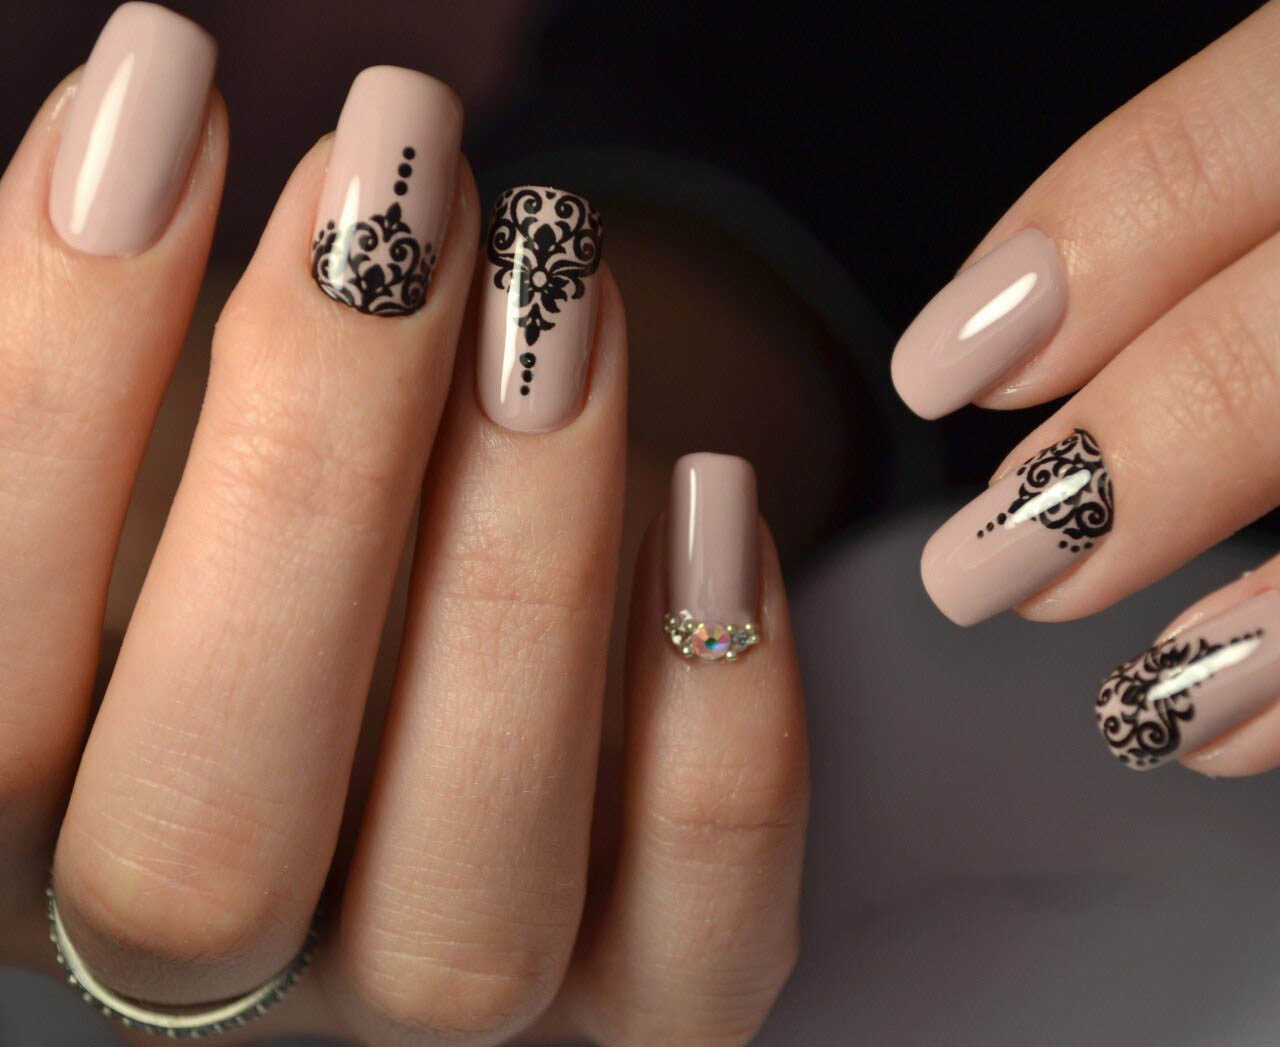
The soft square of medium length is almost an ideal surface for any nail art. The main background in a discreet scale, black, openwork print, visually pulling the nail, or a slight accent in the form of crystals on the little finger. This option looks very gentle, elegant and status.
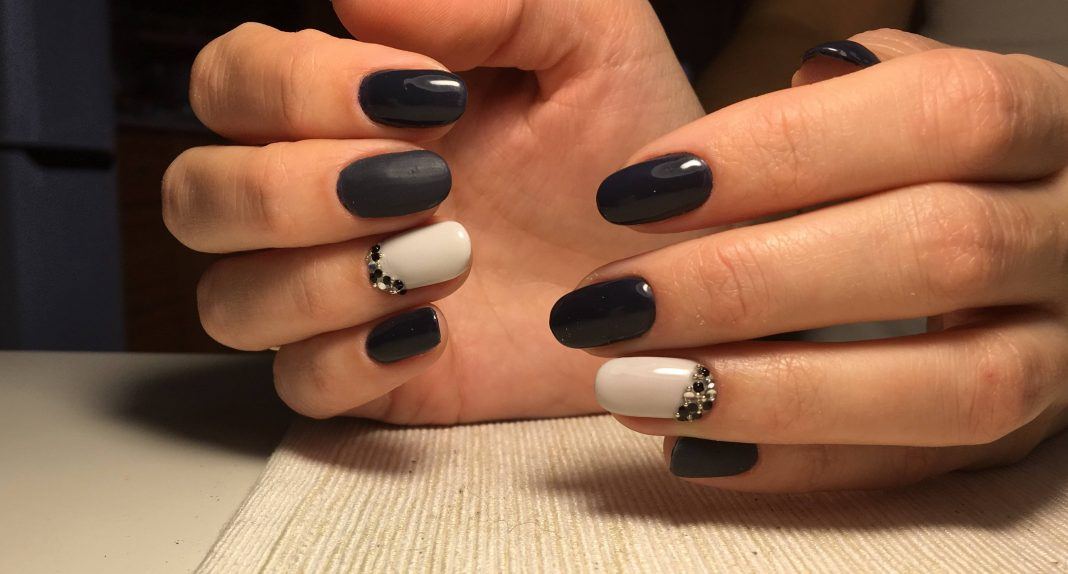
Long square nails look great in monochrome. The trend matte finish in combination with the unobtrusive decoration of the accent finger and a small amount of stones looks very aristocratic.

At the same time, a light, airy and very expressive design can be created by combining a white coating and radiant glitter of any shade in one ensemble. Smile highlighting is the final chic touch.
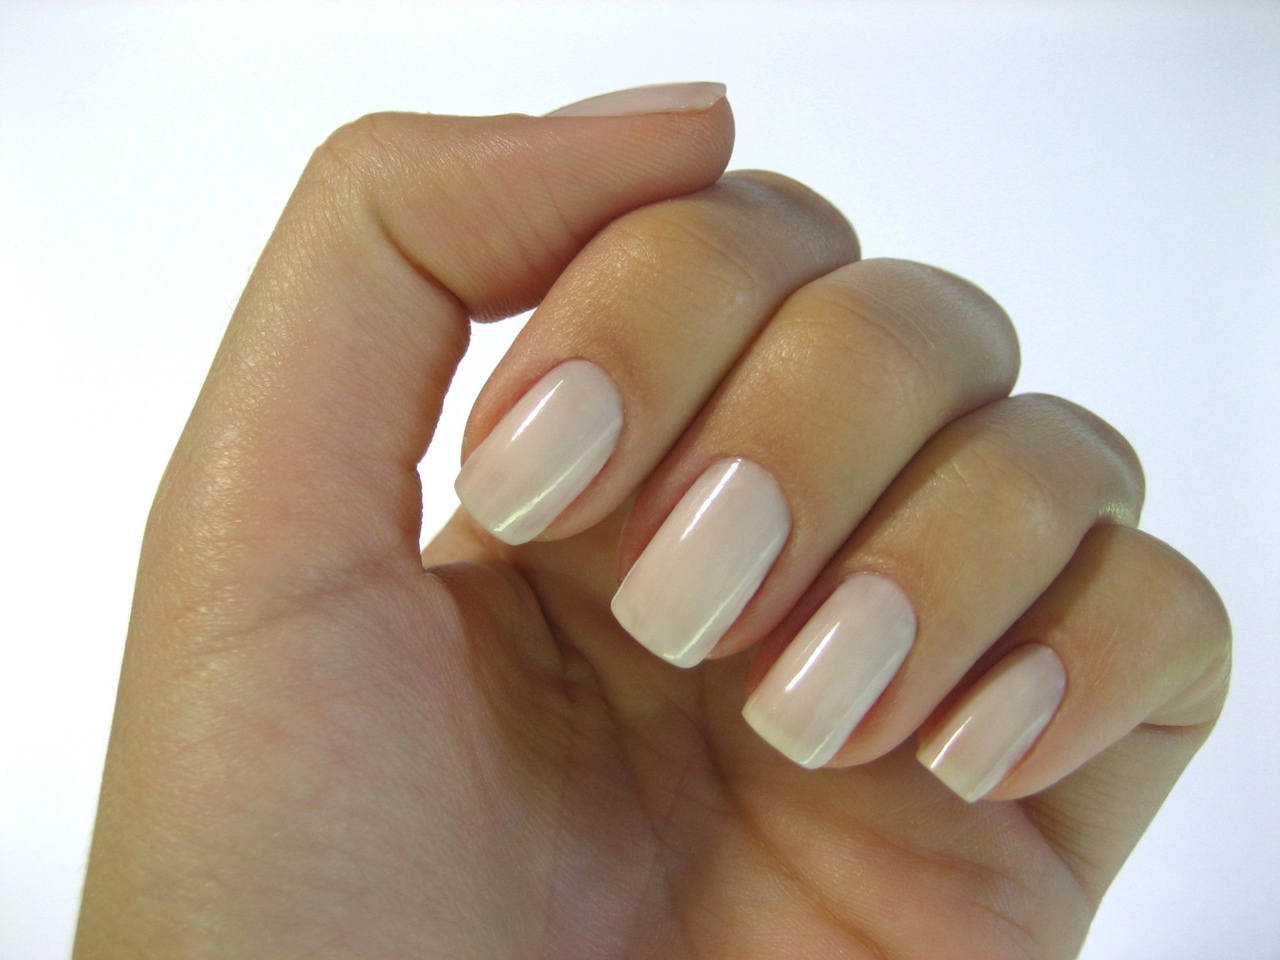
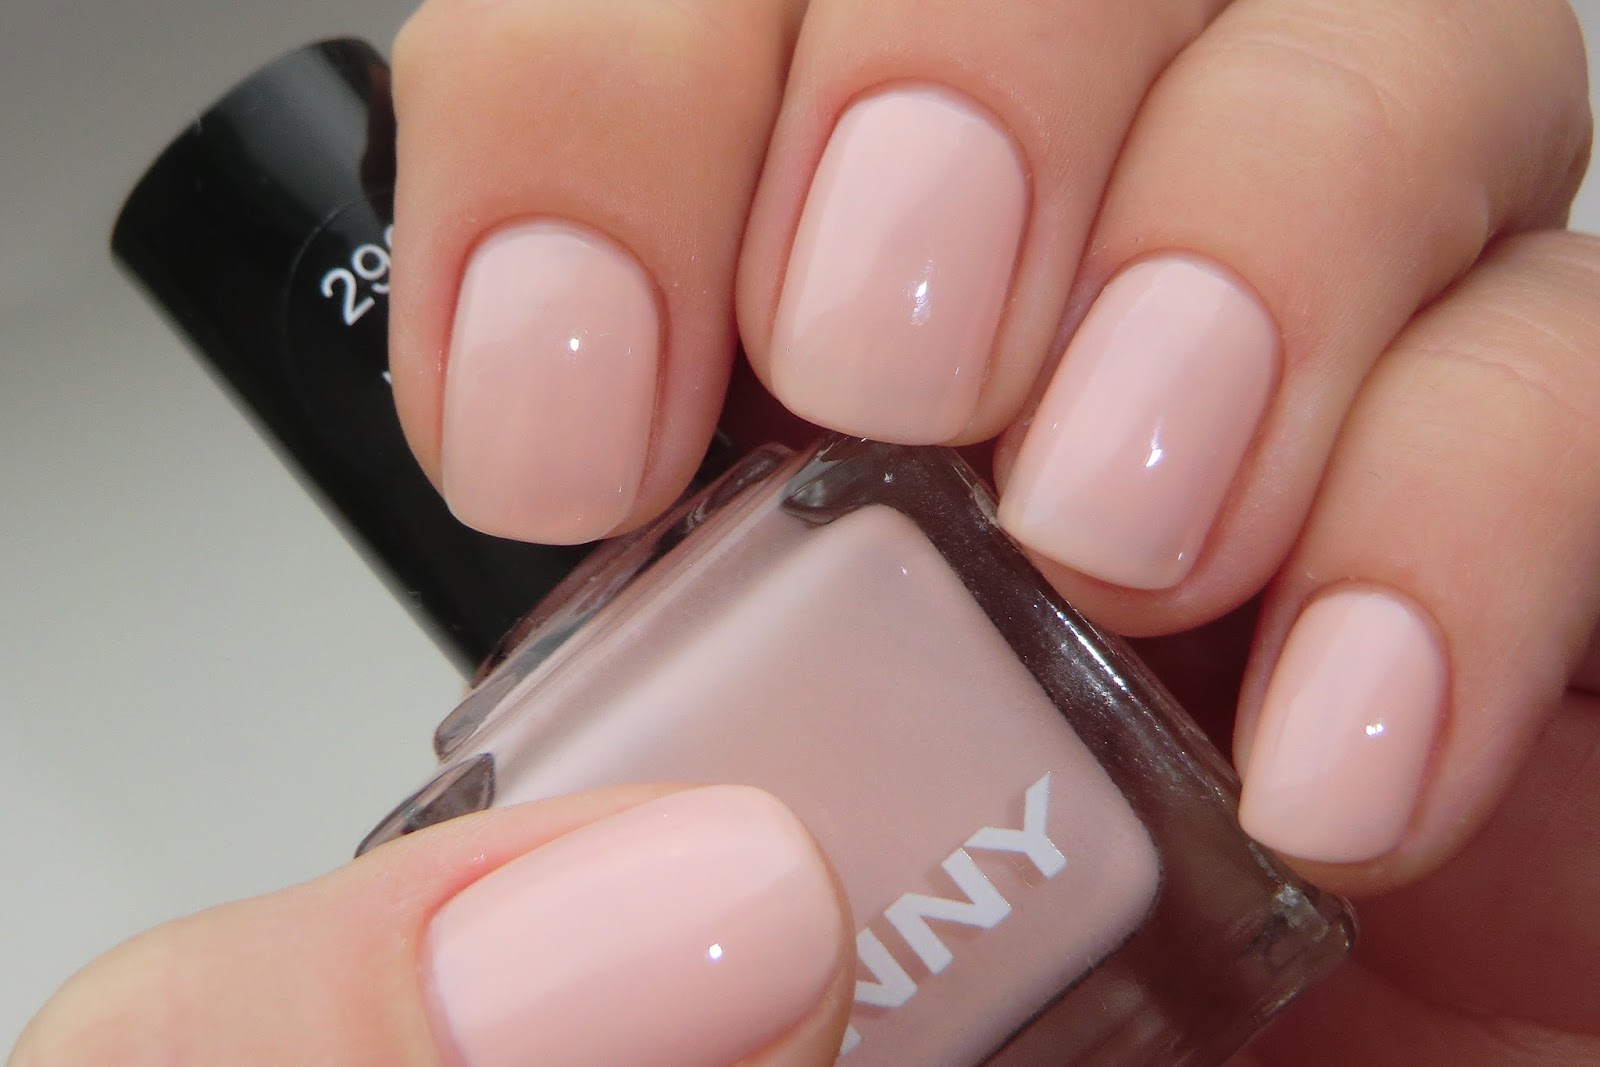
In fashion now are nude shades. They give the design a lightness and a sense of discreet luxury. They are great for square nails. Exquisite decor on the accent nail will add an ensemble of refinement.
Learn more about how to square a nail, you will learn from the video below.


