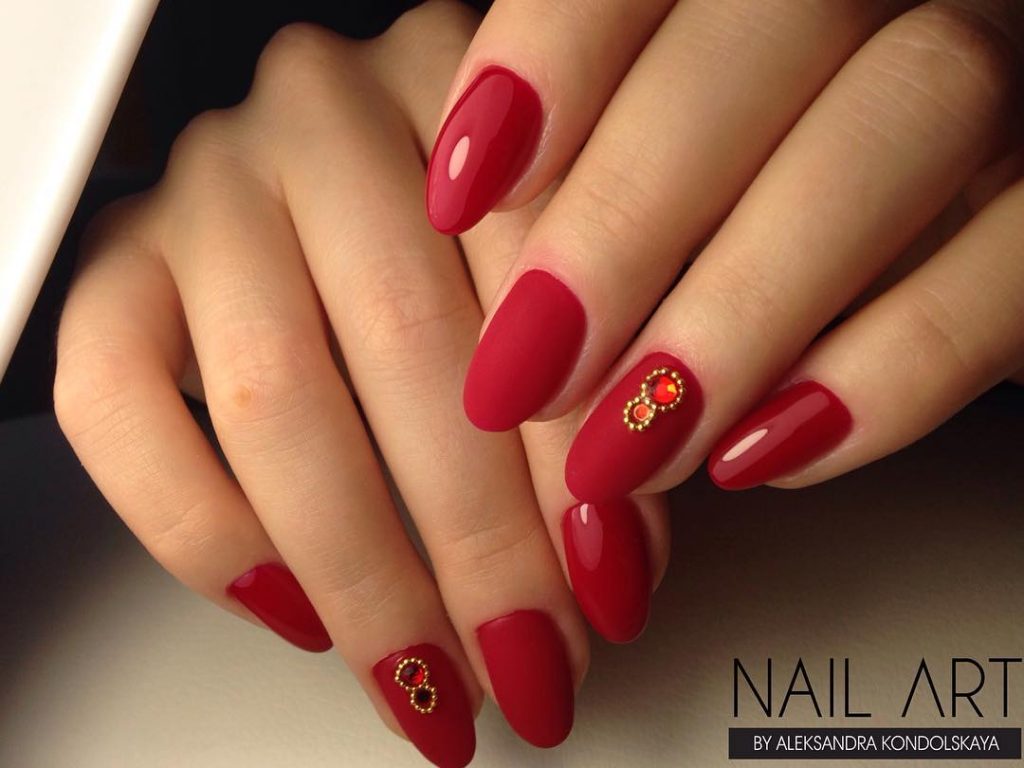
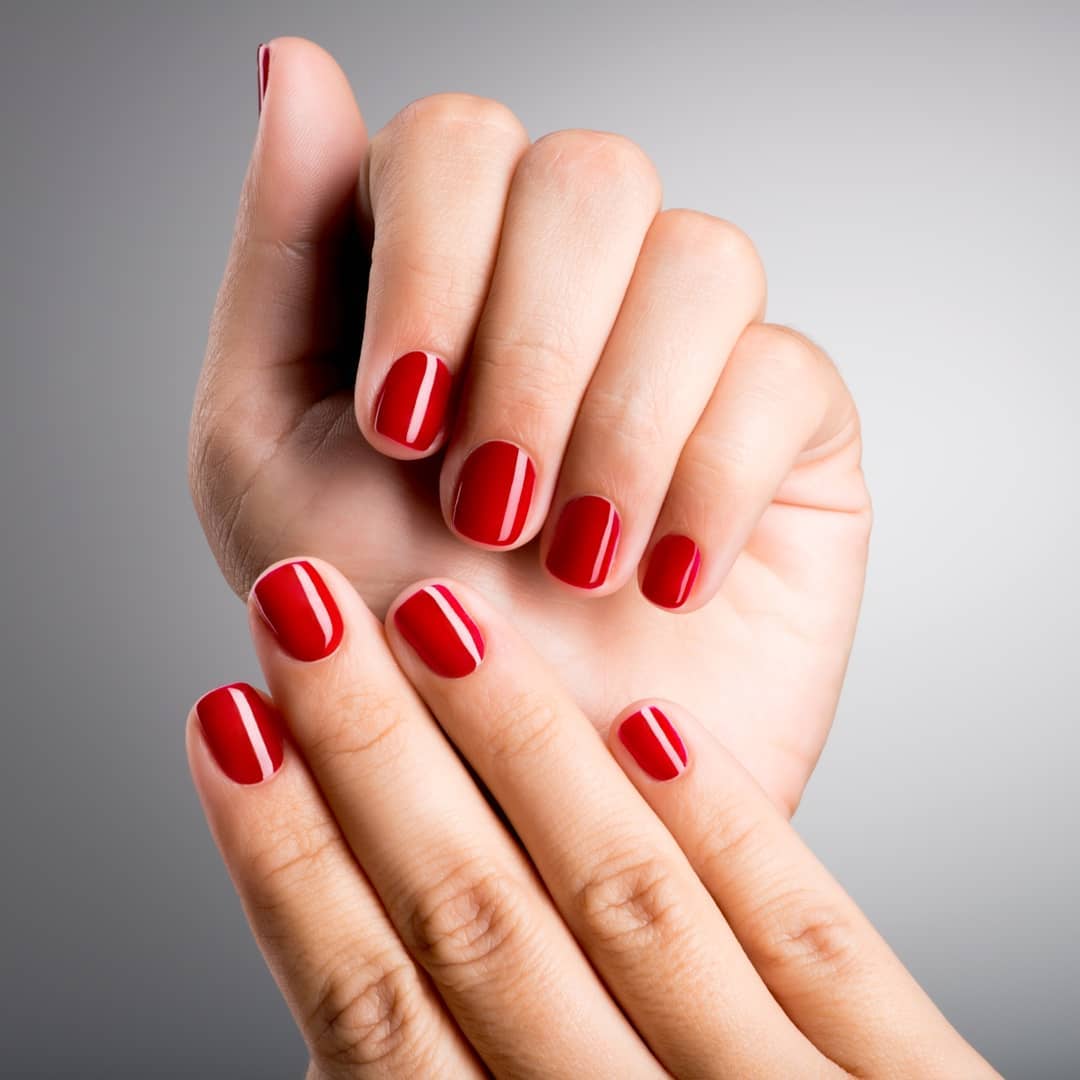
Red manicure does not go out of fashion, because it is a classic. For the first time it became popular in the 60s of the last century. Today, there are many techniques and options for its execution, among which every woman will choose something for herself.


Popular shades
One of the most popular shades of red can be called scarlet, moraine, solferino, scarlet. All of them are difficult to sound, but they look just amazing.
Coral and ruby do not go out of fashion, they are used both in a monotonous version and in combination with other colors. Sangria and thiacin well underline the ideal shape of the nail plate, they can be used to dilute other tones of red when designing, for example, a gradient. But the carrot should be chosen with caution, since a woman using it in a manicure should be sure that her hands are well groomed. This color is more suitable for young girls, because it emphasizes the age-related changes in the skin.
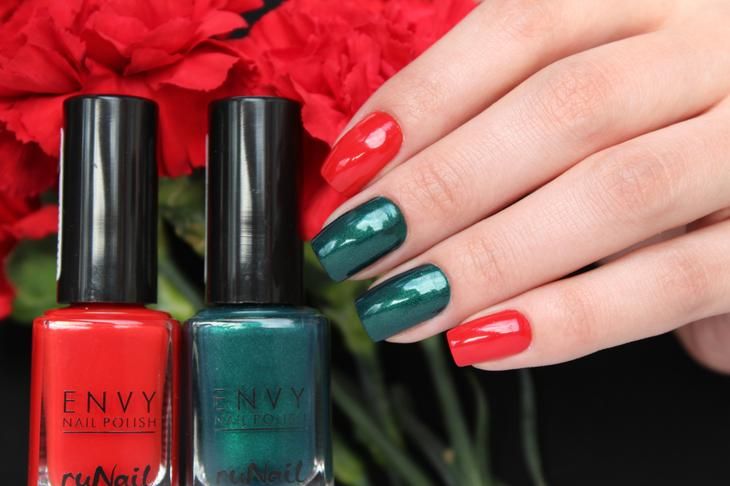
The richness of red shades is difficult to overestimate, such a diverse palette allows you to make a special manicure, gives a rich ground for imagination. All colors look good in both glossy and matte versions.
Red can be represented as equal proportions of yellow and magenta. When there are no impurities in it, it is warm and bright enough. If there is a lack of yellow, then the shade is closer to the crimson, but not so intense.


Performance techniques
A good red manicure with lacquer can be done at home by yourself; it’s enough to study in more detail one of the techniques for its implementation. All of them are easy to learn and offer many options for decorative design.


Classical
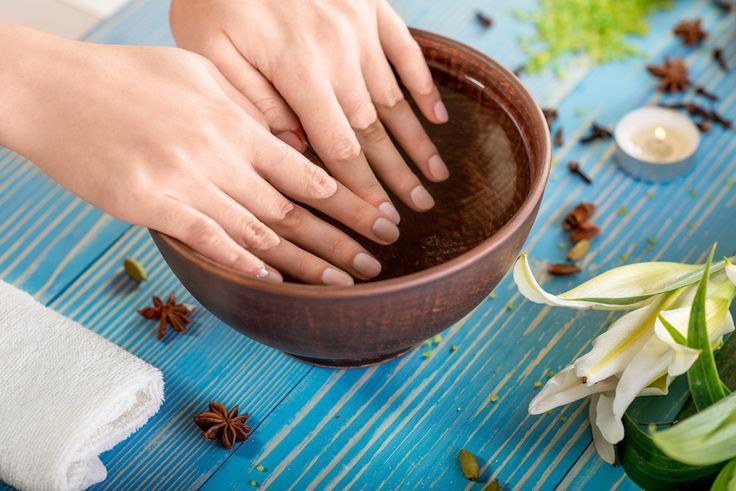
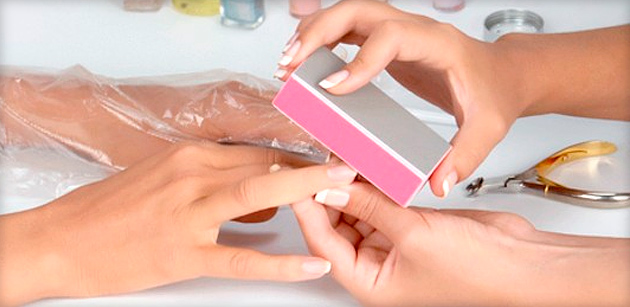
Classic involves the use of one tone. Before applying the varnish, you must prepare your hands. Remove the old coating, tidy up the cuticle. You can before this a little steam nails, make a nice bath.
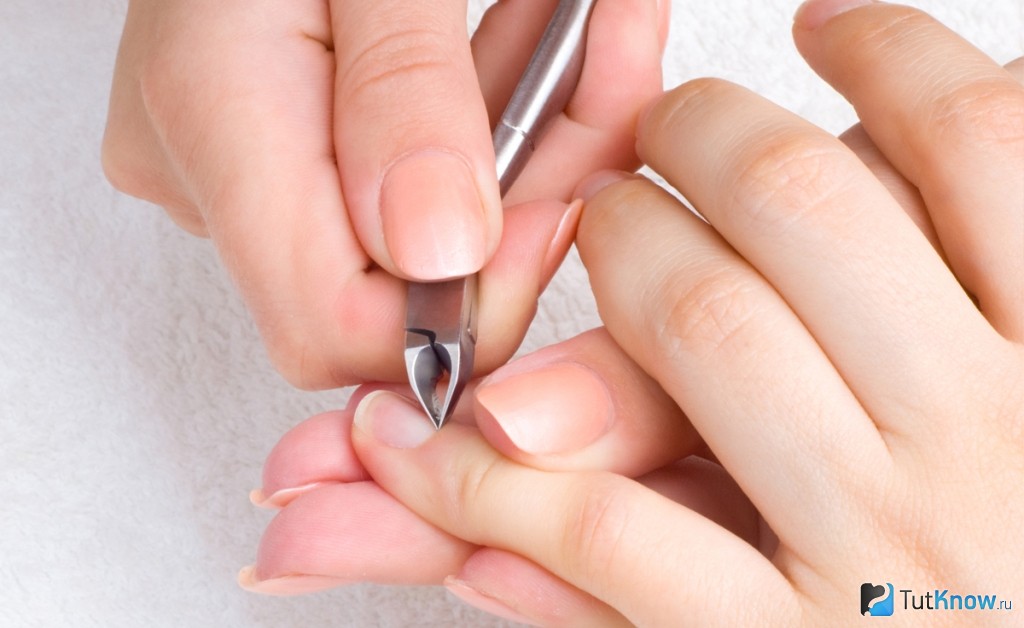
If the nail plate is too long, you can cut the nails with special scissors. You should not do it with a nail file, because in this case the nails are injured. They cut only the edges, give them the necessary shape and always act in the same direction.
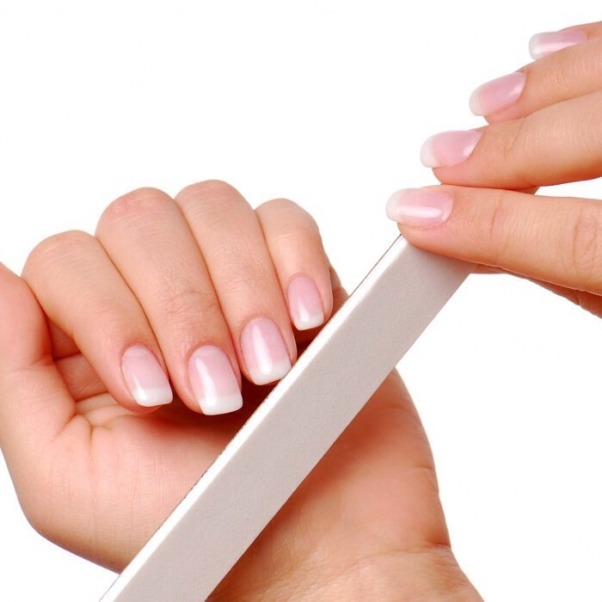
With a classic manicure, and any other, you should use a fine-grained file. A tool with large abrasive elements is used for extended nails, because this material is more dense than natural nails. It is better not to buy metal tools, but choose a file with a cardboard or glass surface.
The cuticle is removed only well softened. For this purpose, there are commercially available special tools that allow less traumatizing the skin.
Since the red lacquer is bright enough, it can highlight all the defects of the nail plate, so polishing is the next stage of the procedure.
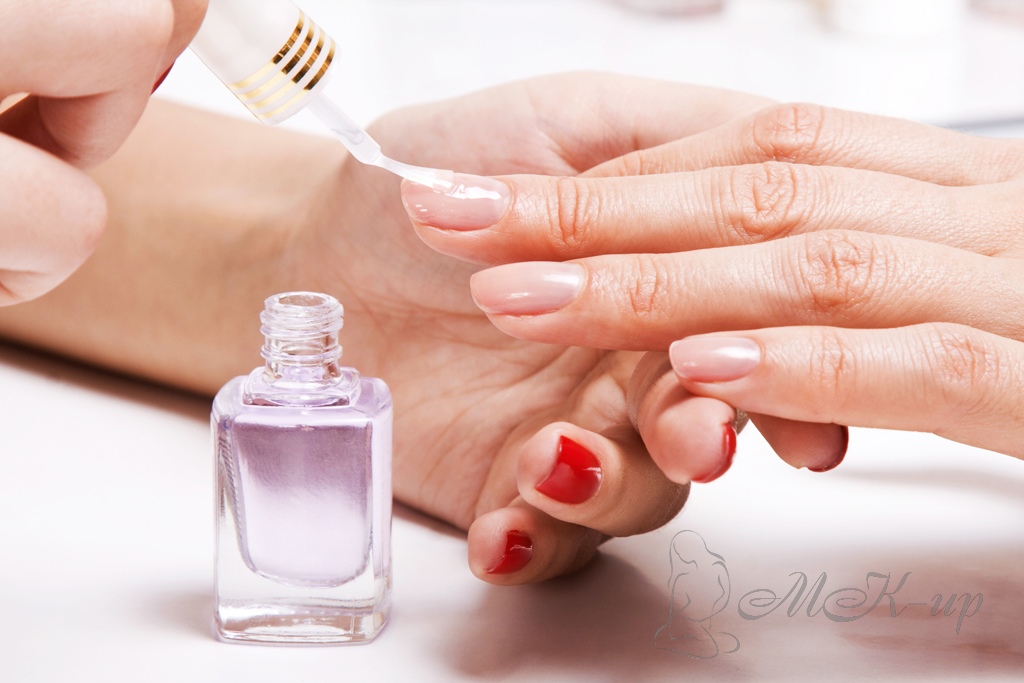
Only after careful preparation can you start applying the varnish. It is not so easy to get an even saturated color; it is better to cover the nail with a colorless base for the first time and wait for it to completely dry. You may need several layers of the tool, it all depends on the tone chosen by the girl. Each new layer must be completely dry.
When applying you have to retreat from the cuticle and the edges of the nails, so as not to stain the skin. It will not be easy to remove inaccuracies without hooking the nail, because the red lacquer does not rub off easily and leaves a pinkish tint to the skin. It is possible to speed up the drying process to cover it with a special additional basis.
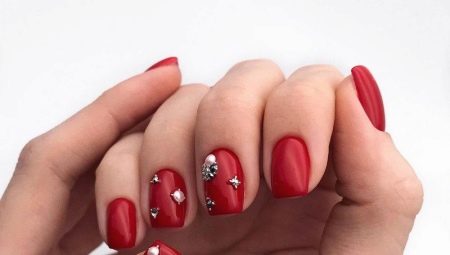
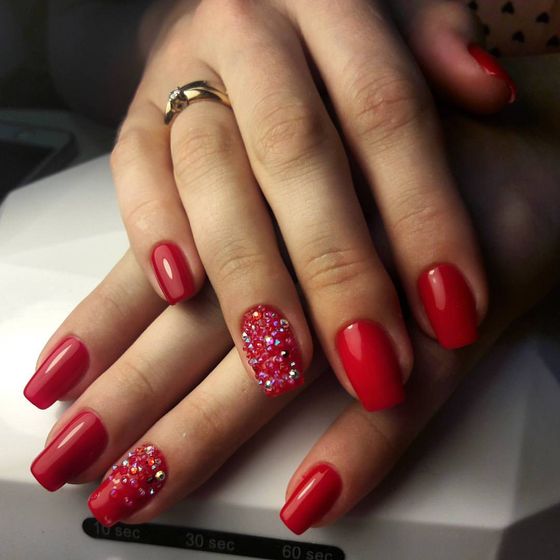
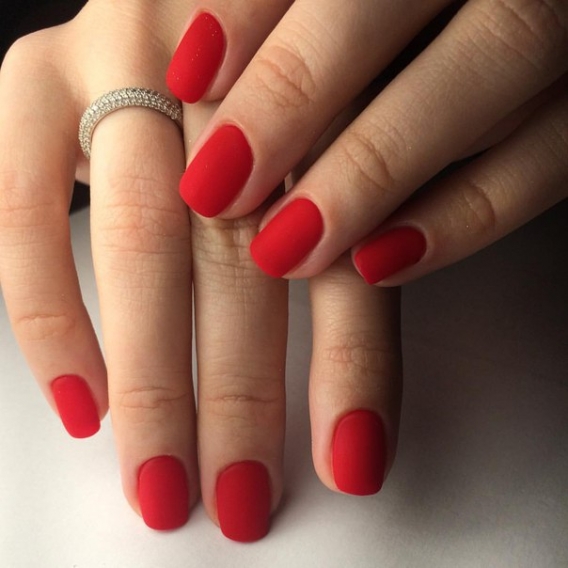
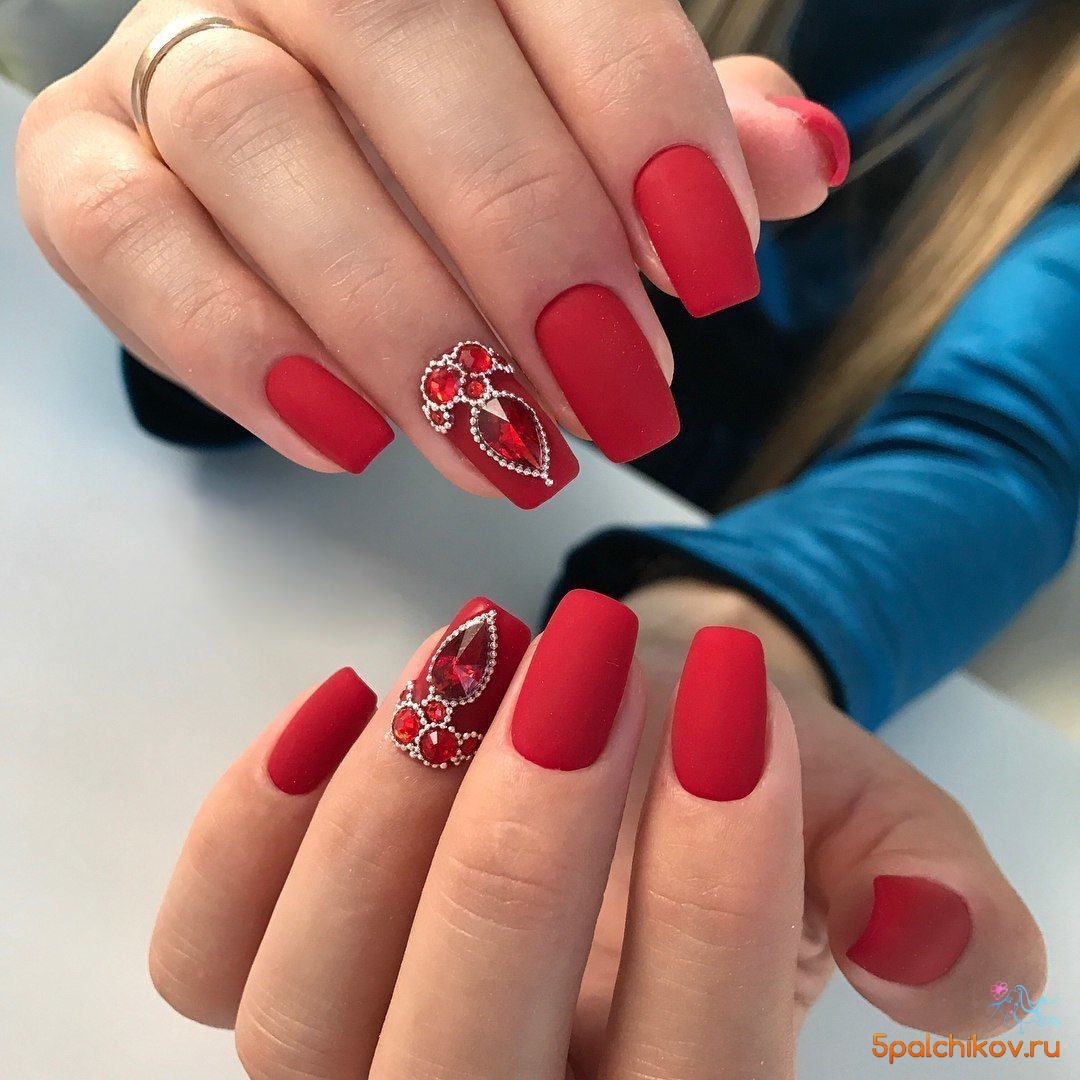
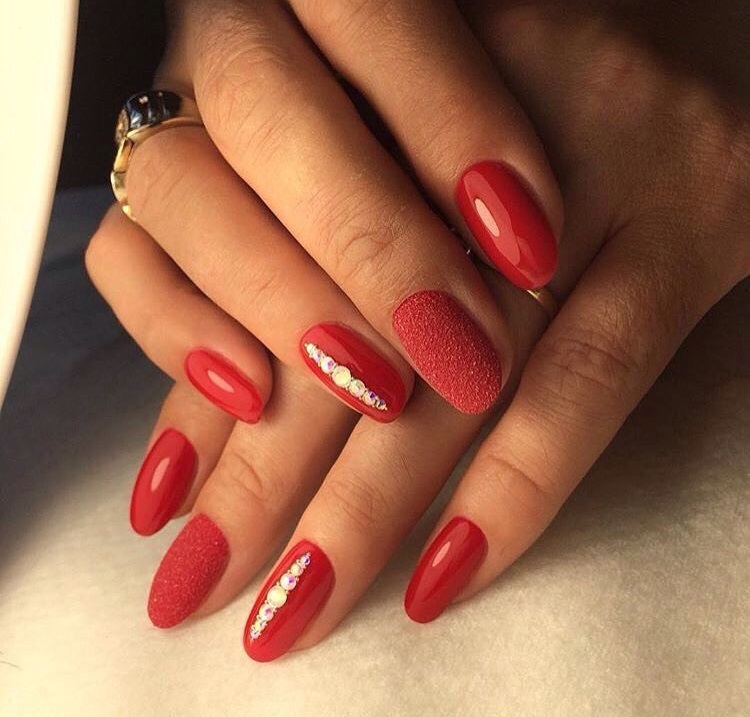
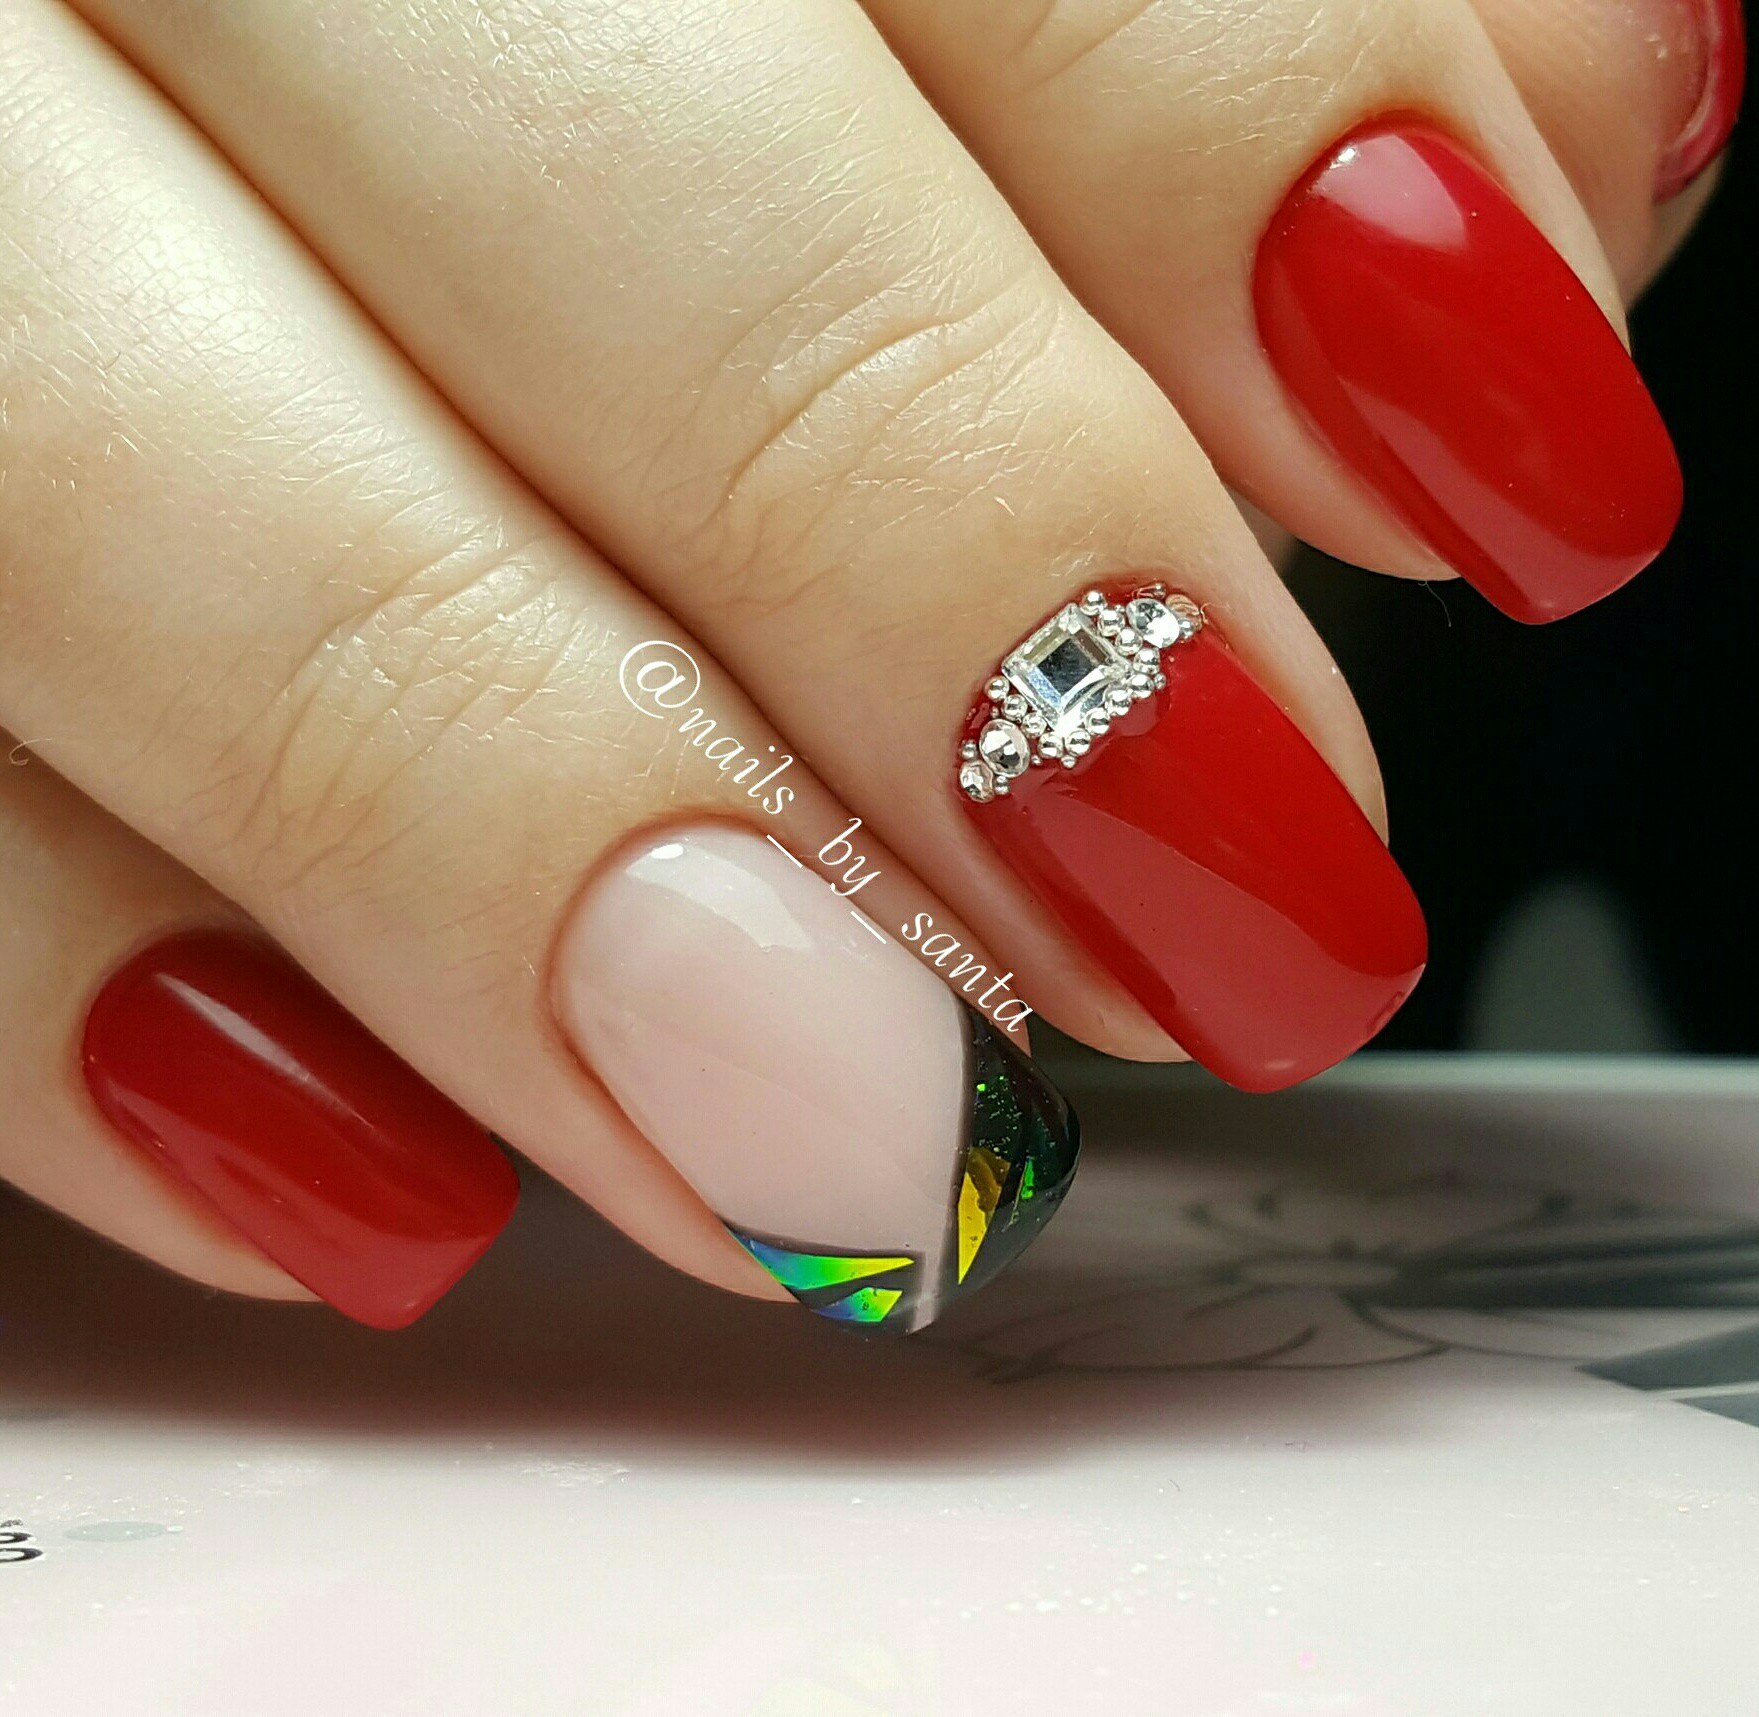
If we talk about the advantage of the classic version, then any girl can make such a manicure. Of course, it may seem very boring, then you should use rhinestones or sparkles. As a rule, these are glossy elements. Creating the same matte effect is a completely different technique.
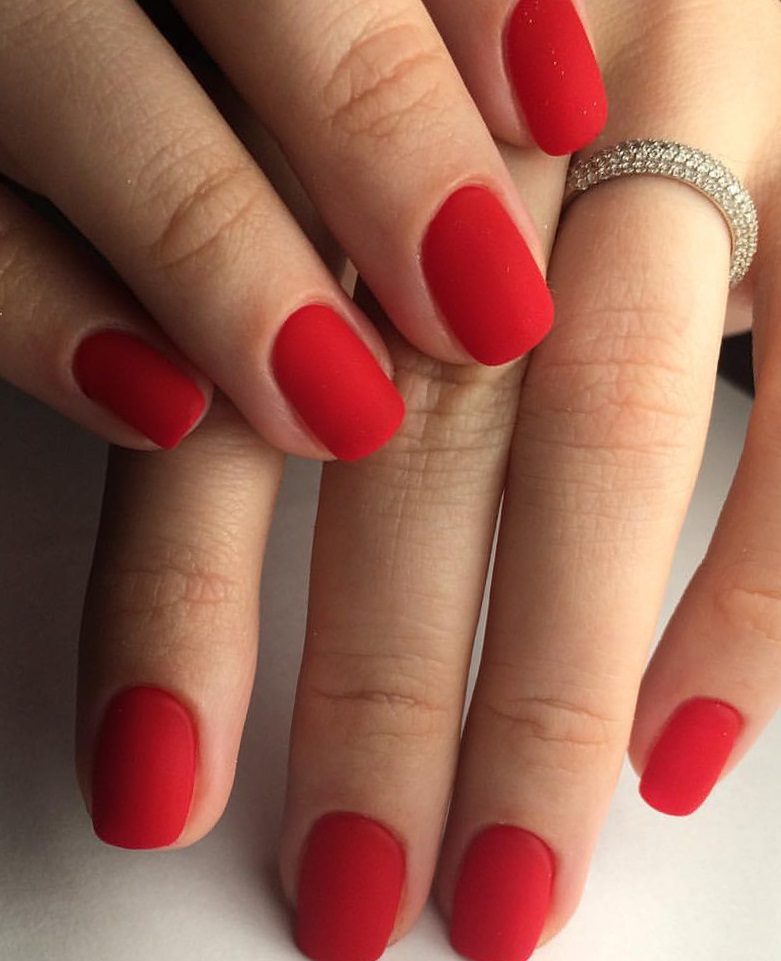
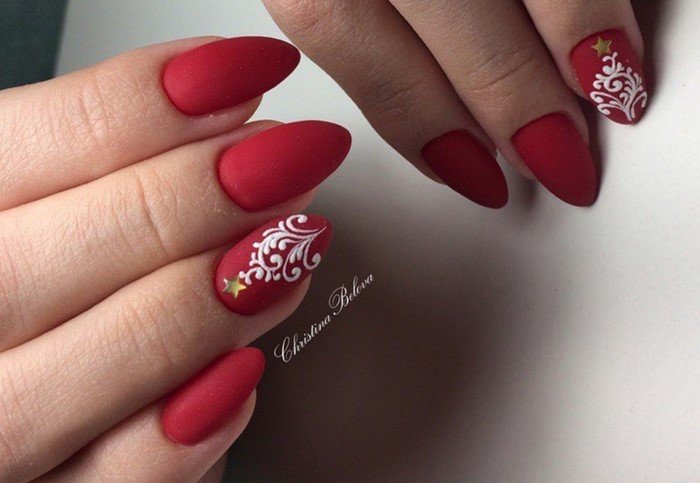
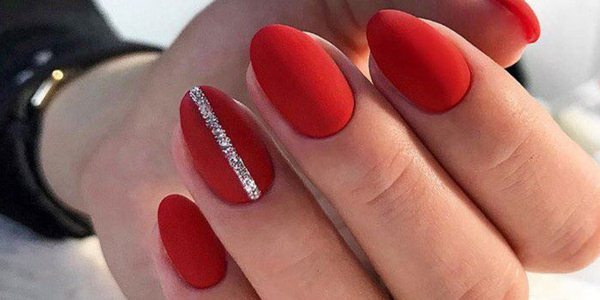
Matt
Matte design after its appearance immediately fell in love with fashionistas and in the new season did not lose its position. To get this effect, you will need to additionally purchase a special topcoat that is applied both to the entire nail and to the selected part of it.
To get a perfect manicure, you need:
- choose the darkest shade of red, for example, cherry or brick;
- As a pattern, choose a simple pattern that will be performed in achromatic color.
Experts warn women: a large number of rhinestones do not look on a matte shade, since they only spoil everything.


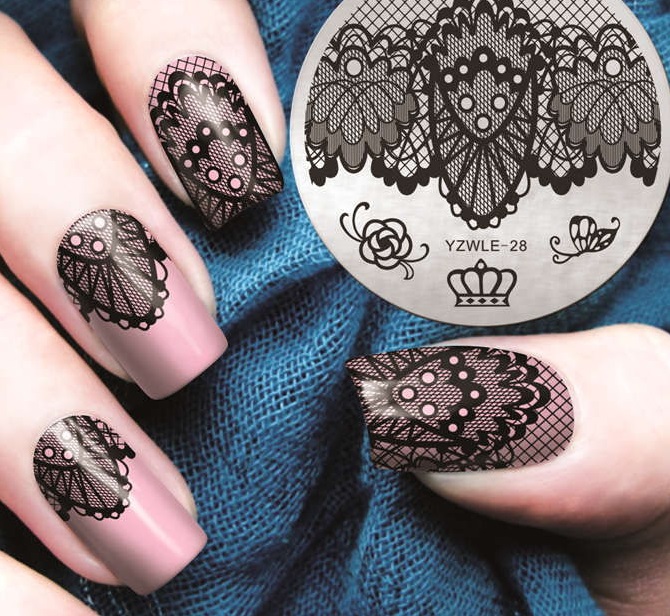
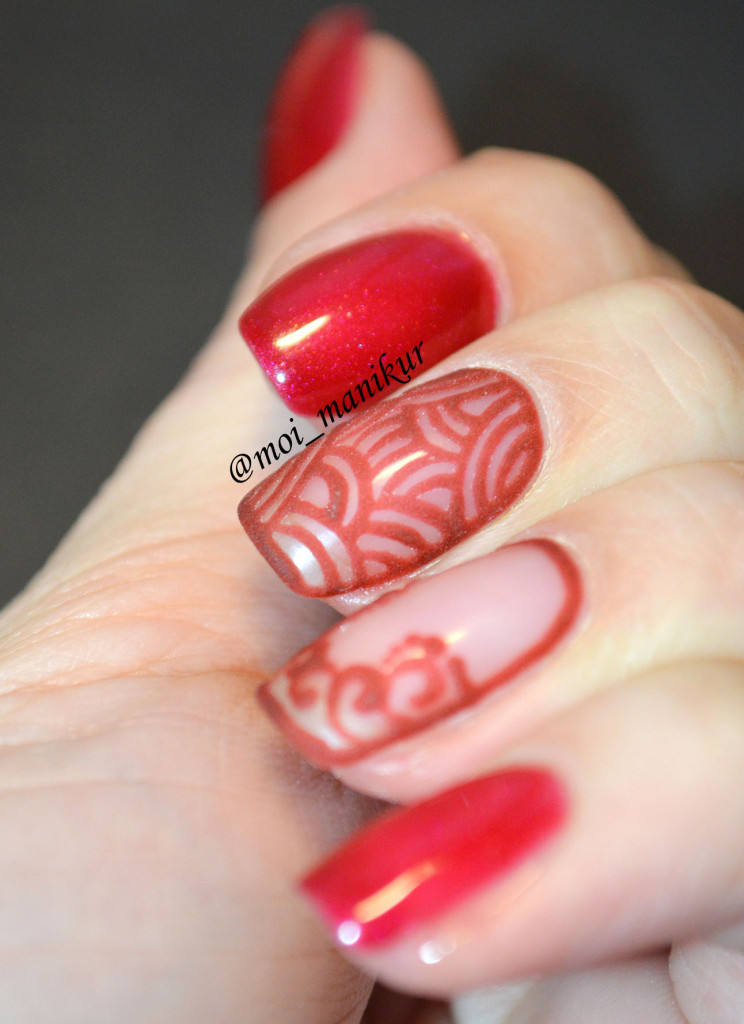
Veil
Before using the veil technique, you need to create the perfect shape, choose the appropriate length, remove the cuticle and burrs.
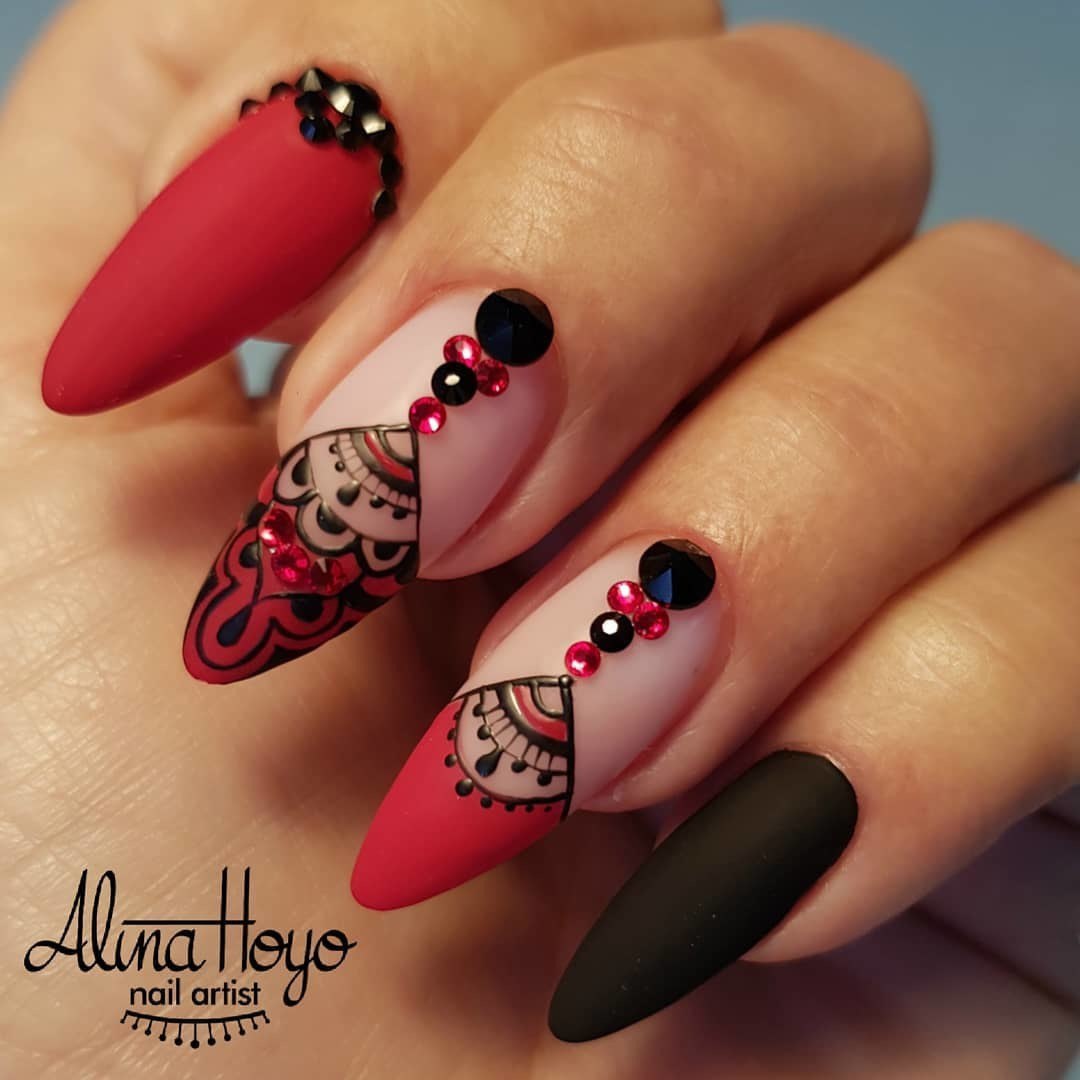
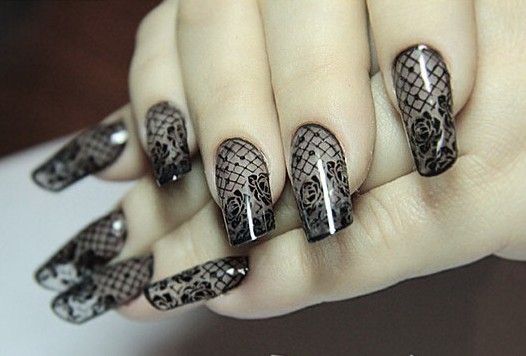
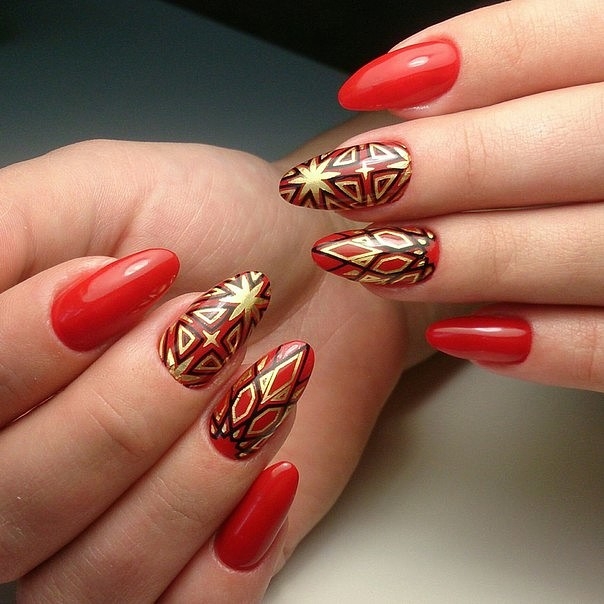
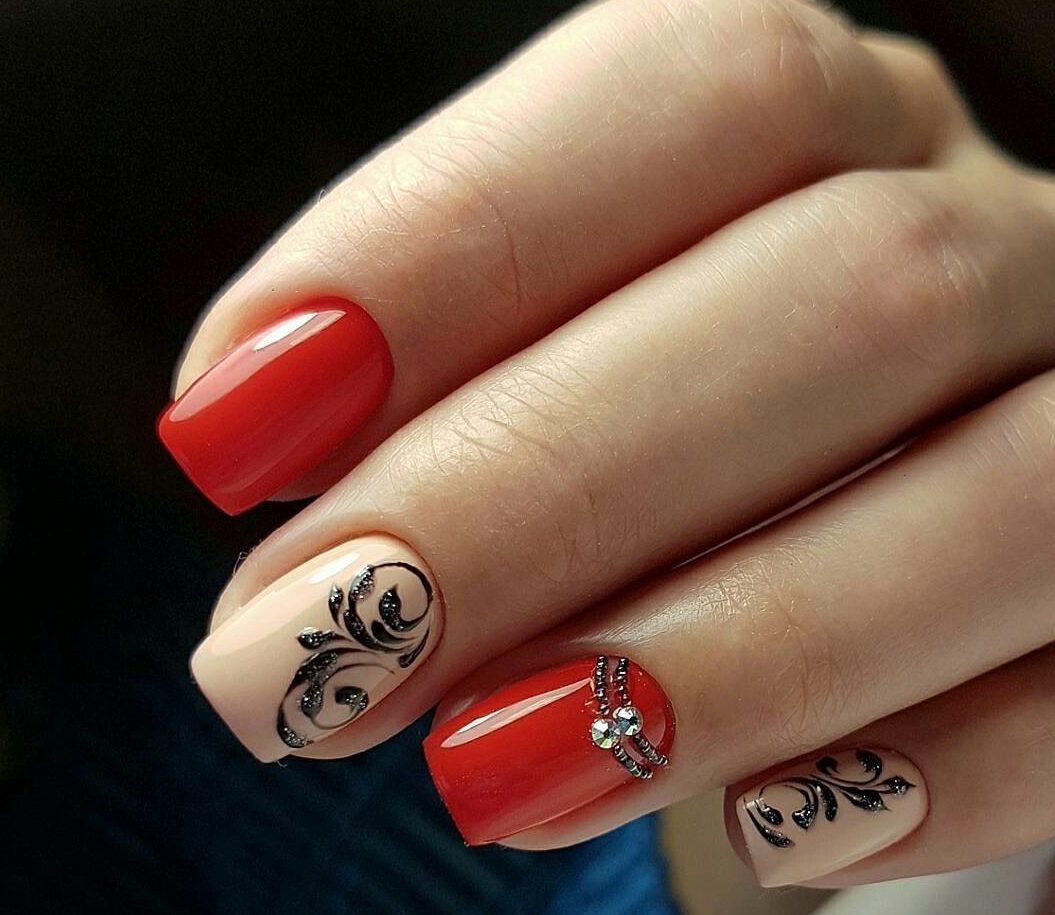
The uneven veil looks great when it is applied not to all the nails, but only to a few. Lace design gives a rich ground for the flight of fantasy, but it is important to take advantage of its capabilities. You can use the classic combination of red and black, since these two contrasting colors amazingly emphasize each other.
Lace manicure can be a good complement to any image, but most girls think that creating such a decorative effect is not easy on its own. In fact, there is no need to be a professional artist and be able to own a brush. Today there is a huge amount of modern materials to work with this technique.


Stemping is considered one of the easiest options for how to make a lace manicure. Millions of women around the world have been able to master this option, and in the shops one can easily purchase a simple net, flowers and other ornaments. The only drawback can be considered the cost, since even the simplest set will cost a thousand rubles.
If you have experience, you can use gel or acrylic paint to create a veil effect, but this is not so easy. To do this, special brushes are sold in stores, you can also take a toothpick or even a gel pen. In this case, there can be no talk of perfect drawing, since it is difficult to repeat exactly the pattern on each nail. On the other hand, each image is unique in its own way.

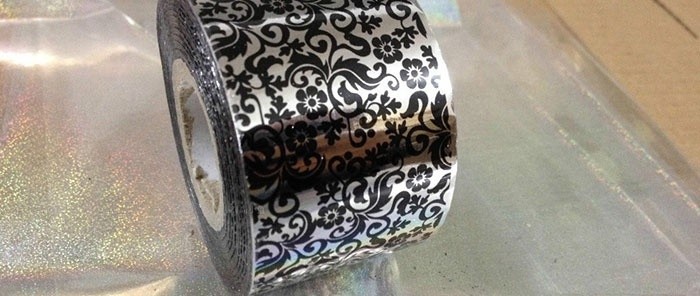
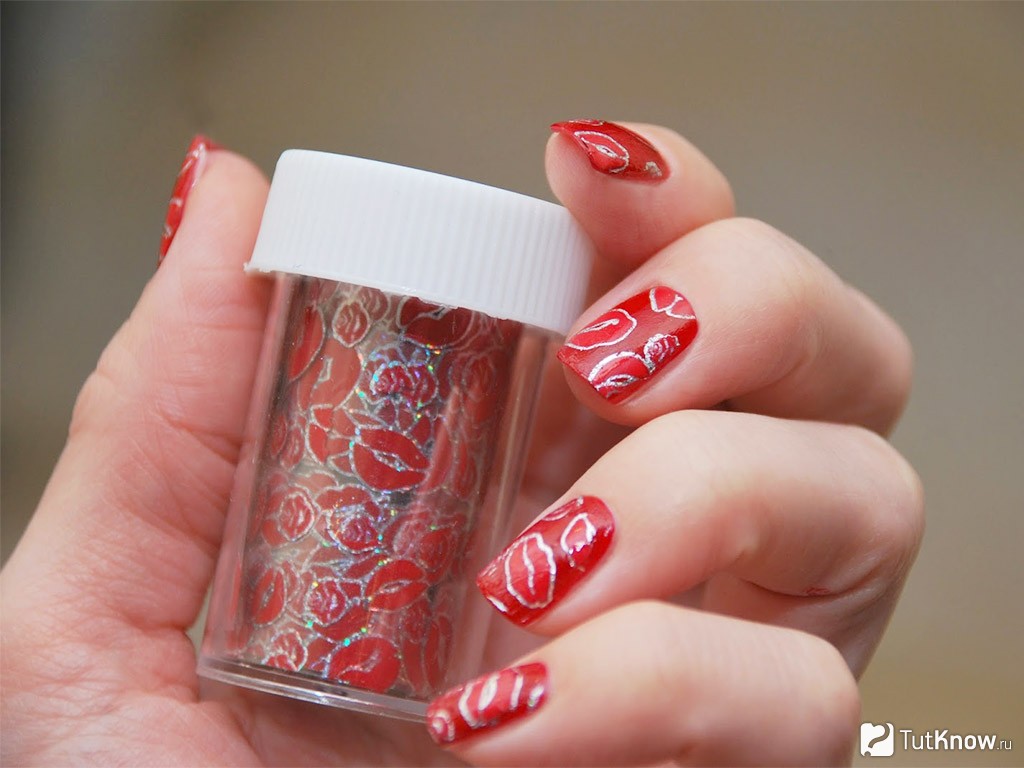
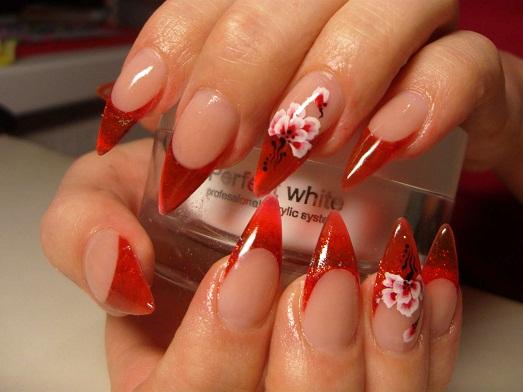
You can use translated foil, however, it is necessary to learn how to work with it so that the pictures fit well on the nail. This technique has one drawback - not every varnish can be used. It is necessary that he quickly soh and did not have in the composition of additional elements in the form of sparkles or confetti. Most often, masters use a special adhesive base on which the drawing is well placed.
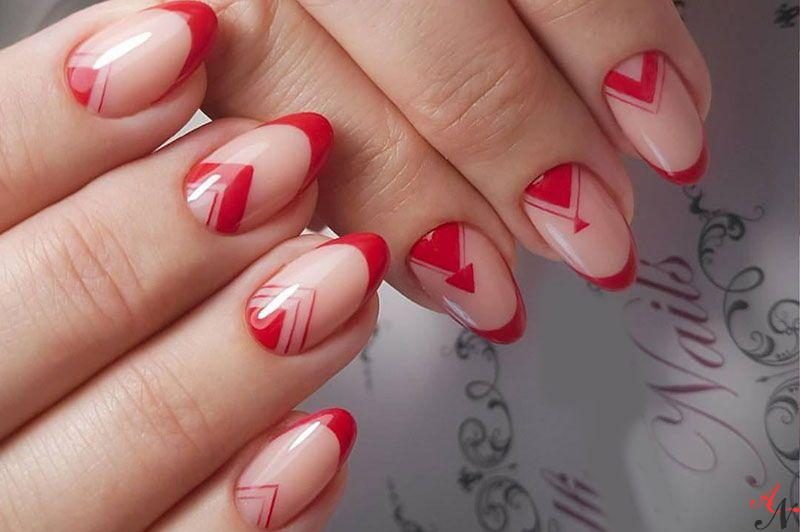
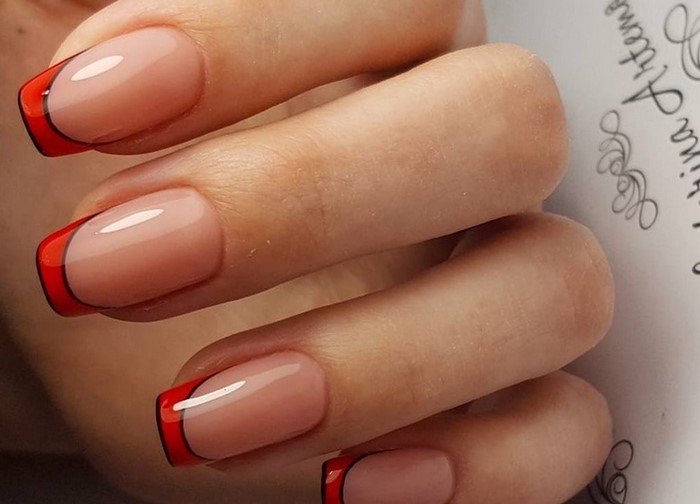
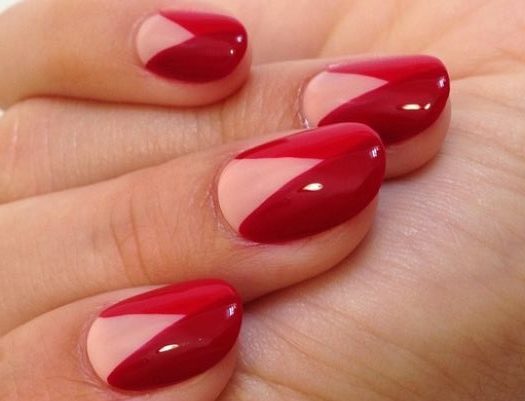
With negative space
Not every girl understands what kind of technique, but in fact it is very simple. Its essence is that on the nail there are unpainted areas, for example, French manicure, but only the tip of the nail plate is stained. This also includes the lunar design.
This design option is ideal for girls who prefer minimalism and moderation in everything. If you do everything right, you get the original and unusual design. There are several ways to do this manicure yourself at home.
In the first case, you can use a thin brush and a piece of foil.Gel polish is dripped onto the material, collected with the tool and draw a line in the middle of the nail Layer by layer, the area gets stained better and better, but each time the material must be dried in the lamp.
You can take a flat brush and cover most of the nail plate. Then take a clean brush, moisten it with varnish remover and gently remove excess. The first layer is also dried and then applied new.
If there are no brushes, you can take the tape, stick it on both sides of the nail, leaving free space in the middle. This place will be painted with gel polish or simple varnish. Tapes are removed only after the second or third layer. The edges are smooth without any extra effort.


Manicure with thermofoil is very beautiful. Already prepared nails must be applied a base coat of varnish. Just because the decor is formed through the use of thermal film, there should be no defects and irregularities on the nail plate. The base is applied not in one, but in two layers to achieve a uniform shade. The adhesive layer can be removed with a special degreaser.
To the middle of one of the parts is covered with the previously described method, pasted on the degreased surface of thermofiller. To lay the picture evenly, a piece of material must be slightly larger in size than the length and width of the nail. Before use, the sticker is slightly heated, for this you can use a lamp. The film is stretched, and its surplus is removed with tweezers. A control coat of colorless varnish is applied on top.

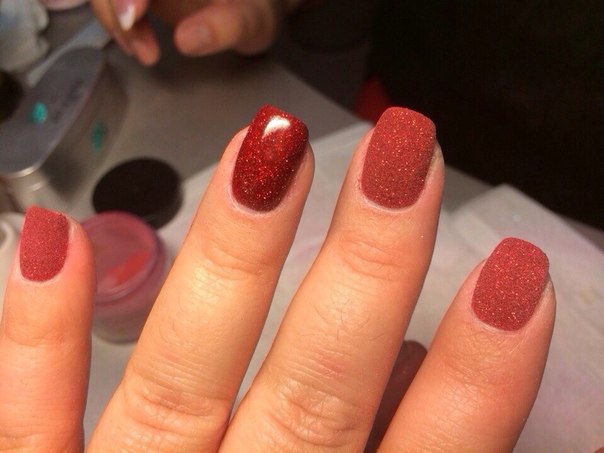
With acrylic powder
One of the most relevant today is the design with the use of acrylic powder. Polymeric powder previously used in dentistry to restore tooth enamel. Possessing amazing properties, he pleased both manicure and pedicure masters. Experts have slightly modified the formula so that the powder can be used on the nails without harm to them.
In nail art a good alternative to this artificial material is velvet sand, or powder. On sale today you can find five types of acrylic powder. Transparent is necessary for nail extensions and applying varnish on them. It perfectly strengthens the manicure and increases its resistance to negative factors.
To hide serious defects on the nail plate, a special camouflage powder is used, but in addition, there is still color, with sparkles and neon.
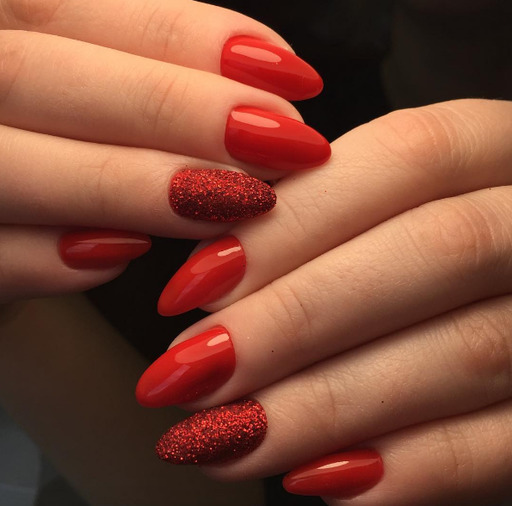

In the home, it is easy to create an attractive manicure using this material. To make everything work out as intended, the picture is placed on the gel, since it is he who gives the desired texture and volume.
At the first stage, the nails are prepared, that is, released from the old varnish, filed. The cuticle and burrs are removed, and the nail plate is defatted of everything. To do this, there is a sale of special tools, but you can take a simple cotton swab and alcohol.
Under a varnish put a base coat or primer, which must necessarily dry well. The next layer of lacquer is dried for several minutes under the lamp. Another layer is applied, but now images are immediately applied on top of it with a gel varnish and a fine brush. The woman herself decides which pattern will look better on her red nails. Powder can be applied immediately, then the nails are again immersed under the lamp and wait until the coating is completely dry. But there is another option.
When the drawing is applied to the not yet dried coating, it is placed under the lamp for complete drying. Then follows a layer of top and drying again. At the next stage, the nail is polished, which will save the pattern longer. The image is again drawn and sprinkled with powder, sent to dry. All is ready.

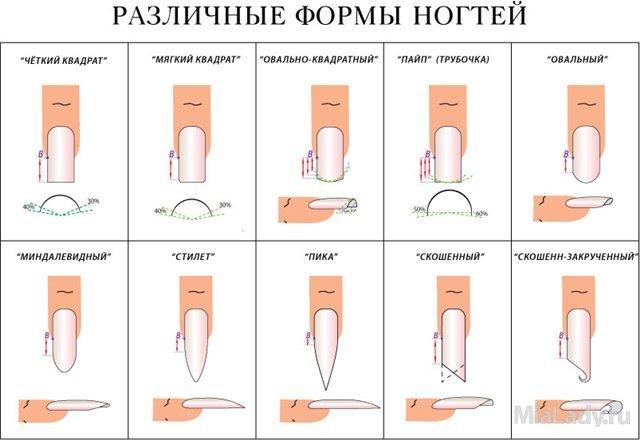
Shape selection
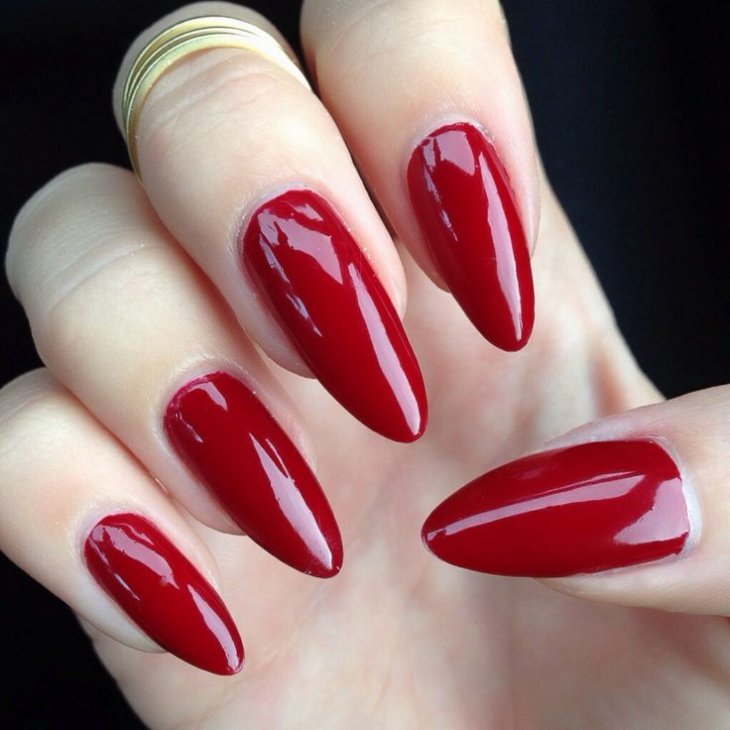
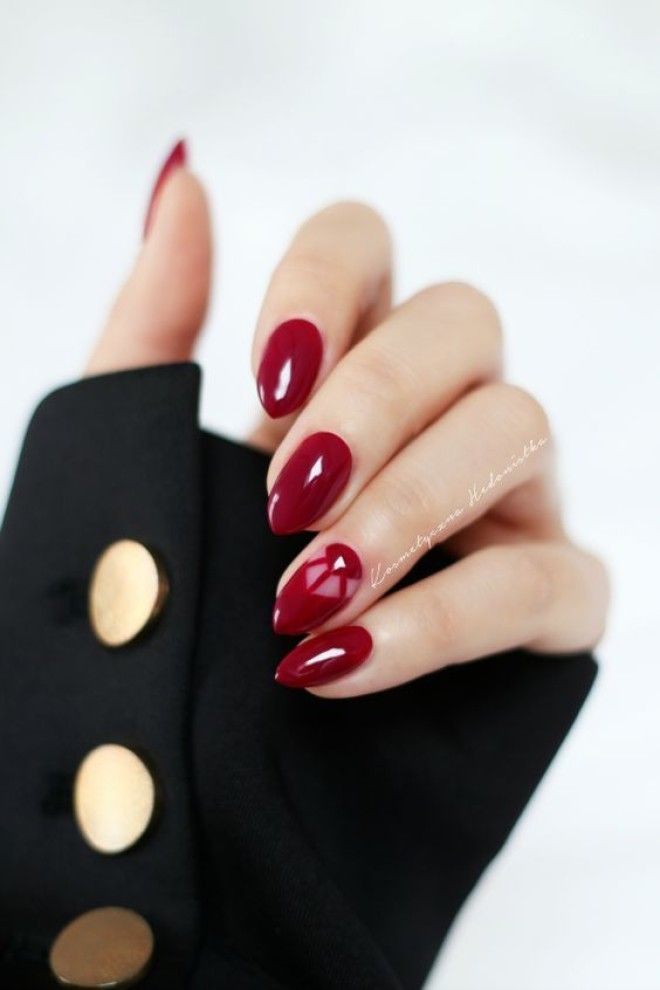
Choosing the right shape for a red manicure will make it even more attractive. It can be oval, square, round and pointed shape.Previously, all women sought to change the length and correct the natural nails to fit the fashion, today naturalness comes first, therefore, what nature has endowed the woman with, it is only necessary to slightly correct.
Oval nails are able to visually lengthen the fingers, make the brush elegant. They look great in the hands of thin women.
Round look good only if repeated bending cuticle. This is the best option for a shortened version of manicure. This form is best done by girls who lead an active lifestyle, because a manicure does not interfere with everyday affairs. Nails in a similar design less break.

There was a time when a square manicure was considered the most popular, but it is very brittle, especially if the nail plate is long. The short ones are suitable only for girls who have thin fingers, but at the same time it is the ideal format for a French manicure.
Pointed nails are considered the most inconvenient and impractical. On the one hand, it is a large area to create a pattern, on the other hand, it is easy to break and damage even a finger. For this reason, for everyday life, fewer women decide to stop at such a manicure.
In choosing the ideal form, much depends on the fingers. If the nail plate is wide, it is best to give preference to round nails, but the length should not be too large. The same rule applies to those women who have fat fingers. If you do not listen and make a square shape, then your hands will become massive, rough.
If the fingers are thin and long, then you should choose a square manicure. Regardless of the design, it will look neat, but on condition that the tips are rounded. The presence of sharp corners leads to the fact that the fingers constantly cling to something, the nail plate suffers, as a result, it just exfoliates and breaks off.
If a girl by nature has very small nails, then you should pay attention to the oval shape, which will help to visually enlarge them. She also looks good on full hands, but in any case not the pointed form.

Combination with other colors
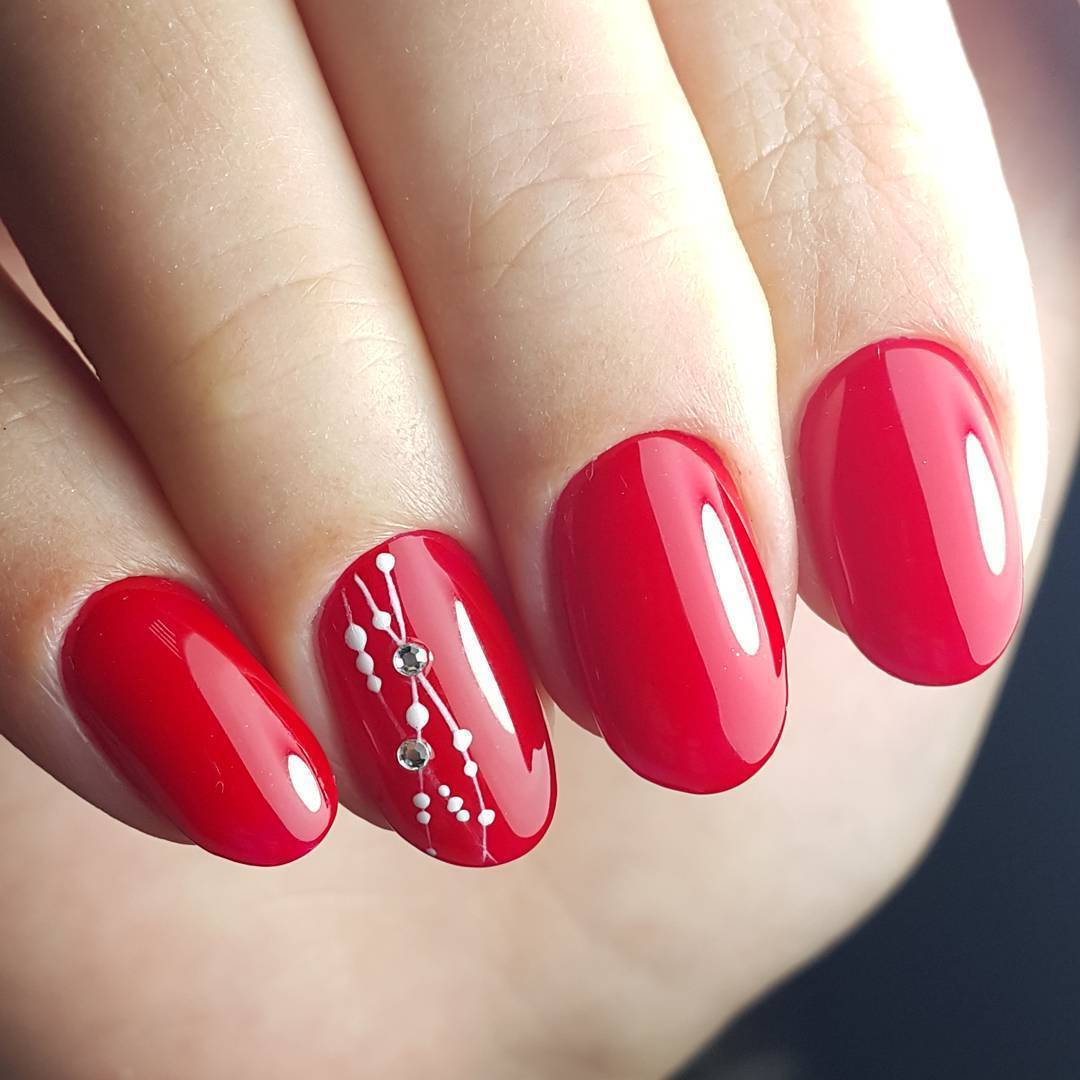
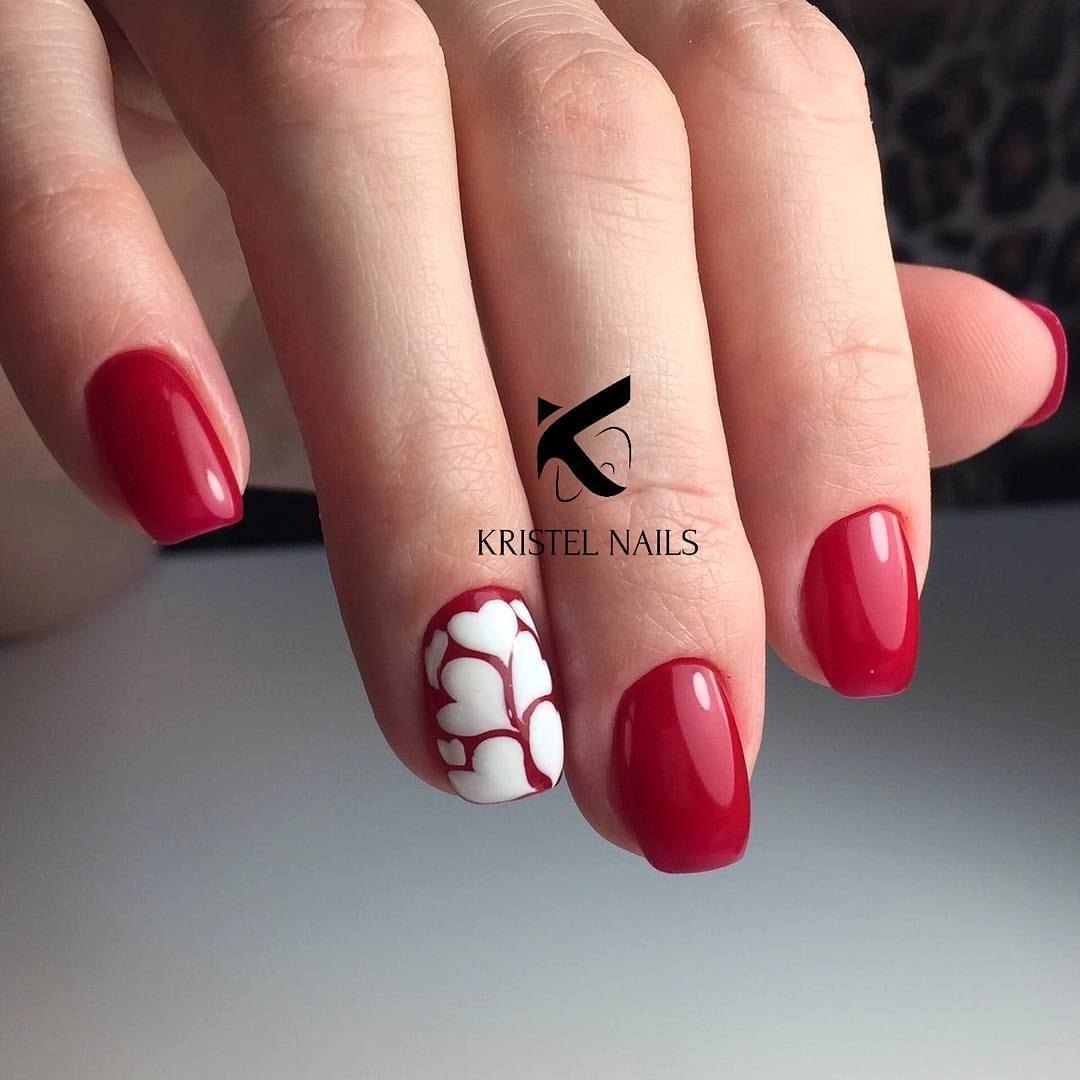
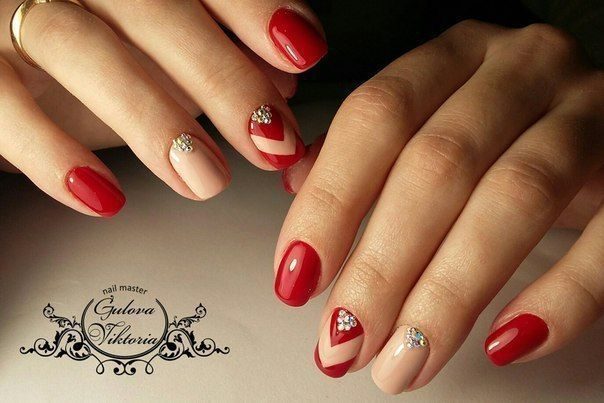
There are many options for how to decorate your fingers, but a red manicure always makes a woman stand out, gives her individuality, and shows courage. Regardless of the shape and length, this color creates a feeling of well-groomed hands, although it is sometimes boring to use the monochrome option, which is why it is so important to know with what colors this shade can be combined.
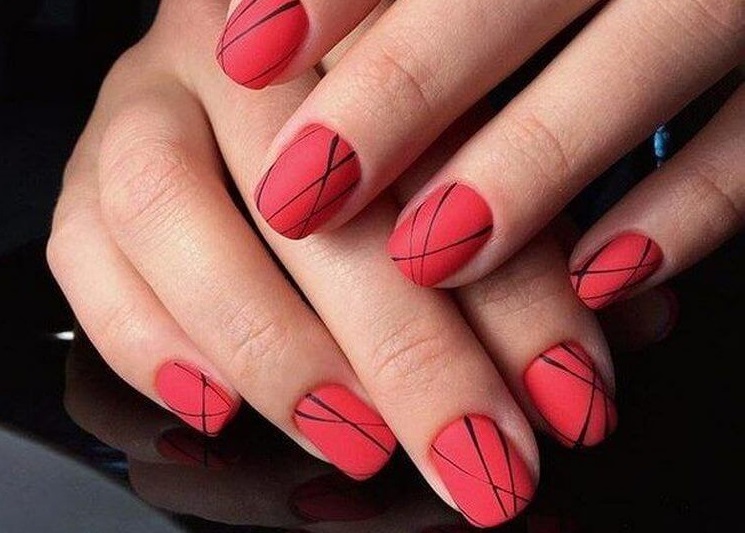
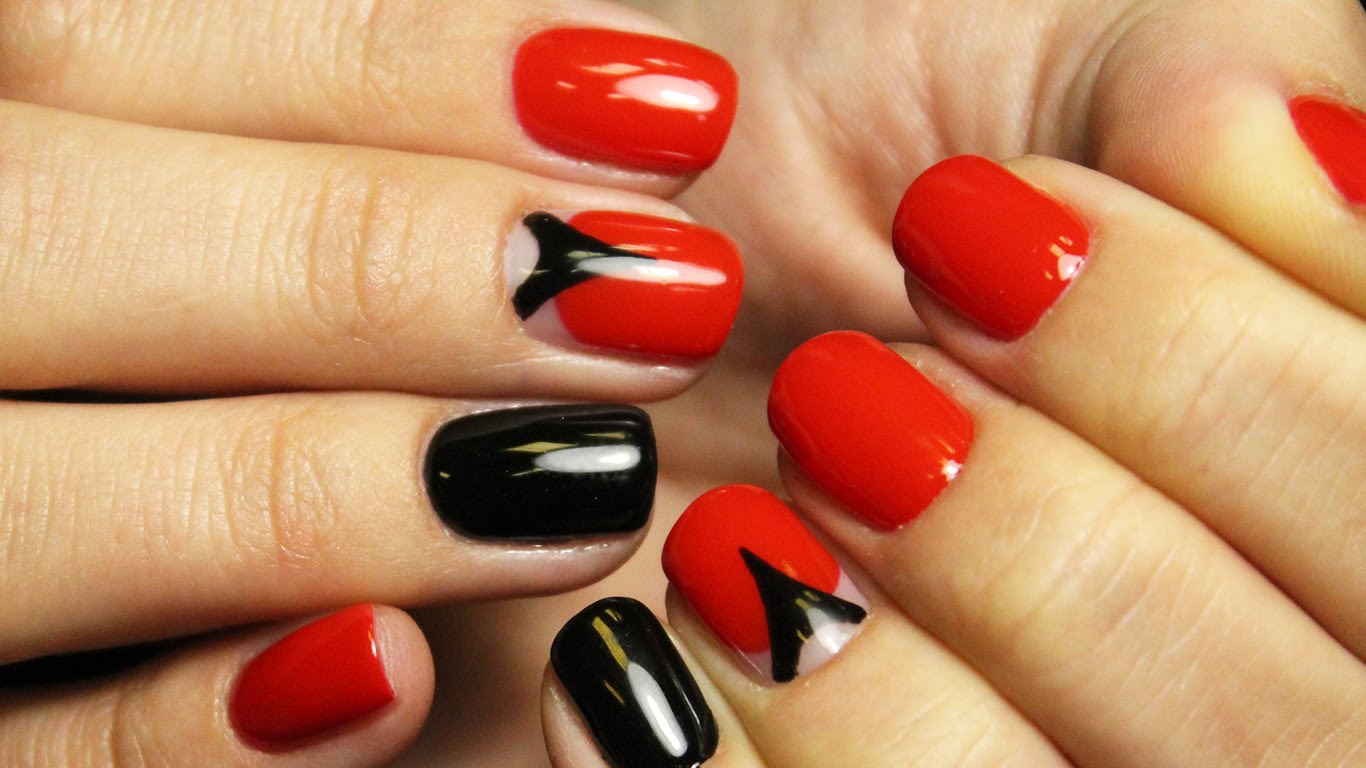
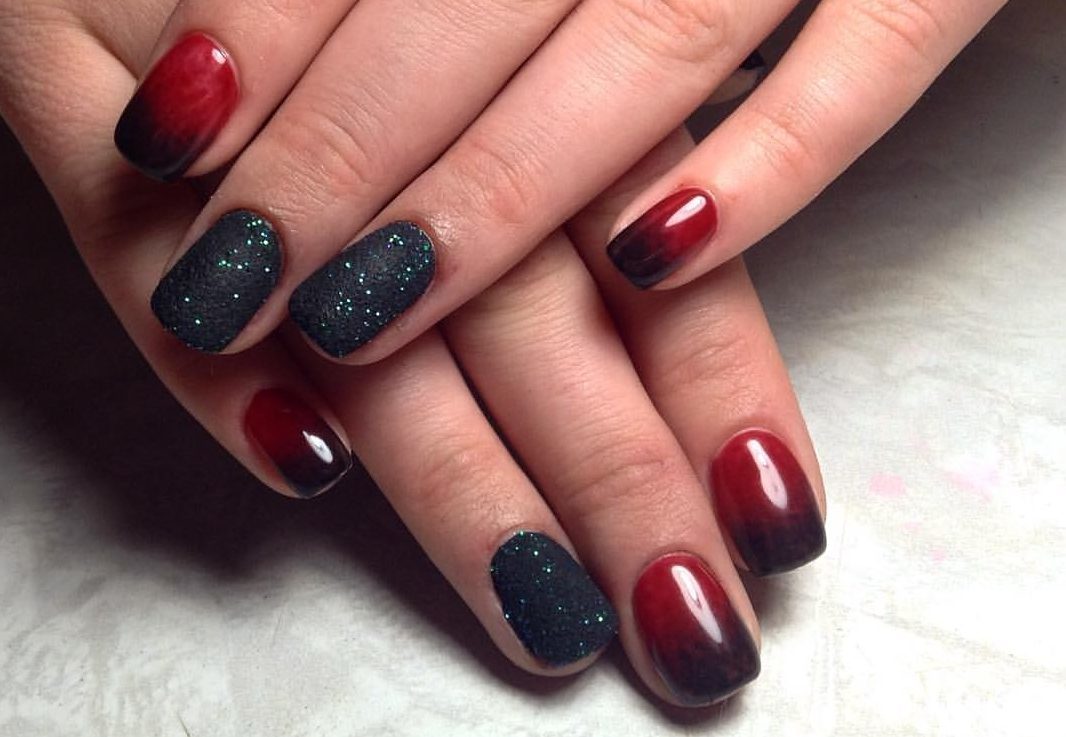
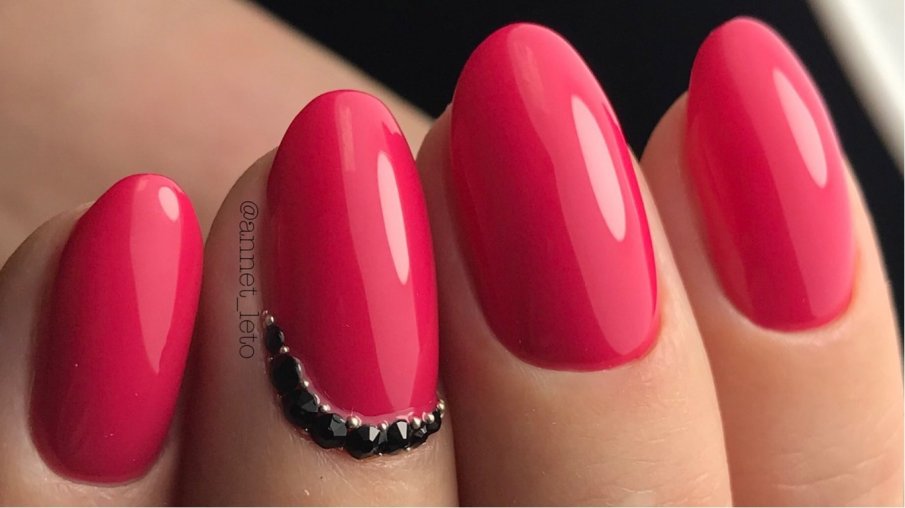
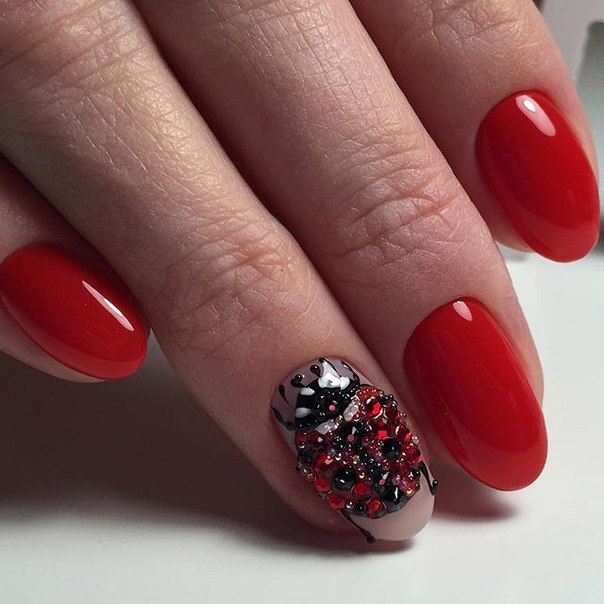
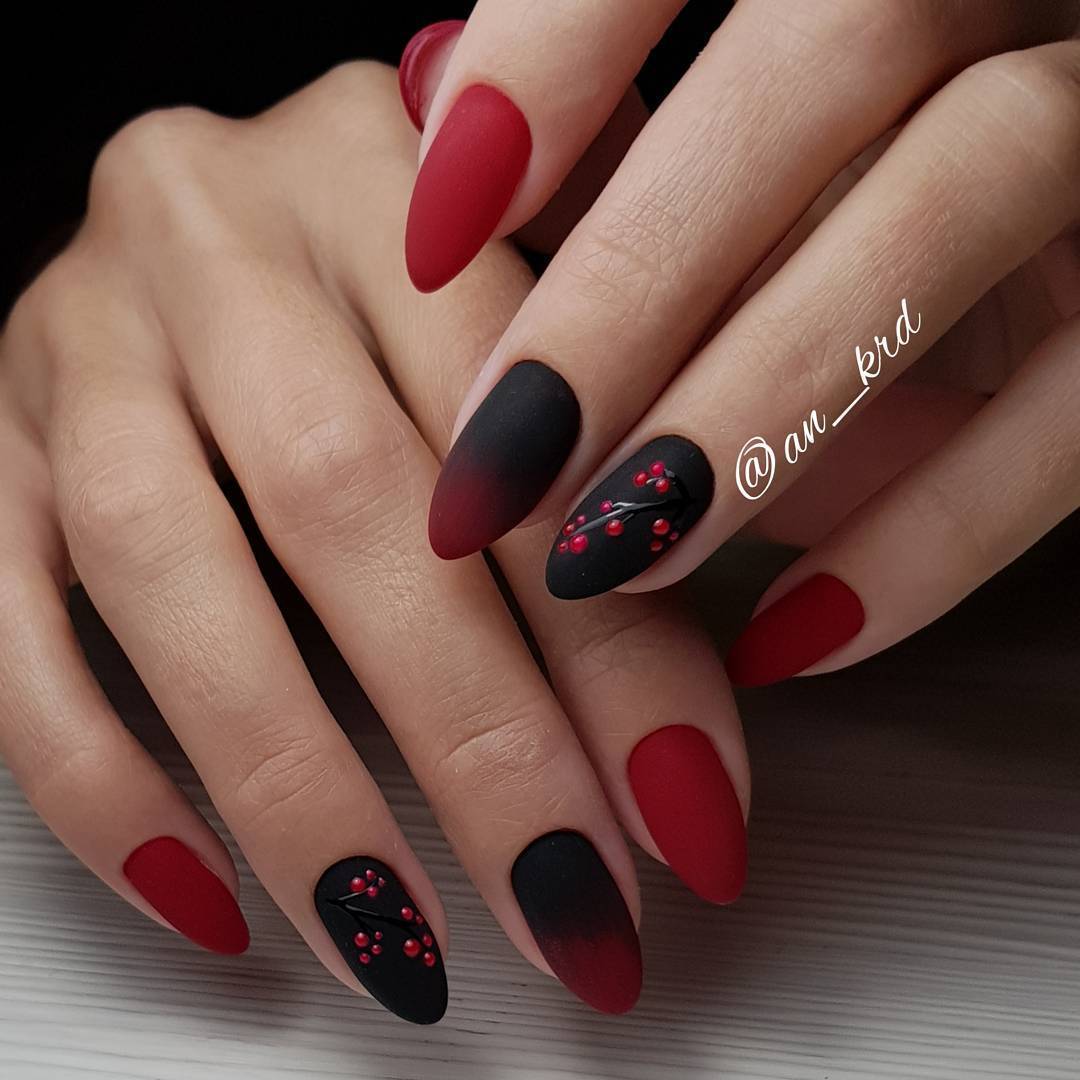
It looks very nice red with blackand it does not matter which color is primary because they perfectly complement each other. Better to use graphical markup. To help in this can all sorts of stencils. Specialists in the field of nail care do not recommend painting over the cuticle. The tone is applied without gaps, only then the red looks gorgeous.
Only after the base is completely dry can a line be applied with a black lacquer through a stencil. The paper is removed only after complete drying of the layer. The result is a clear varnish.
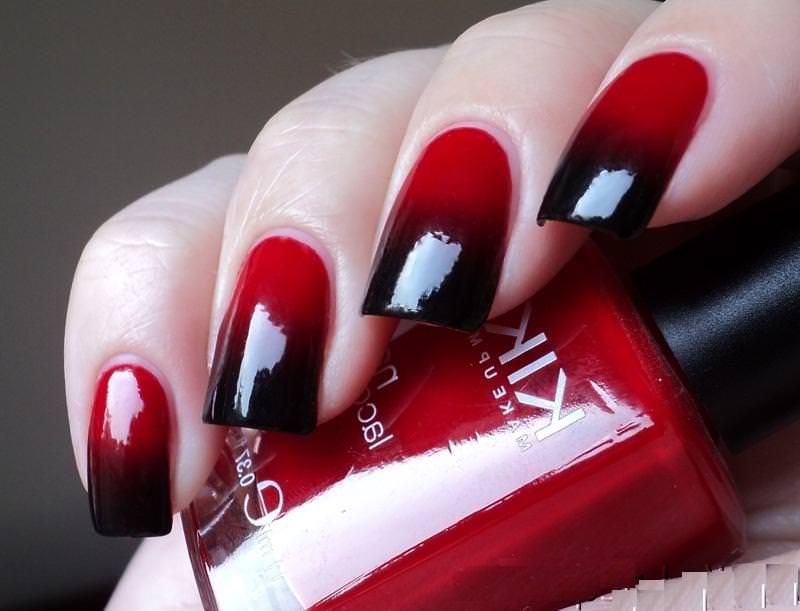


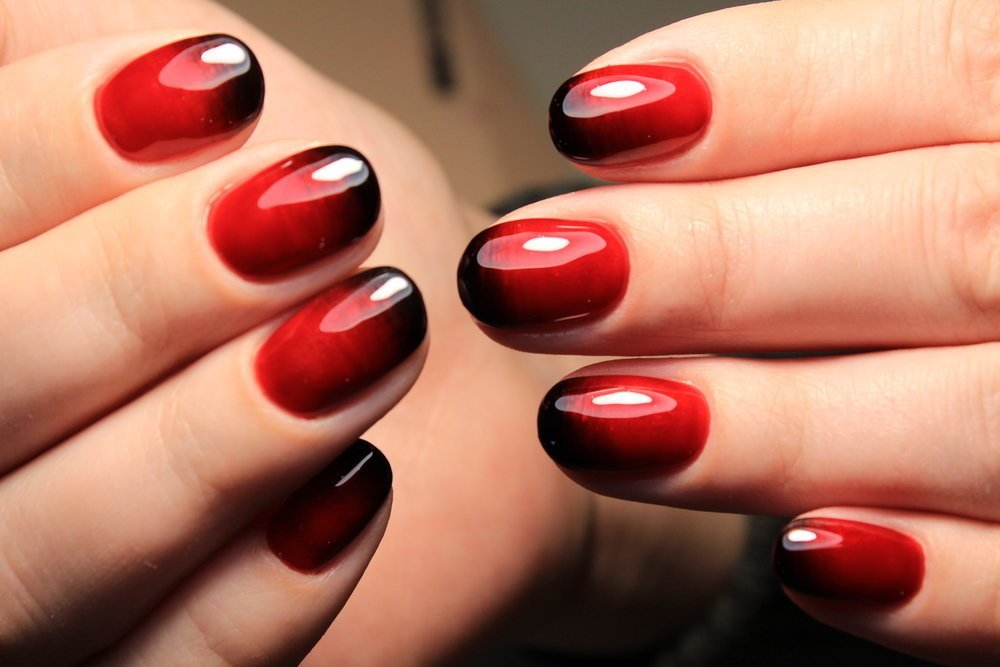

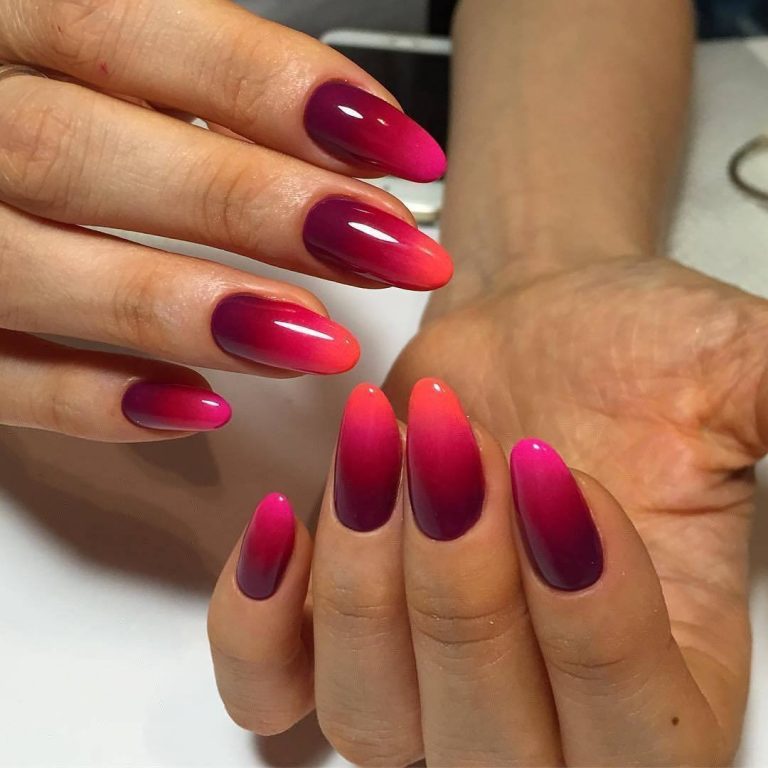
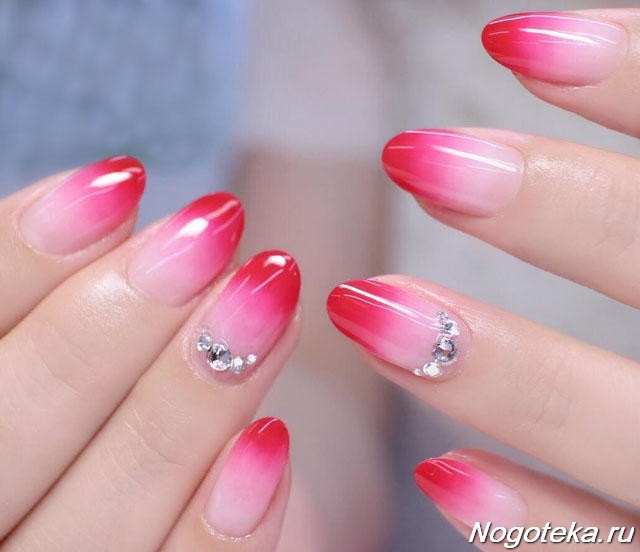
The gradient looks unusual and fashionable, but in order to do it yourself you will have to try a little and learn how to shade the lacquer with a sponge. You can do this immediately on the nail plate or first promakivat sponge, and then form a manicure.


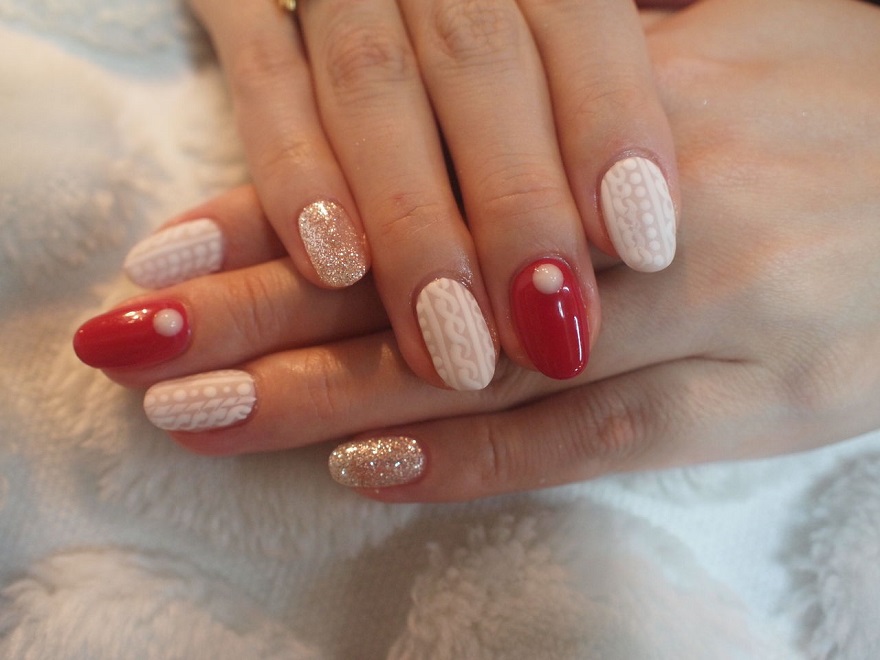
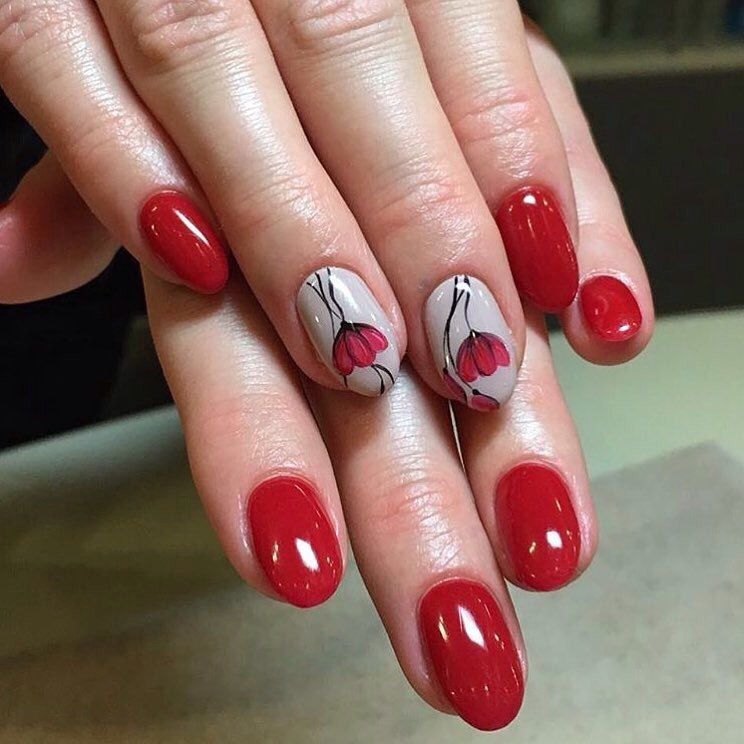
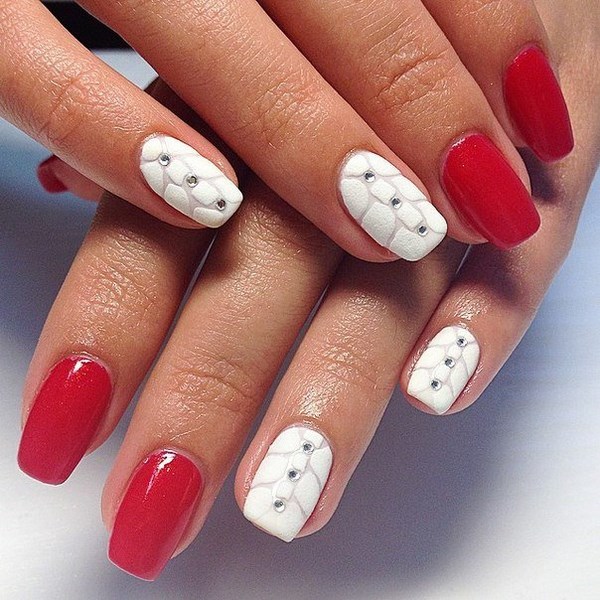
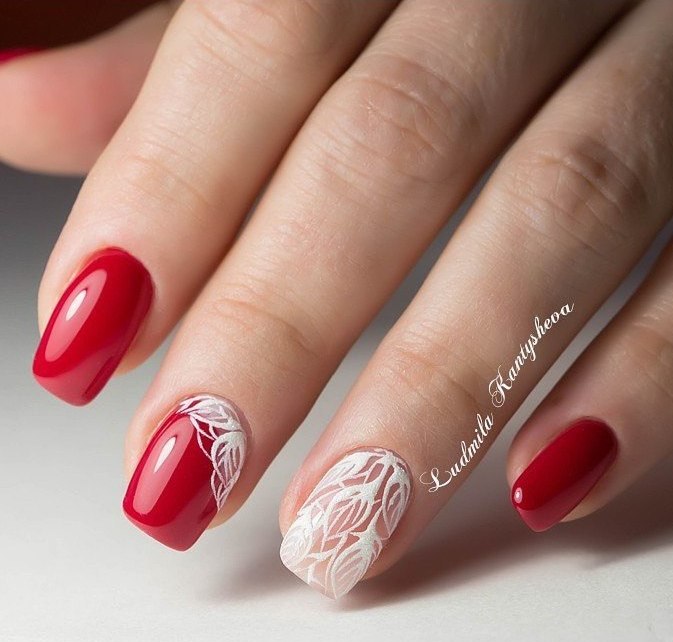
But not only black contrasts beautifully with red. You can use white in a huge variety of its tones. Looks great Chinese painting and flower theme. 3D compositions are created on the nails, it is good to get an ombre, you can use powder.


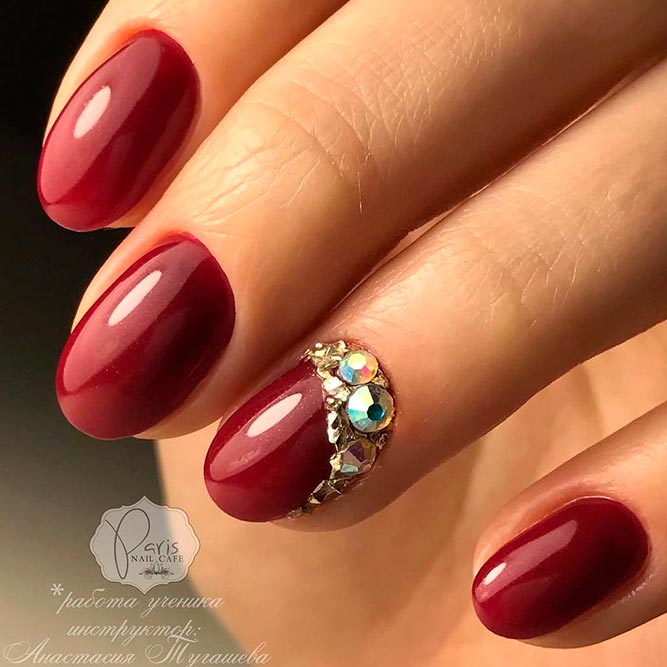
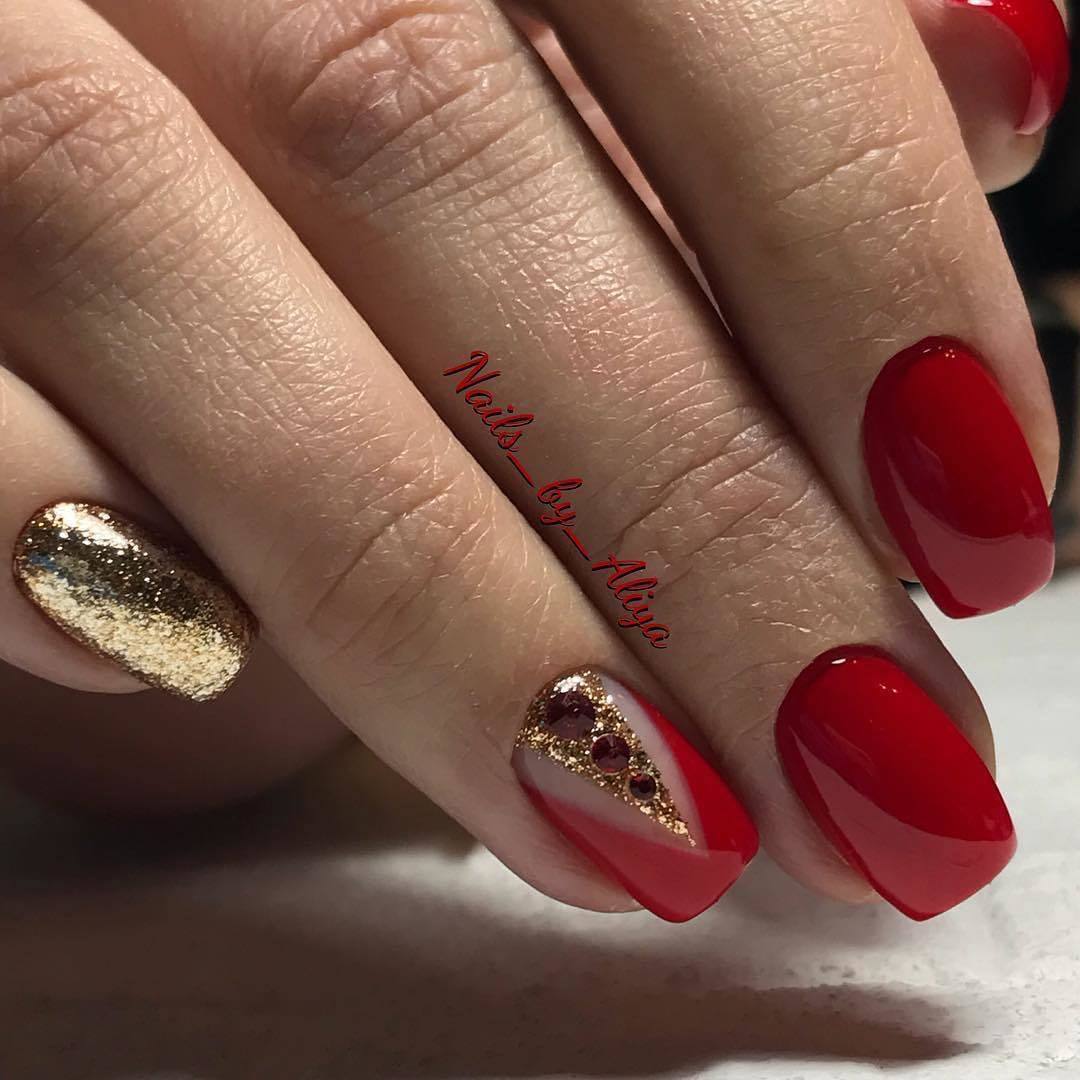
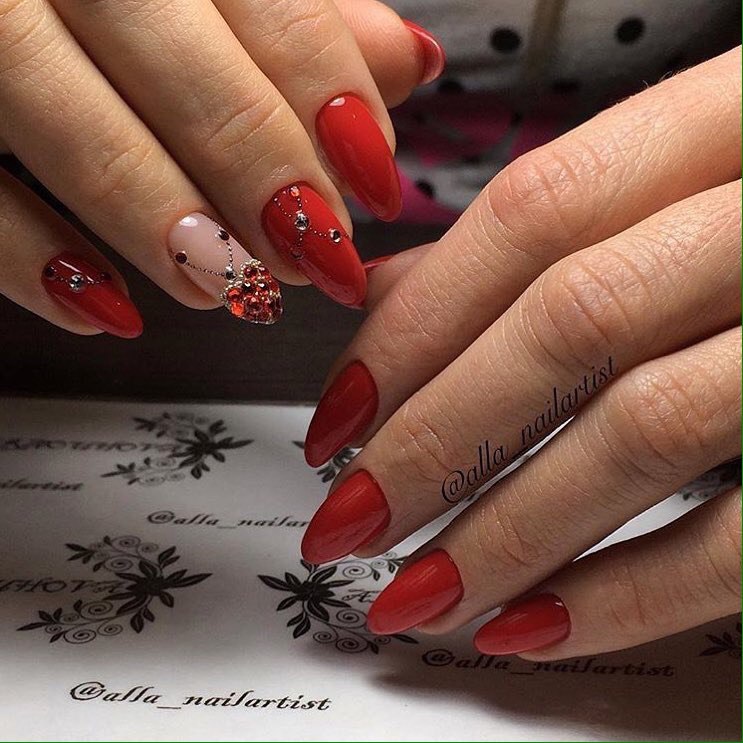
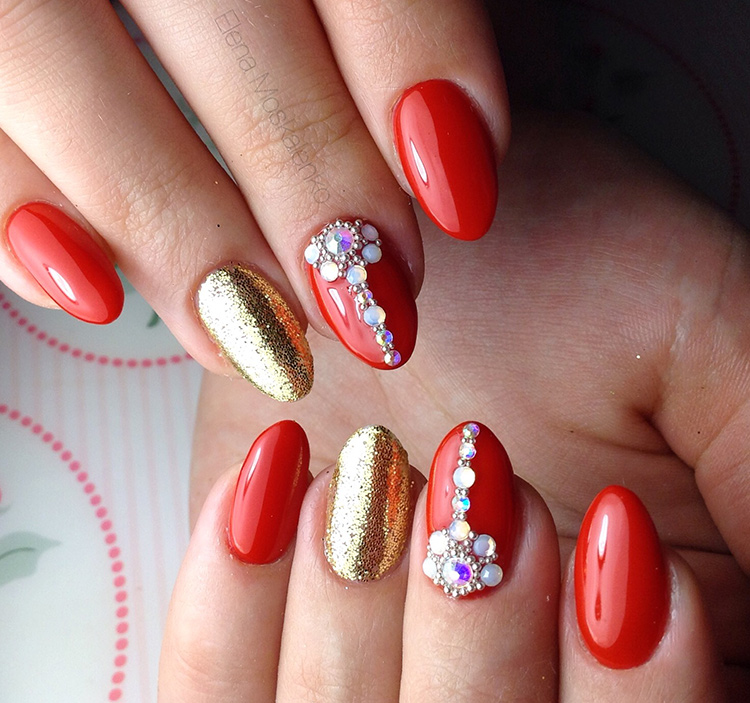
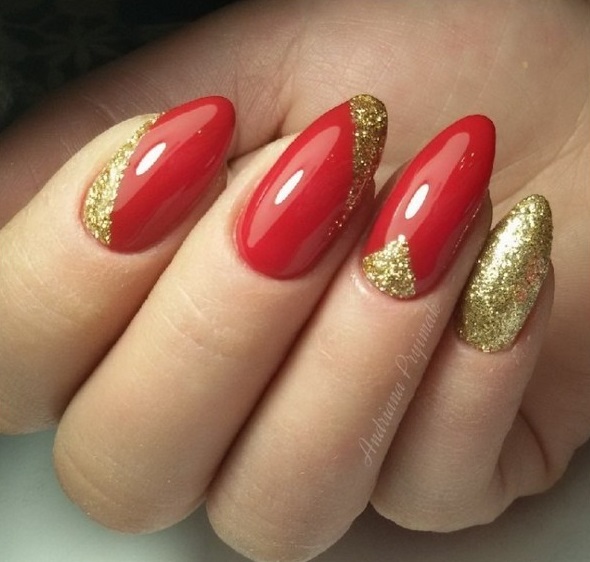
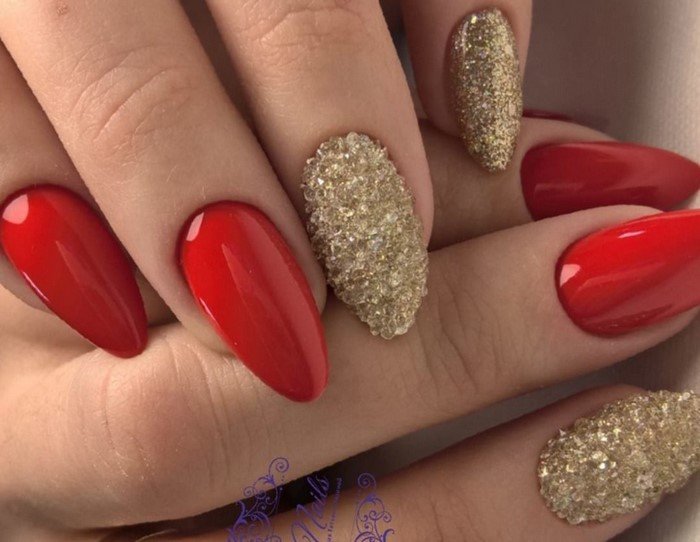
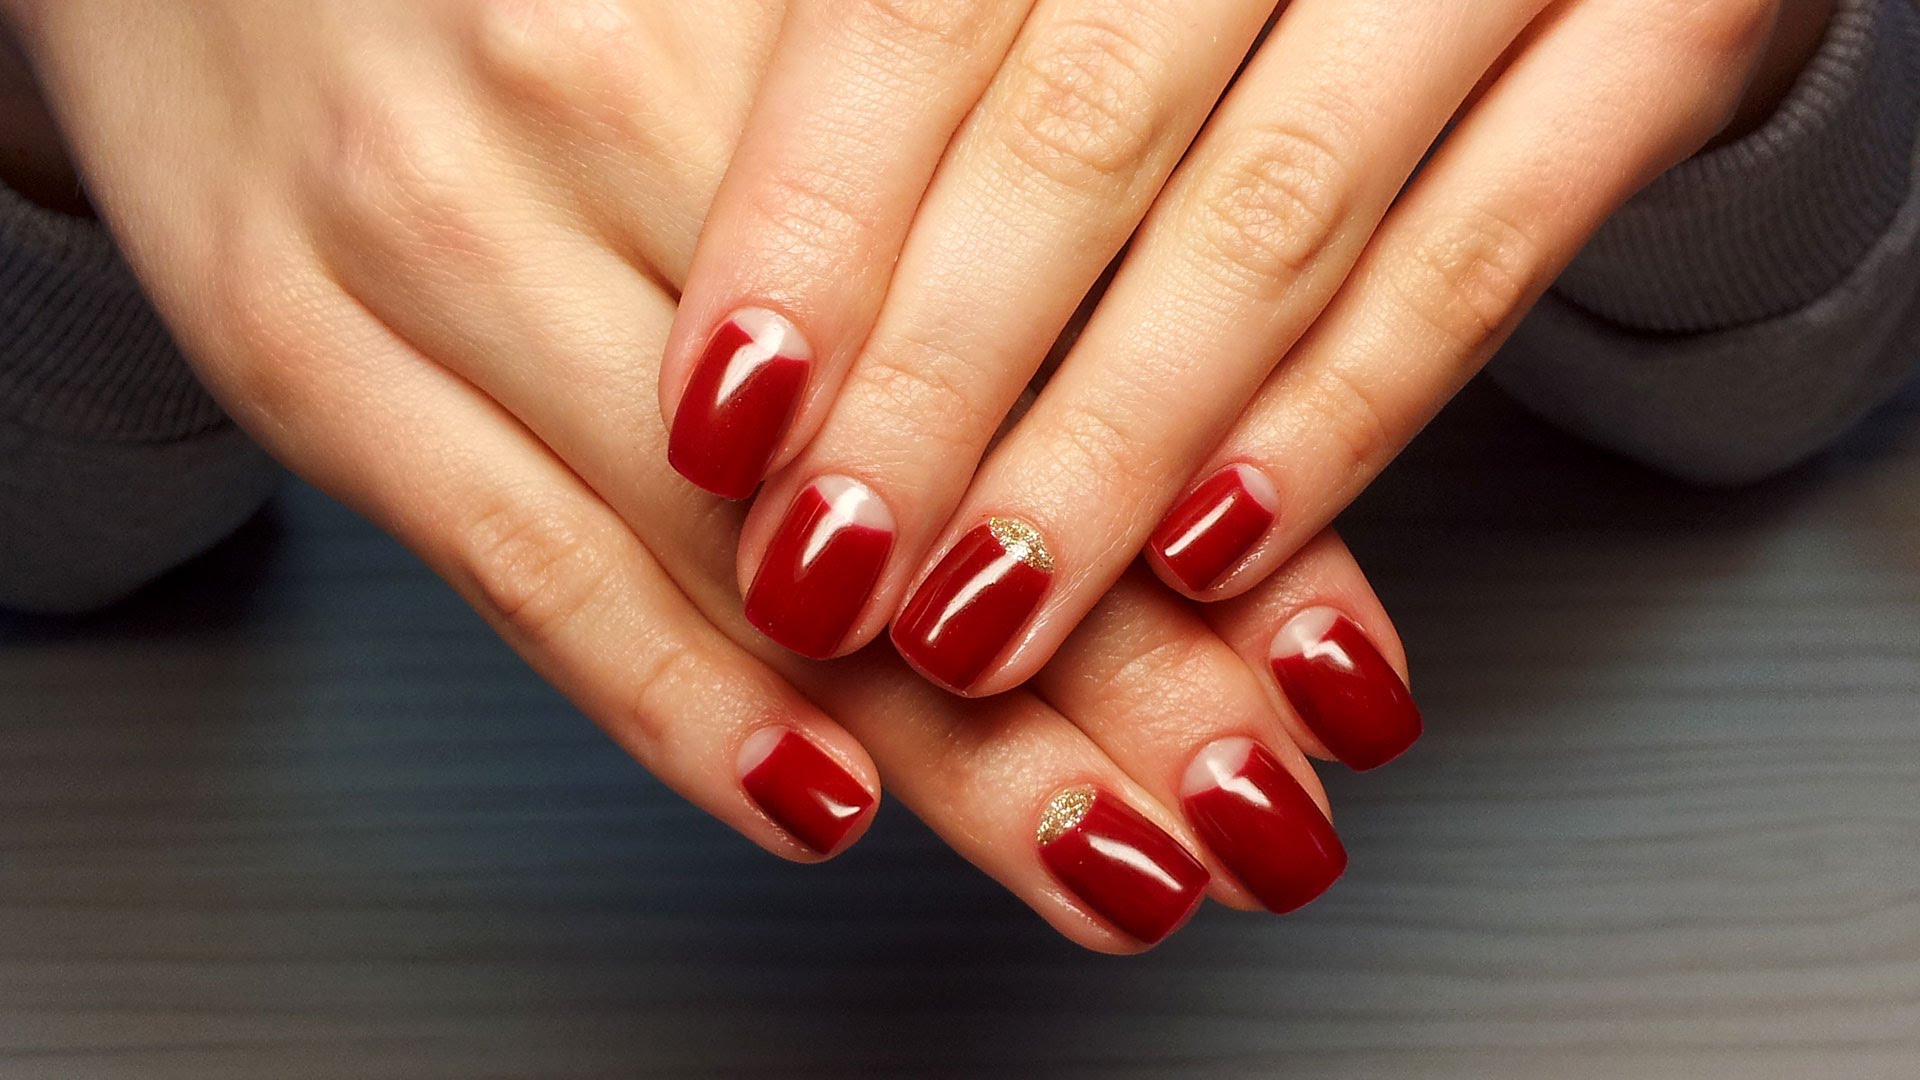
Surprisingly solemn looks red with gold. You can mix two varnishes or create some additional decorative elements. Recently, shellac has become increasingly popular. On a red background, the golden decor looks concise, but defiant. However, with this combination, stylists advise working carefully:
- the background should not be bright red, since dark shades look better and do not catch the eye;
- pay special attention to the form, which must be either ellipsoidal or almond-shaped;
- silver jewelry does not fit this manicure at all;
- well, if the background is matted.


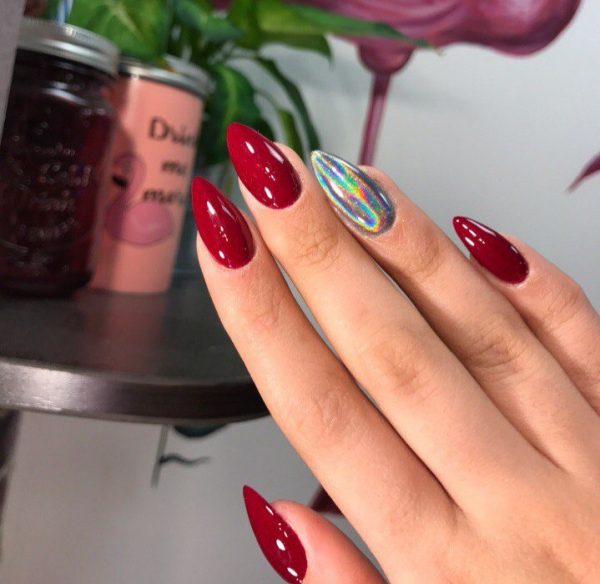
Silver and red have their own “love story”, in combination these two colors can look gentle and not defiant. It looks good rubbing pearl tone, you can make a silver jacket or put on your nails with a thin brush pattern.
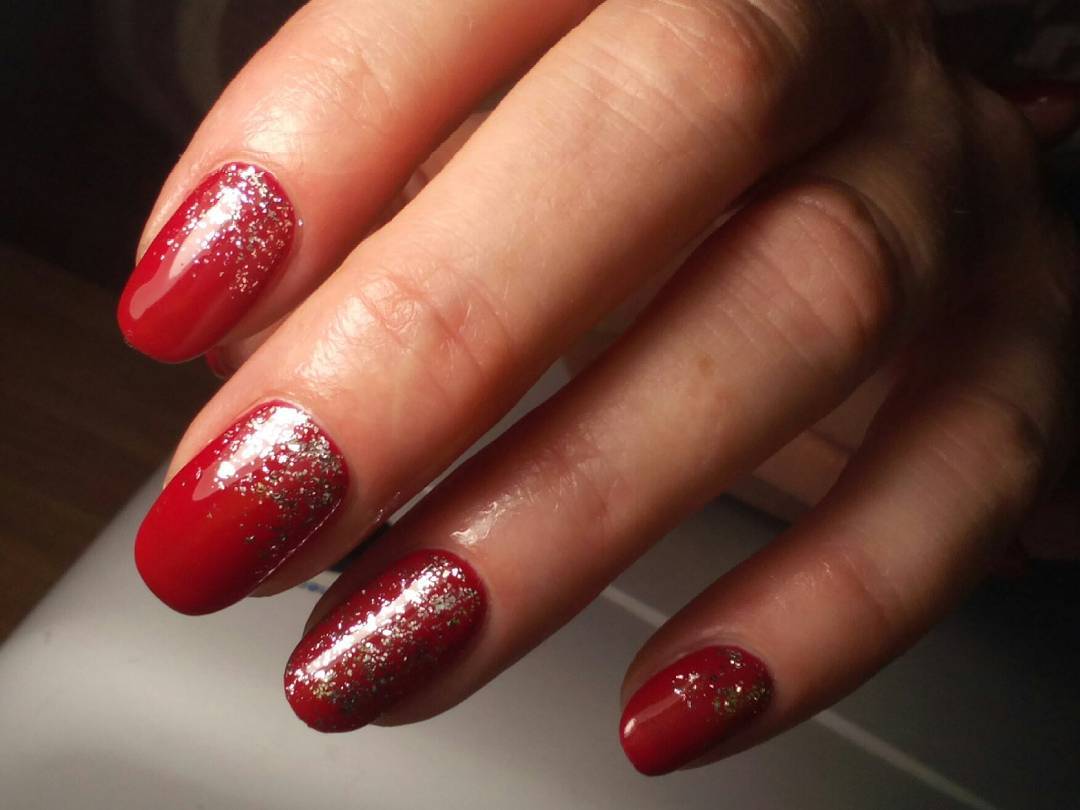


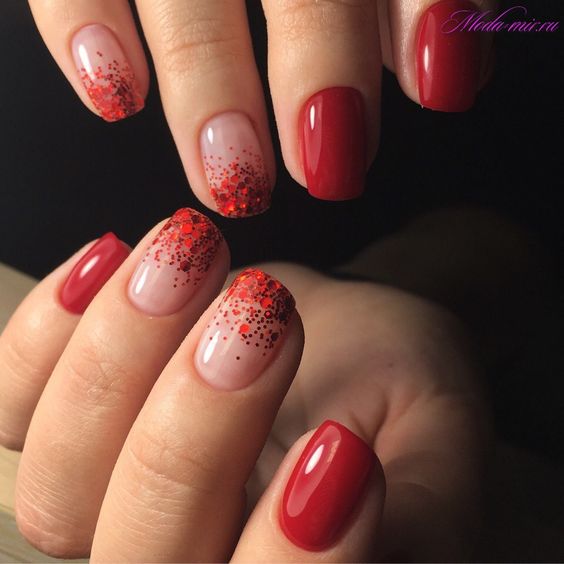
If you intend to use glitter as a decorative design, then it will be better if these are the following shades:
- burgundy;
- Dark red;
- purple;
- scarlet.
Apply glitter on the sticky layer, then use a matte finish, you can vinyl.


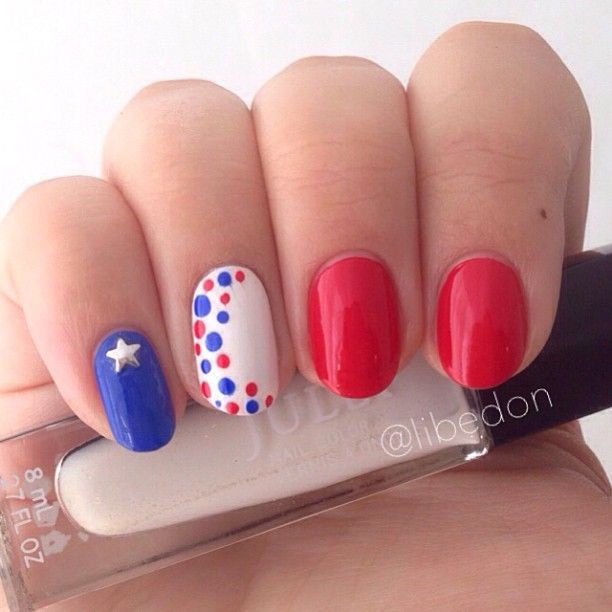
Oddly enough, but blue and blue can also be well combined with red. The idea of such an extravagant manicure came to us from America and has been popular for more than ten years. Amazing look volume applications, red jacket, rhinestones and moon manicure. If you want to make the design as bright as possible, then you need to choose the appropriate shades of these two colors.


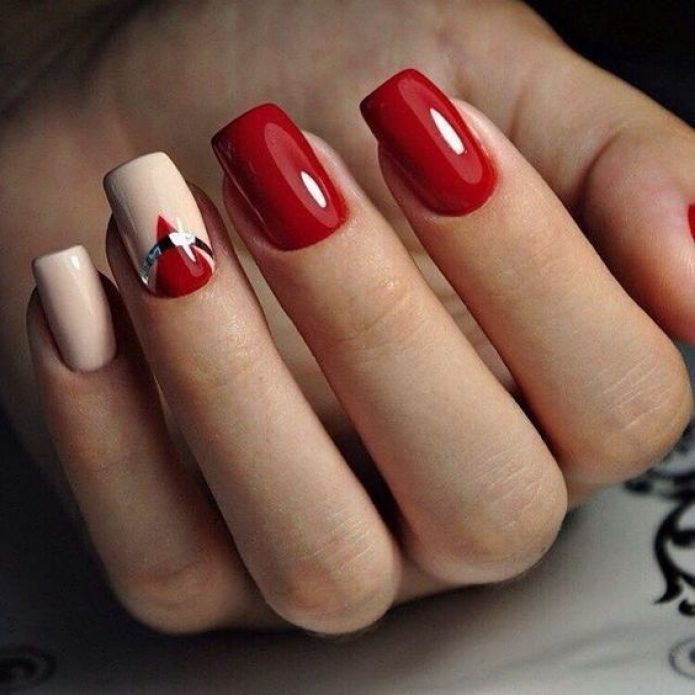
With a beige red manicure can also be made solemn, especially if you add to the image of gold jewelry. But it is worth remembering that in this case as the main one there will be a light shade, the ornament and patterns are better drawn with bright color.


It should be said that the combination of red with a different palette depends largely on the tone and the selected blackout. The basic scheme for selecting the perfect combination is based on the principle of muting and purity of tone. The most beneficial for this color can be considered:
- beige;
- white;
- brown;
- Gray;
- the black.


It looks more attractive with yellow or gold, green and even orange when it comes to warm contrast.
A natural combination of red and green involves the use of muted almond tones, for example, with brown or pale green added. The royal red looks good with the following tones:
- pea;
- olive;
- deciduous green;
- chartreuse.
Menthol and mint tones are often found in red manicure, because they can allow you to create an attractive tandem. One of its most interesting shades are:
- malachite;
- emerald;
- jade;
- neon green
Pink-red looks good with green, like avocado, brownish-green, swamp, almonds. Dark red should be combined with khaki, marsh or pea.


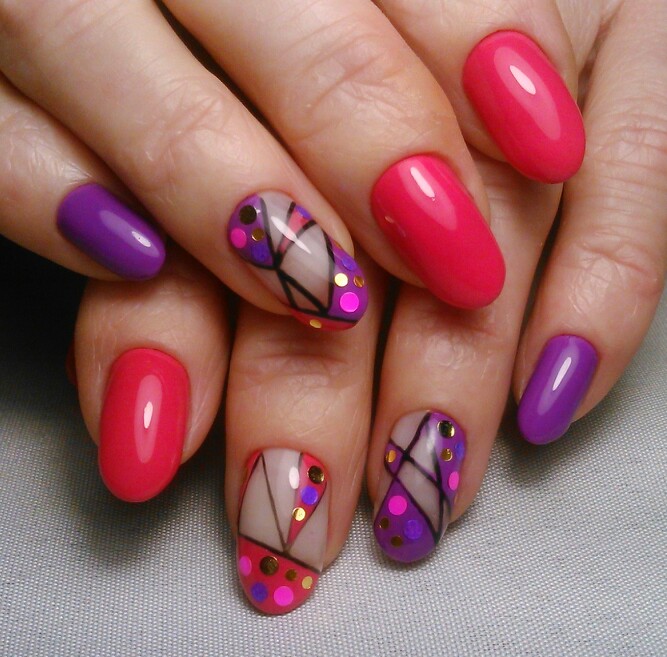
If you want to make a mysterious and alluring manicure, then you should use a combination of red with purple or lilac, which are related to it and harmoniously flow into one another.

Design
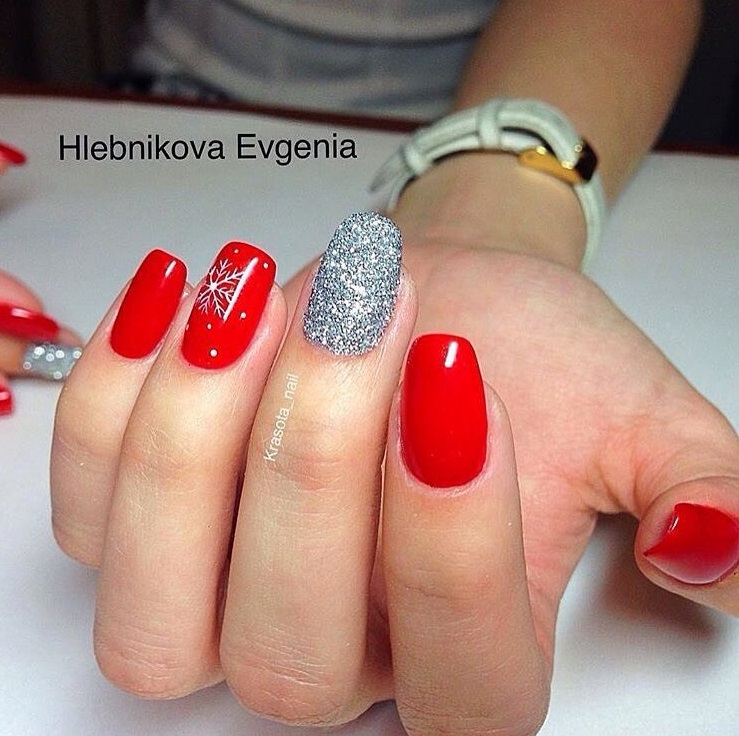
Manicure design in a red palette is a big topic of conversation. One of the most successful options is considered a lunar design, especially if you use a white, silver or gold palette. It looks interesting hole or jacket black glossy tone.

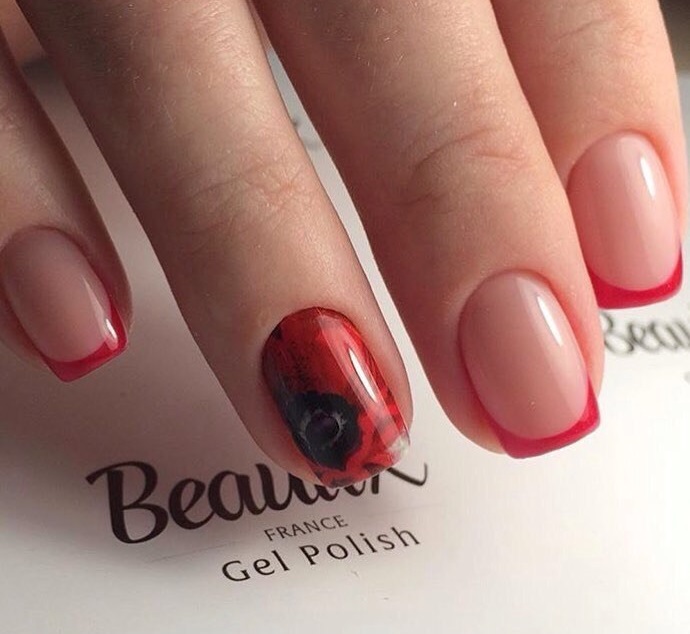
If you get bored with simple French manicure, you can dilute it with any shade of red. He will help create a festive image. Super popular trend of the new season - matte design, which can be achieved with a special varnish or matting coating.
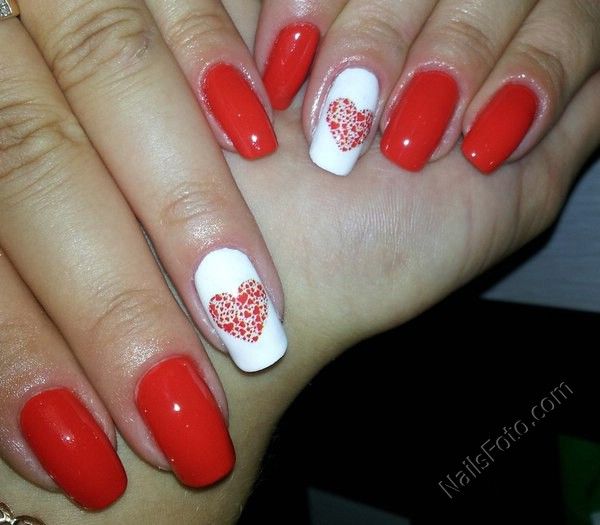
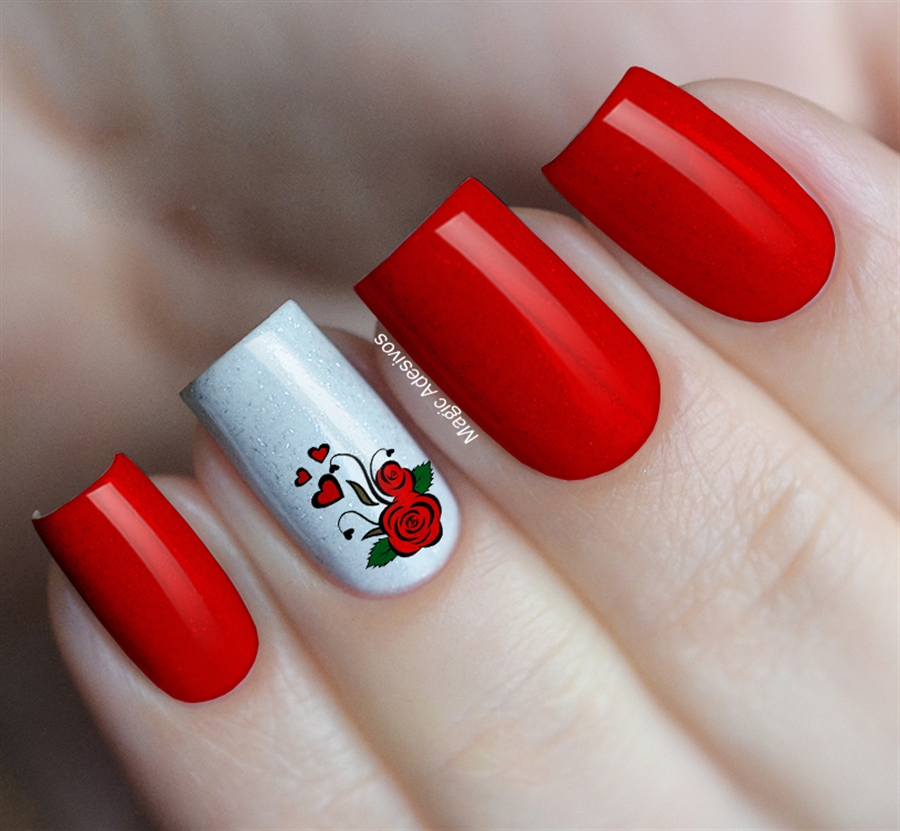
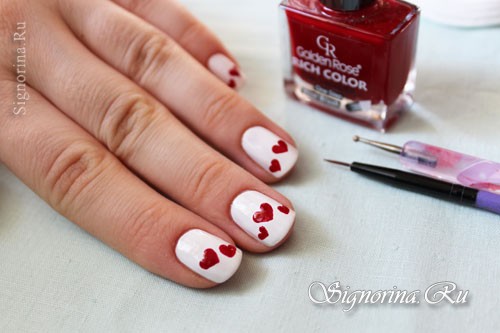
On any background, it looks good pattern with hearts. Despite the fact that this is a simple decoration option, in the hands of a manicure with patterns is just great. It is perfect for romantic nature.


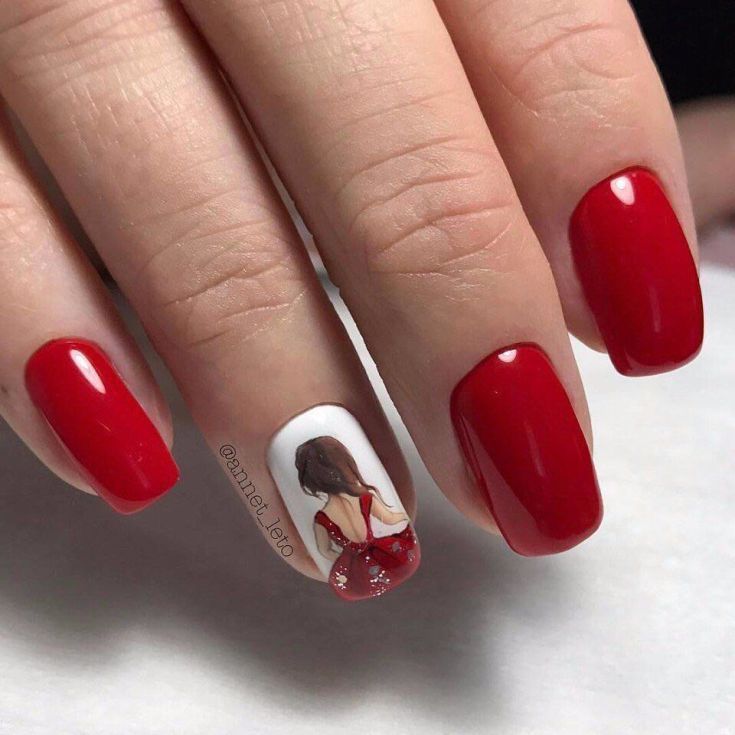
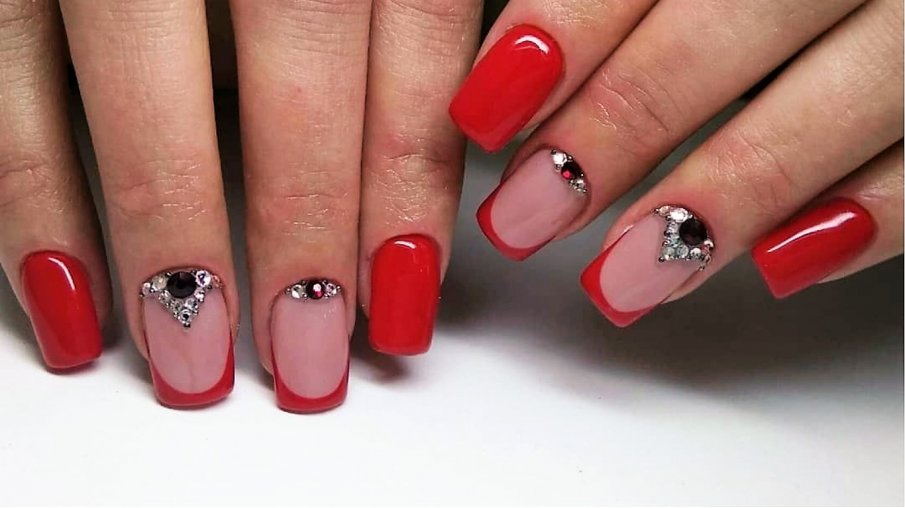
If you want severity, then use classic red with the addition of a small amount of rhinestones or a single image. Well dims the brightness of the color white, you can make a gradient or ombre.


A new, but no less interesting technique of applying a veil will help to bring nails in order. Edging can be drawn in red using a thin brush.I didn’t like this option and I want something bright, festive, then golden sand or sparkles help.


A glossy manicure looks good on any length, especially it suits short nails. You can make the surface of the mirror, using a rub.

Creating a seasonal manicure
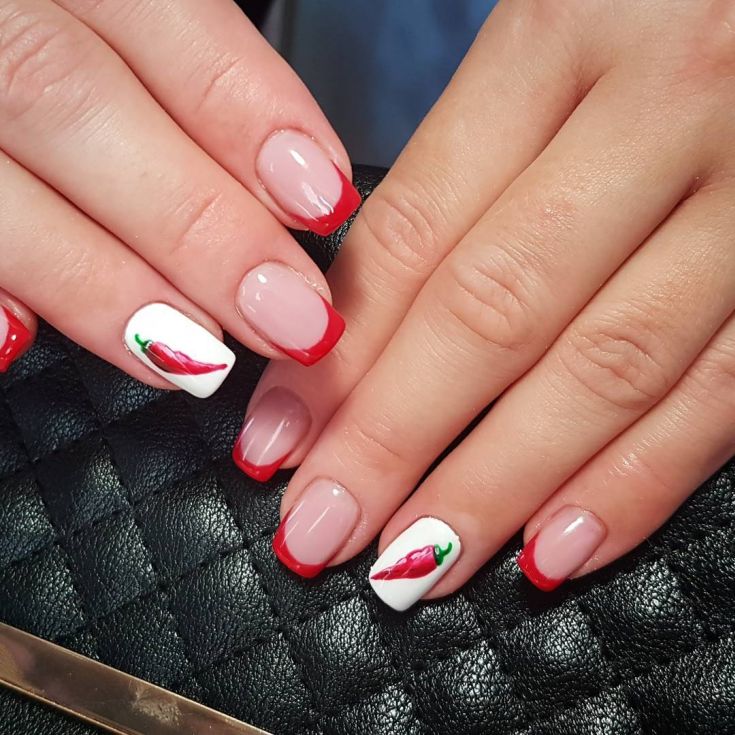
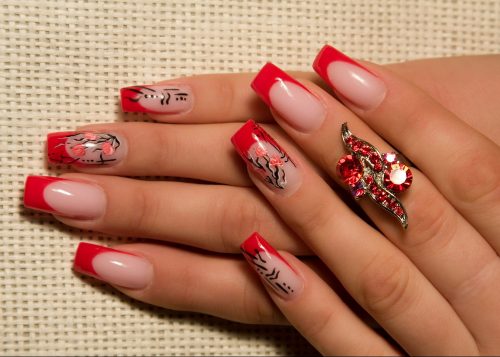
Summer nail design is distinguished by the brightness of colors, the saturation of colors, the predominance of flower arrangements. During this period, as in the spring, there is nothing better than arranging your nails in one of the tones of red. It is not necessary to make this color predominant, you can use large patterns. For the summer, you can simply make a red jacket, and under it cover the nail with a gradient.
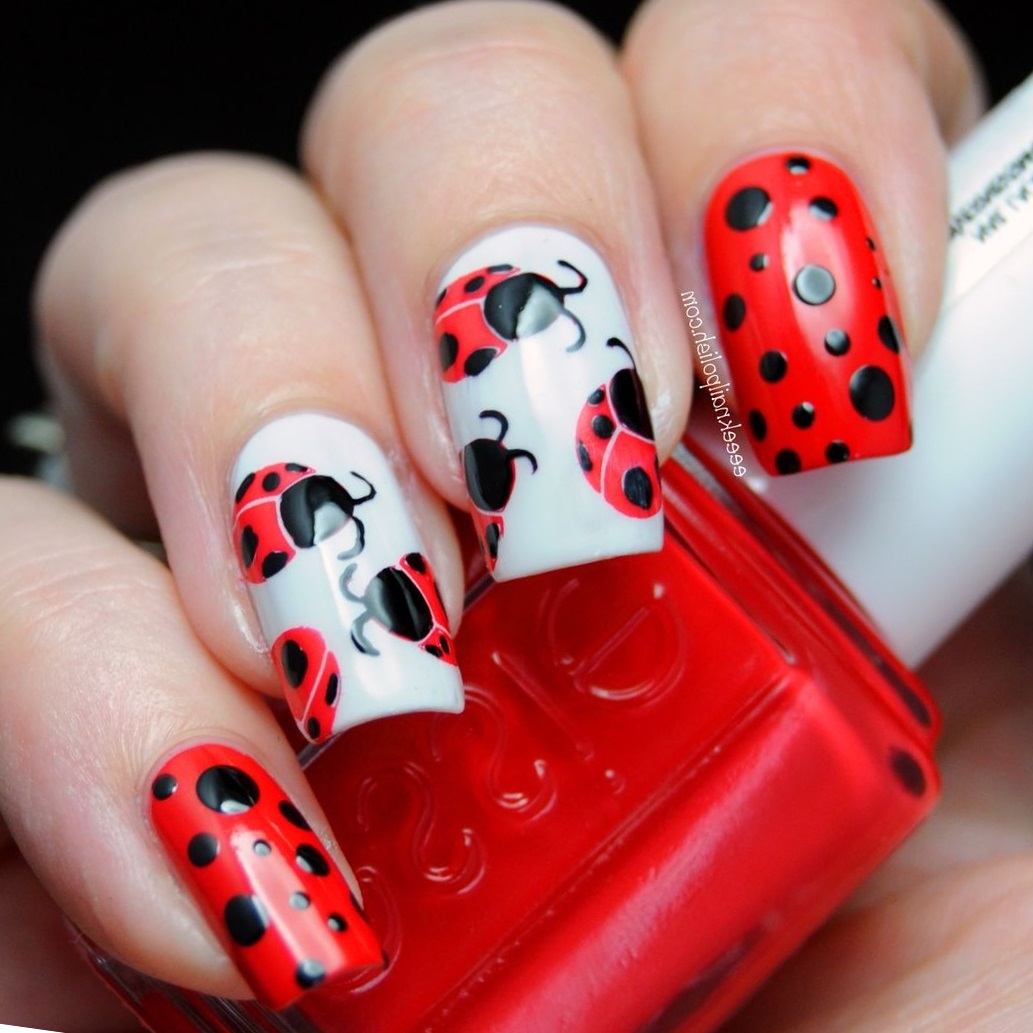
For example, effectively and unusually look on nails poppies. There are many options for how and where to locate them. Do not lose the popularity and ladybugs, they are suitable for girls bold and original.
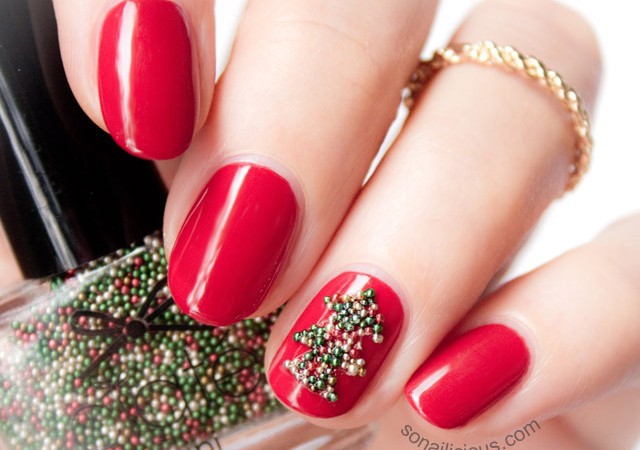
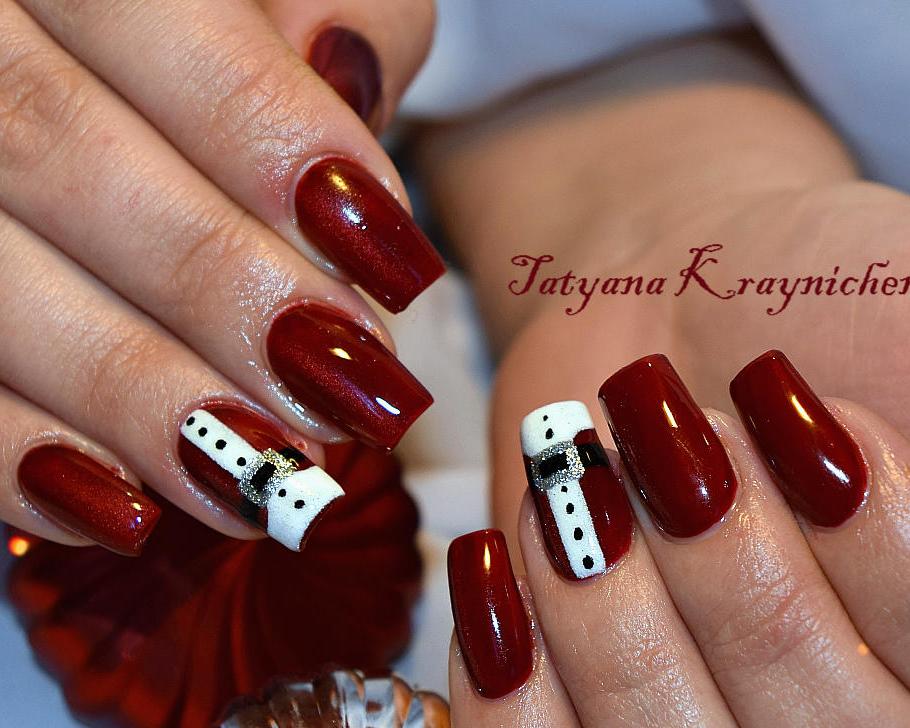
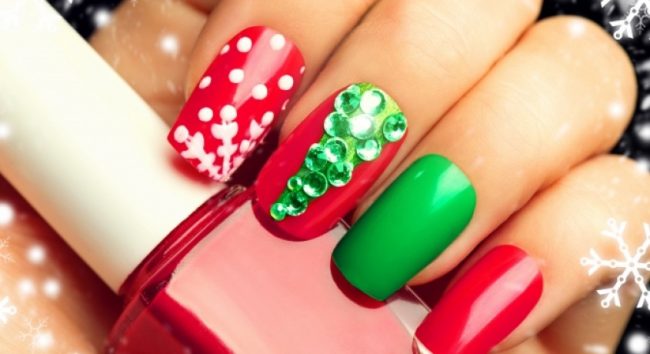
In winter, red lacquer can be a great idea for drawing Santa Claus, garlands or Christmas-tree decorations. In the fall it is an amazing and rich palette for the image of leaf fall.


Fashion ideas
The latest novelties of modern nail design - the use of fruit motifs. Looks unusual cherry, apples and berries. With a good drawing, they divert attention and make the usual manicure more interesting.


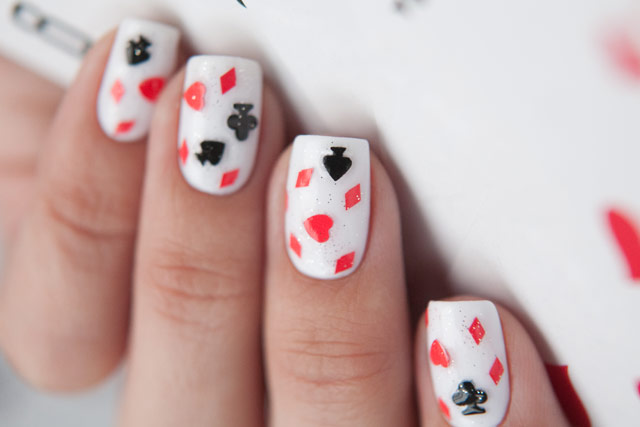
Only comes in fashion card themes. Symbols alternate among themselves, change, are located on the nail in different versions. The red and black version looks especially impressive and contrasting.


On a matte manicure, they increasingly began to make a lunar design with the continuation of a crescent down to the end of the nail. This gives the impression that a drop has fallen and is rolling down the plate.

On how to make a moon manicure, you will learn in the next video.


