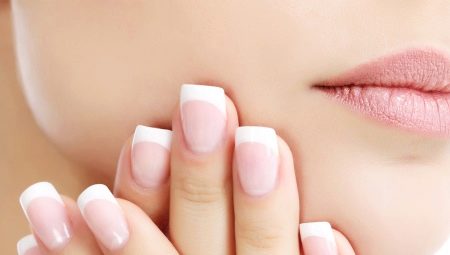
Every girl dreams of a perfect manicure. But sometimes the result is disappointing. And the color of the lacquer is suitable, and the manicure is executed perfectly, but something is not happy with the overall picture. The reason for this may be incorrectly chosen form of nails. The end result largely depends on it. Let's see how to find your form, as well as how to make it yourself.

Shape selection
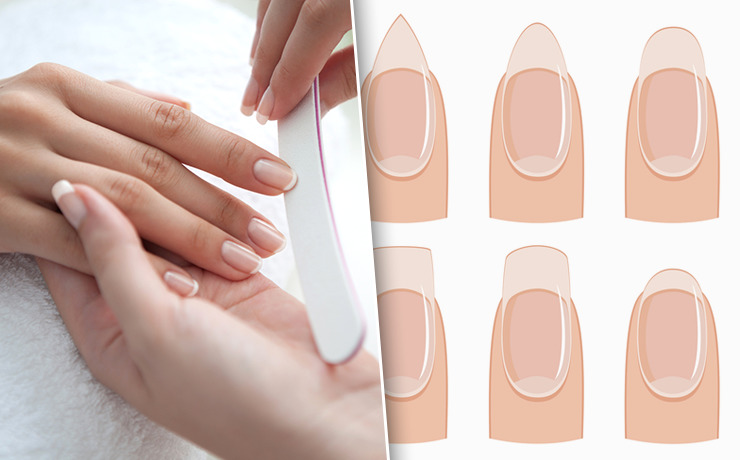
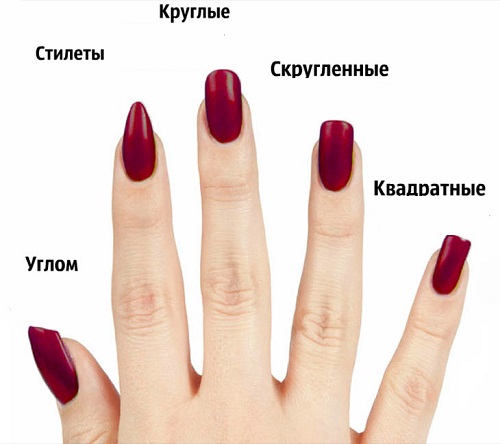
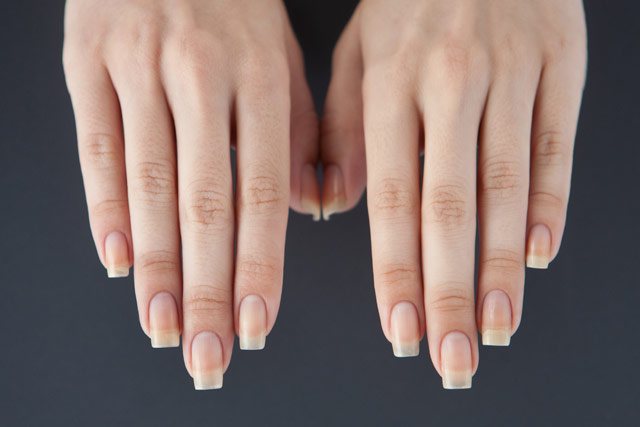
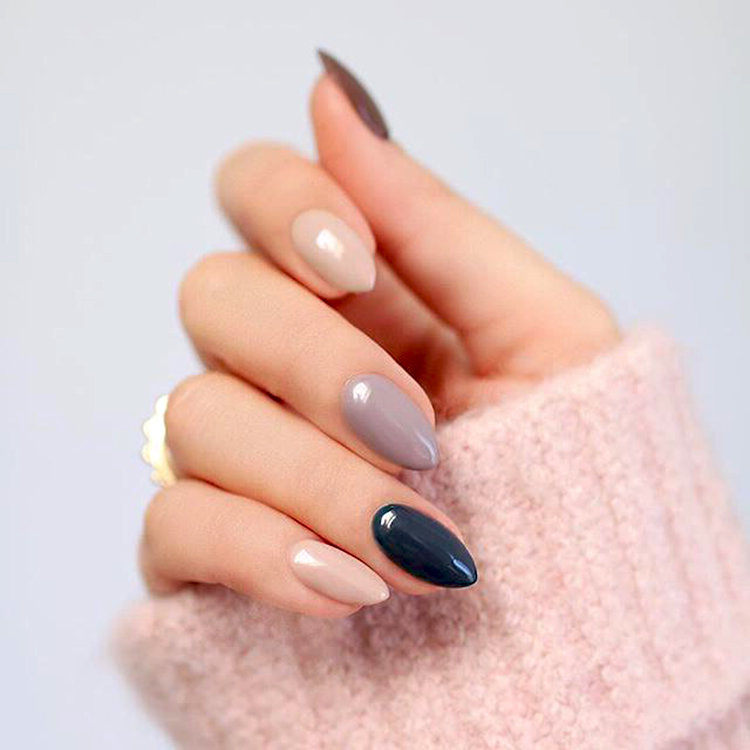
Previously, manicurists isolated only four basic forms. These were: square, triangle, oval and circle. Today the choice is much wider. Yes, some of them are very similar to each other, but still have the right to an independent name and existence. The choice of form depends on many factors. If you are in doubt what kind of shape suits you perfectly, look at the base of the nail. What shape does the cuticle have? It can be oval, and square, and even triangular. If you repeat its shape on the free edge, then the nails will look very organic.
You are very lucky if the cuticle is oval. There are practically no restrictions for choice. But do not forget about other features (completeness and length of the fingers). If the base is in the form of a square, then your ideal shape will be a square and a slightly rounded shape (soft square). Well and for owners of the triangular line of a cuticle it is necessary to choose the pointed forms (almonds, a stylet). A good way to determine if your chosen form suits you can be a special form or tips. Ask the wizard to simply attach it to the nail bed. So you clearly see the correctness of their own choice.

In addition to the above criteria, an experienced master takes into account the following nuances:
- whether the manicure is performed on natural nails, is used to cover shellac, or the nails will be increased;
- individual features of the structure of the hand and fingers are taken into account (are they naturally long and thin and plump and short);
- customer wish;
- compliance of the chosen form with the latest fashion trends.
The round shape of the nails will suit the owners of a short nail plate. If you try to repeat it on long nails, you may experience a feeling of rudeness and heaviness. For owners of thin long fingers and elongated marigolds, it is not necessary to choose the style of the stylet or another long sharp version. This visually lengthens the fingers, and they will become like a "spider legs." Same long and pointed at the end. The form of a soft or usual square will harmoniously look.
Acute forms such as the stylet or blade will perfectly complement the image of women with thin fingers, but with an average length of the nail. In this case, the visual lengthening will only benefit. Among other forms, you can also safely try on peak and almonds (the length should be more than the average). Take into account when choosing a particular form and the scope of their own employment. Since most professions in the modern world require working with a computer, it is worthwhile to take care of the ease of use of a manicure.
The ideal option is a soft square shape and an oval. Too sharpened shapes will slide off the keys or break off as a result of a constant blow to the keys.The classic square will also be unreliable, since sharp corners will cling and break off faster.

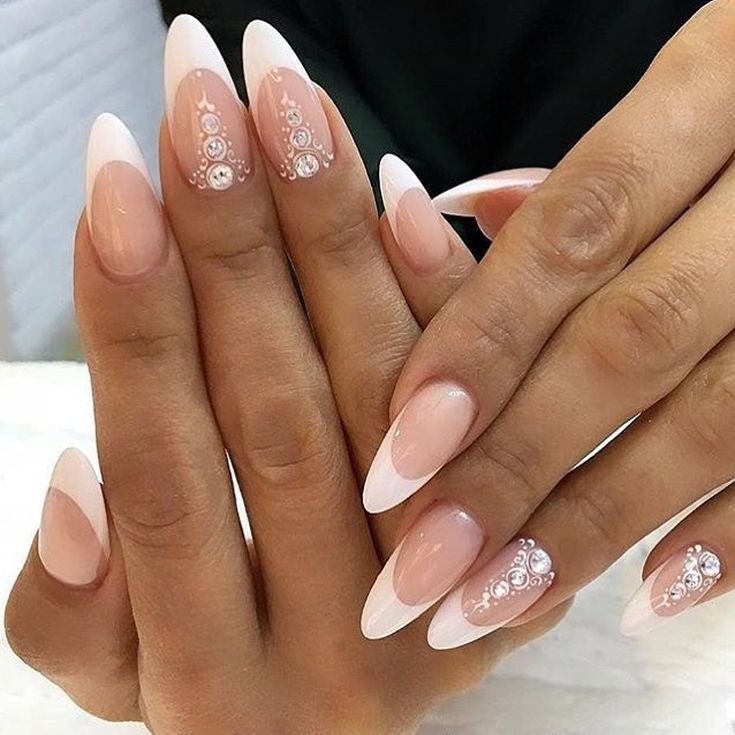
The actual shape of the almond looks perfect on the nail plate of medium length. The value of the free edge must be greater than the average. On short claws, the tapered shape and tapered towards the end will look ridiculous.
As for the unusual oblique shape (when the free edge has a pronounced bias in one direction), then it can be embodied on the extended nails. This option is quite vulnerable, so the nails must be very strong. The exoticness of this version of the manicure also requires a certain courage from its owner. Her choose bright nature, as well as impressive and extravagant ladies. In addition to these basic rules and criteria, do not forget about the personal preferences of the client. The choice in this case will be determined by temperament, personal preferences and your own idea of the beautiful.
Required Tools
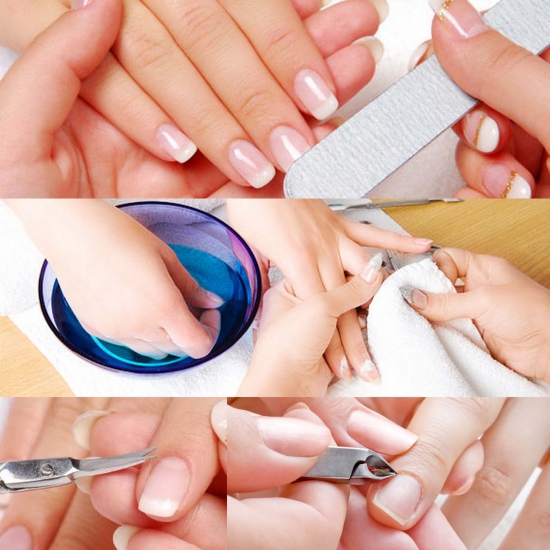
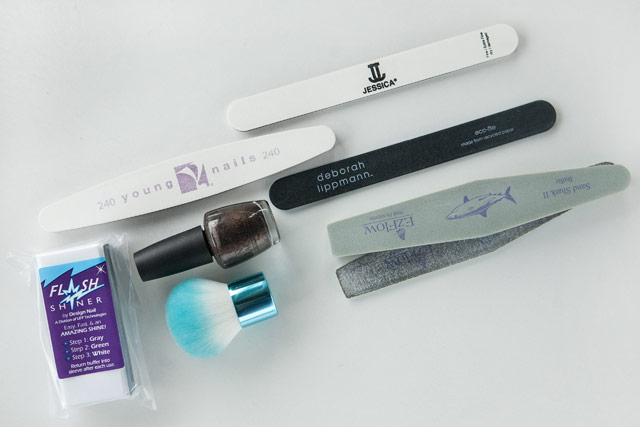
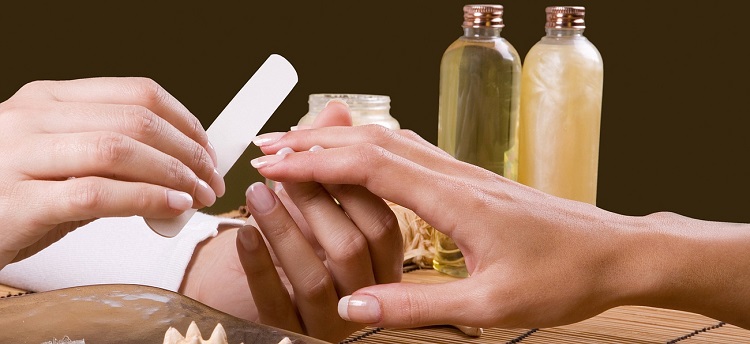
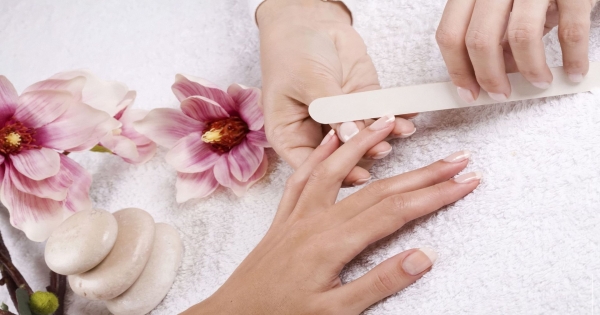
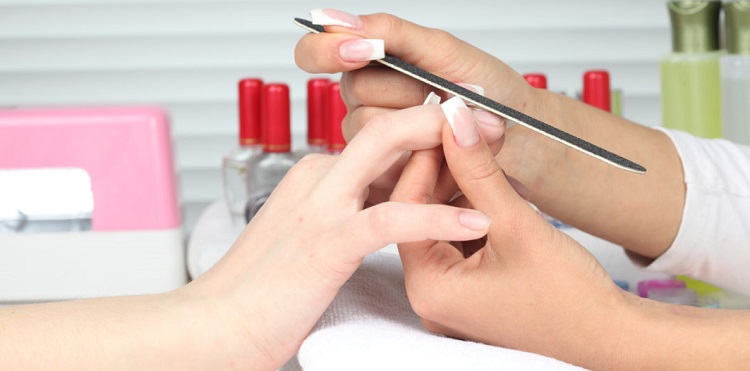
For a quality manicure you need a good tool. The real masters of their craft know about it and never save on it. Let's try to list the main items that you need.
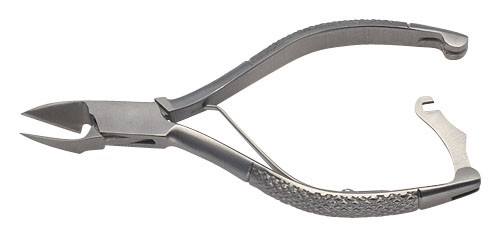
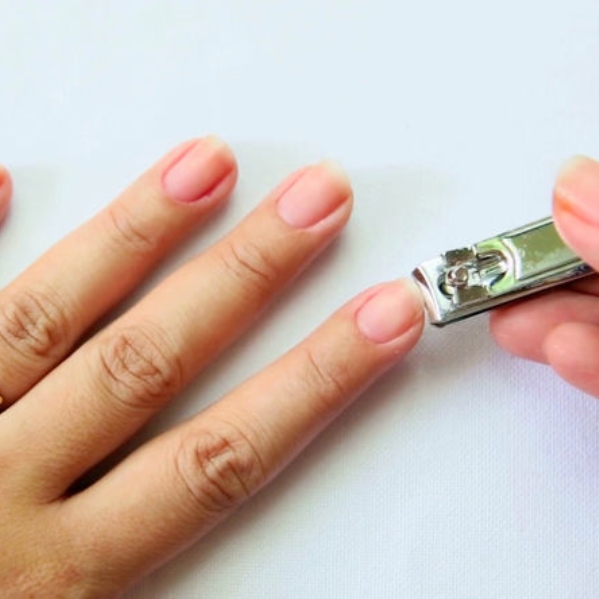
- Forceps. They are used to remove the cuticle, as well as other growths on the skin. This tool should be well sharpened to carefully cut off the cornified layer, and not tear it.
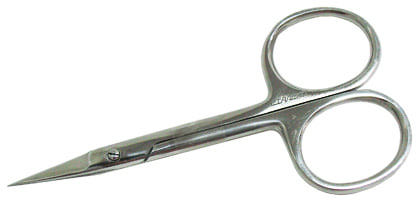
- Manicure scissors. Many people mistakenly use them to trim the free edge. But it is a rather gentle tool that will quickly deteriorate (blunt) when working with coarse materials (fingernail). They are needed to remove the cuticle along the growth line.
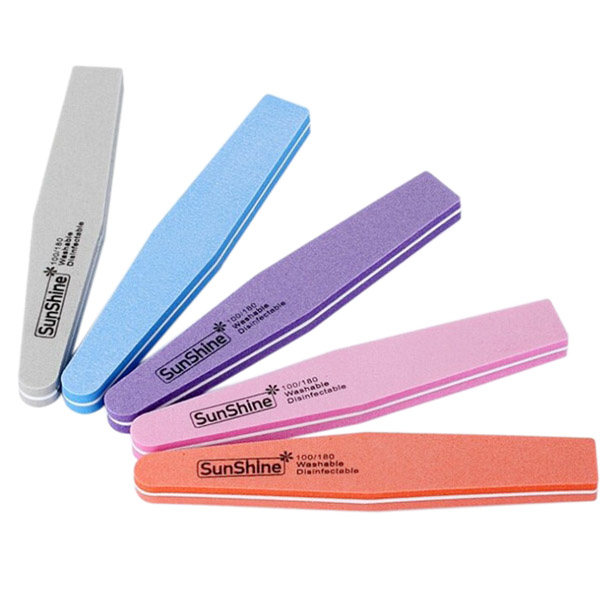
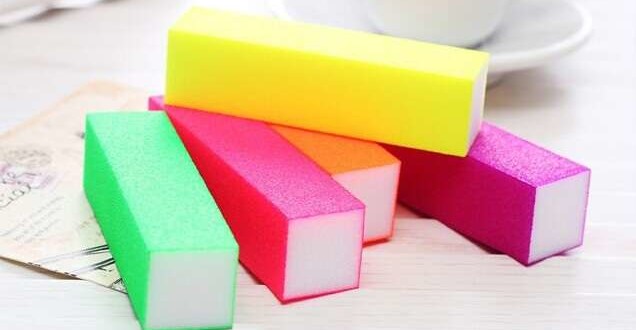
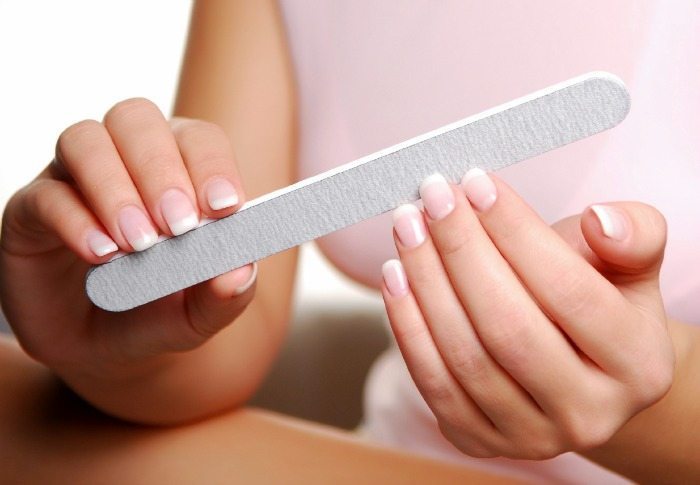
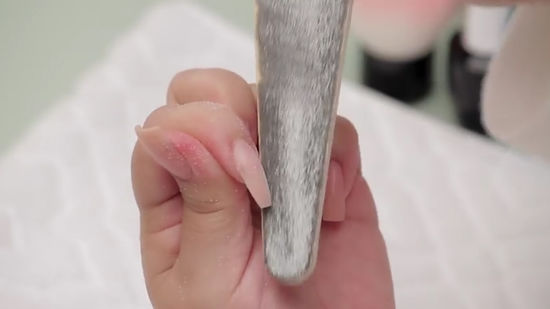
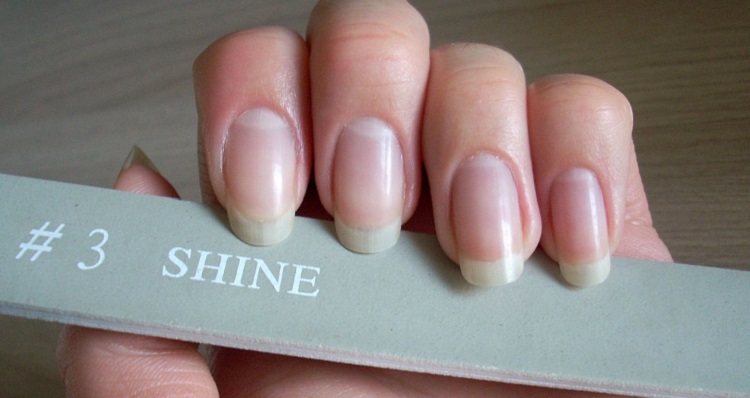
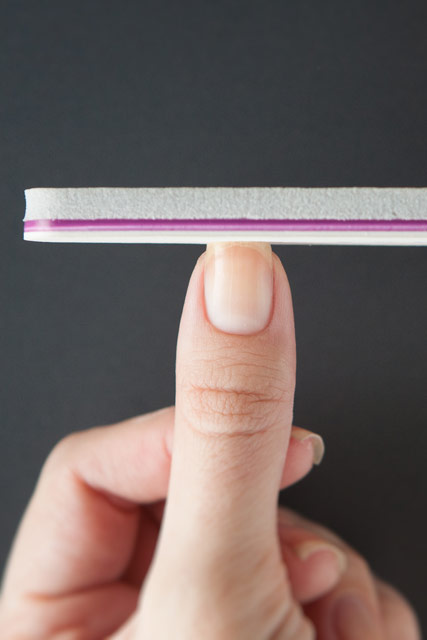
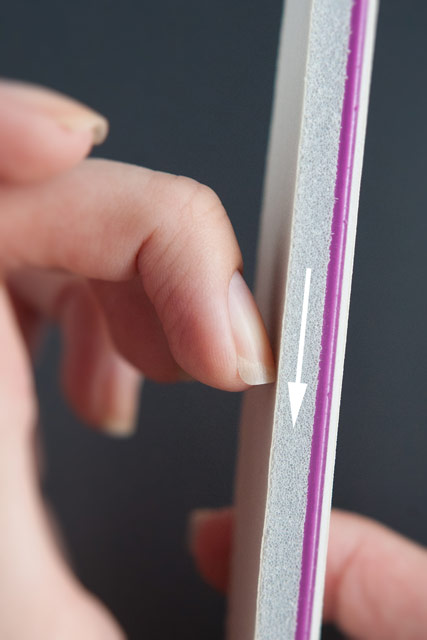
- File Ideally, you should have 3 nail files with varying degrees of hardness. The coarsest is used for extended nails. Softer for natural. They not only give the final shape, but also align the nail plate. The choice of production material depends on individual characteristics and preferences. Saws can be ceramic, glass or metal.
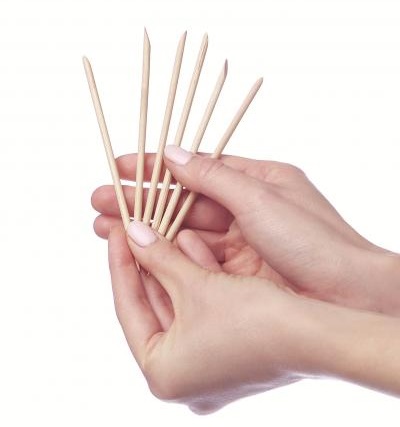
- Wooden stick It is necessary not only to remove dirt from under the nails, but also for the cuticle. It plays an especially important role if you are performing an unedged manicure. Then, with its help, the cuticle is not only set the shape, but also moves it to the desired distance.
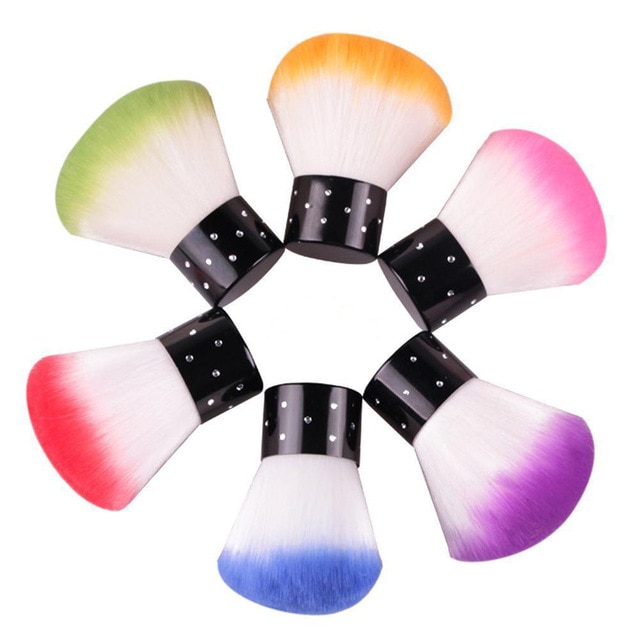
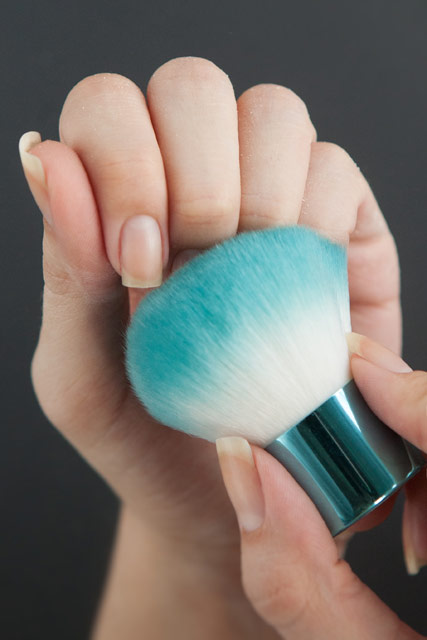
- Brush or large brush. With its help, you can easily remove dust from the hands and nails. Professionals have a special fan that sucks up even the smallest particles, but at home it will have to be content with a regular cloth to wipe dust.
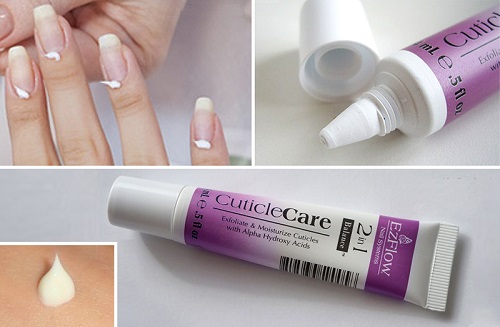
- Cuticle Cream. More and more masters refuse to steam up their hands in the bath before starting a manicure. To make the cuticle soft and pliable, they prefer to apply a special cream on it.
- Baf. It will be necessary at the final stage of preparing the nails. With it, you can easily polish the nails and make them smooth and even.
These are the main tools. But the masters of this list can be supplemented with such specialized devices as a grinder, desk lamp, fan vacuum cleaner, instruments for sterilizing tools, UV lamp, various brushes and trimmers, tweezers, pushers and more.
Preparation for the procedure
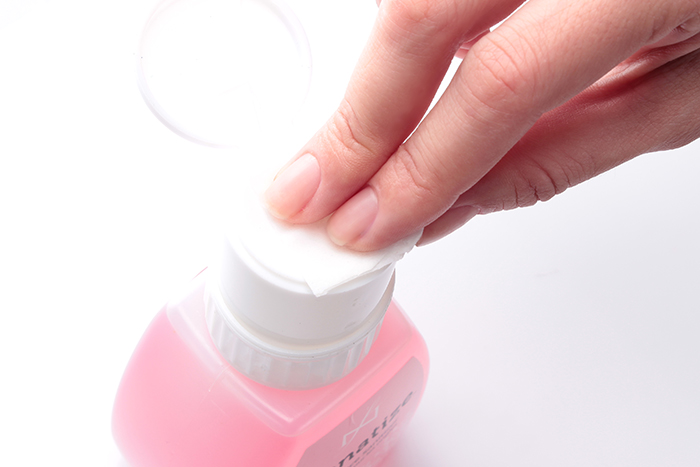
First of all, you need to prepare the nails, and only then give them the desired shape. To do this, it is enough to make a manicure in the usual way for you If there is a special tool available, then make a hardware manicure, otherwise you can make a classic cut manicure.
Prepare all the necessary tools that will be needed during the procedure. This will save you from the hustle and bustle of finding the right file or tweezers in the process. Proceed to manicure only if you are sure that you have enough time in stock. A hastily made manicure (or not at all) will look untidy and will quickly become worthless.Another important point that we have already mentioned is good lighting. If there is no special lamp available, then perform the procedure in daylight near the window.
Basic rules when creating a form
As we have already explained above, the choice of the shape of the free edge depends largely on the natural design of the nail plate and the individual characteristics of the structure of the brush. But a skilled master is able to transform even the most ordinary-looking marigolds and give them the perfect shape. At the same time, natural defects can be compensated or hidden by strengthening the nail with a gel or design.
But there are immutable rules that are worth adhering to if you want to create a beautiful and neat manicure at home. The main thing is to act step by step and not skip the stages of creation. After all, if you, for example, skip the degreasing stage, the decorative coating will not hold well, and the manicure will soon become useless.
So, here are the basic tenets that masters use when creating a manicure.
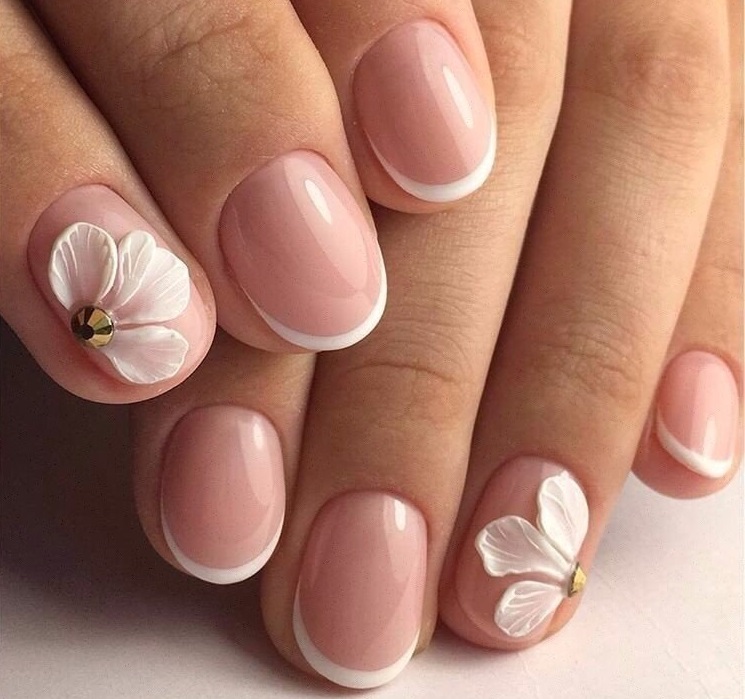
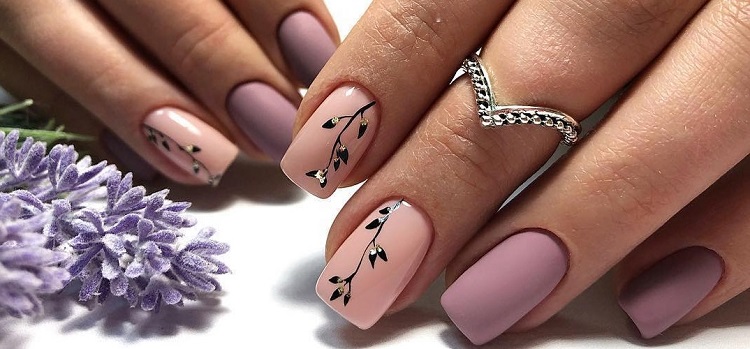
- Manicure will look organic, if all the marigolds have the same shape. Today you can meet women of fashion who specifically focus on one or two nails, giving them a different shape of the free edge. But this is the exception rather than the rule. Such a choice is supported by a specific design.
- Same length. It is often possible to find a situation where a girl broke one of the already grown off nails, but does not want to equalize everything under him. In the end, she leaves it short and the rest long. This will not give beauty and sophistication, on the contrary, it will look ridiculous. Here there are only two ways: either trim the remaining nails to the minimum length, or increase the broken nail. Only so your manicure will be aesthetic. Do not think that the length of the nail is the main indicator of beauty.
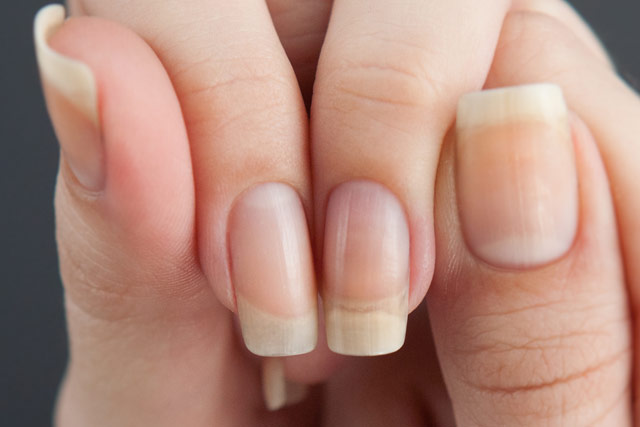
- Determine the length of the nail correctly. Each nail has its own size, so it’s wrong to focus only on the length of the free edge. After all, if you make the same length of the free edge for the middle finger and little finger, then in the end they will look different. Measure the length from the lowest point of the cuticle to the tip of the nail (inclusive).
- To correctly determine the shape and length, use one finger as a reference. This will be the length of the nail bed, which is more than the others. Only a little finger can be less than the rest by 3-4 mm (the thumb is either equal or more than 1 mm). Nameless, index and middle simply must be of equal length in order for the manicure to look organic.
- Another rule is targeting the final result. In your head there should be a clear picture of what shape the nails will eventually be. This will help to conduct sawdust in the right direction.
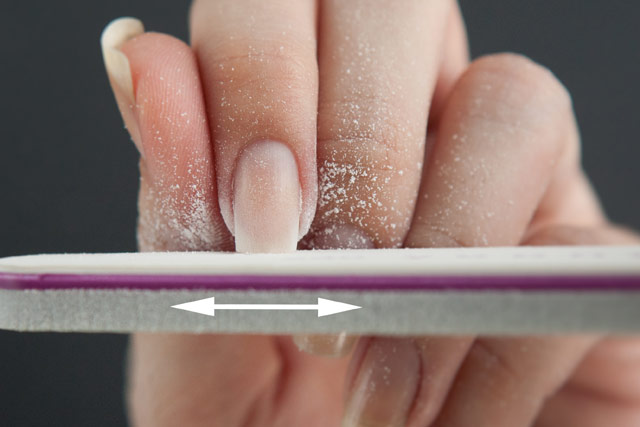
- Do not hurry. This is important not only so that you do not miss important points and do not miss the shortcomings, but also for the nail itself. If you carry out the sawdust is very intense, you can damage the nail plate. As a result, it will begin to exfoliate.
- Provide yourself with good lighting. The ideal option would be a desk lamp, which can be directed in the right direction and at the right angle. These are used in beauty salons. It is important for the master to see each nail and its smallest details.
Performance technique
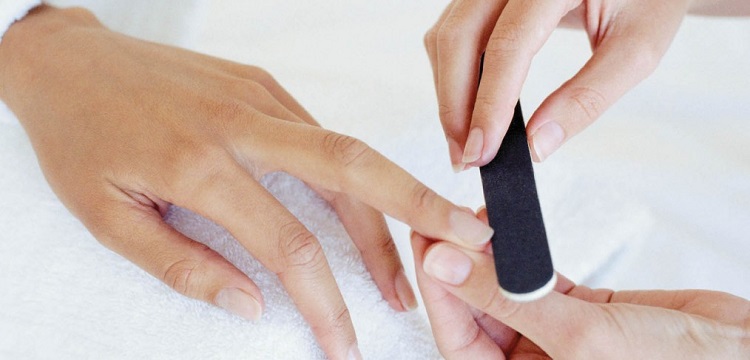
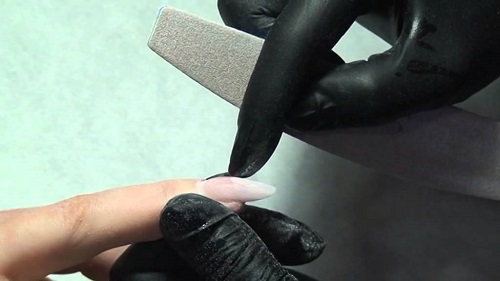
Masters of nail design shape the nails with a nail file. Its abrasiveness depends on whether a manicure is made on natural or extended nails. As for the technique of execution, then for each form there is its own method. Moreover, even the same form can be cut by different masters according to their own script. Let us examine the main types of forms and technology of their creation.
Round
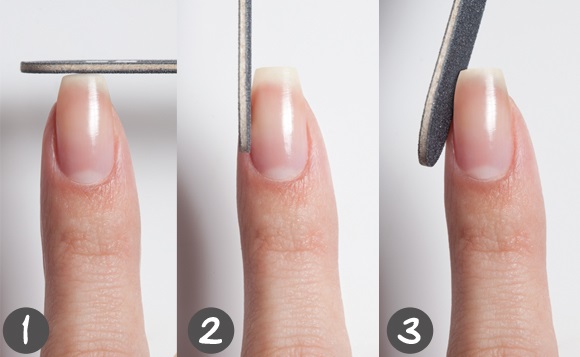
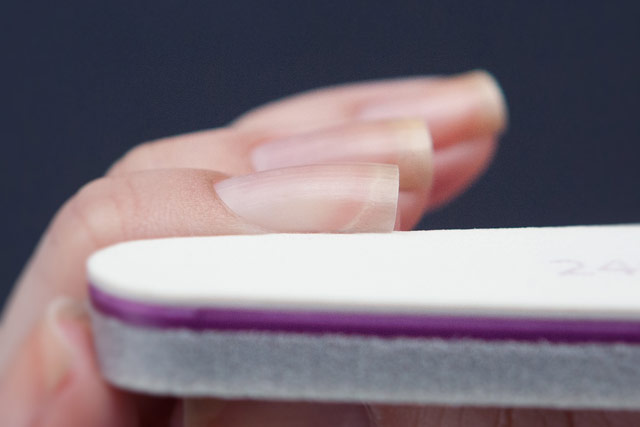
One of the most natural and concise forms. If you do everything correctly, the shape of the free edge will repeat the shape of a finger. This form looks perfect on short legs.Saw all nails to the same length at a right angle. You get the right square. It is from this form that the easiest way to create a circle with an ideal length and inclination. Now, moving from the center to the sides, start cutting sharp corners along the edges.
Make sure that the rounding does not turn into a narrowing of the nail. Moving from finger to finger, compare the results and adjust as necessary.


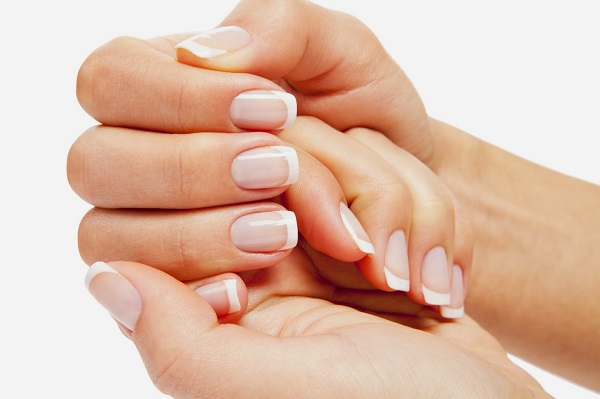
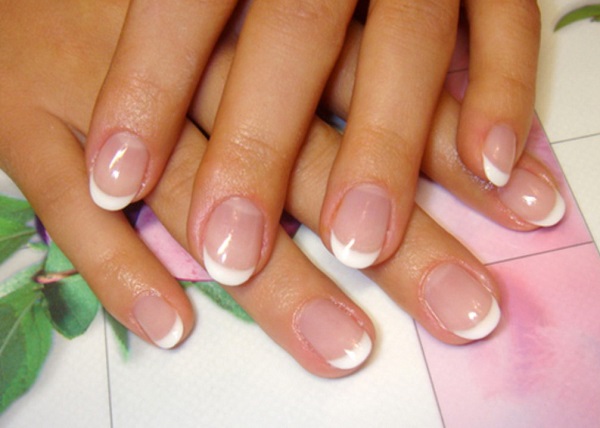
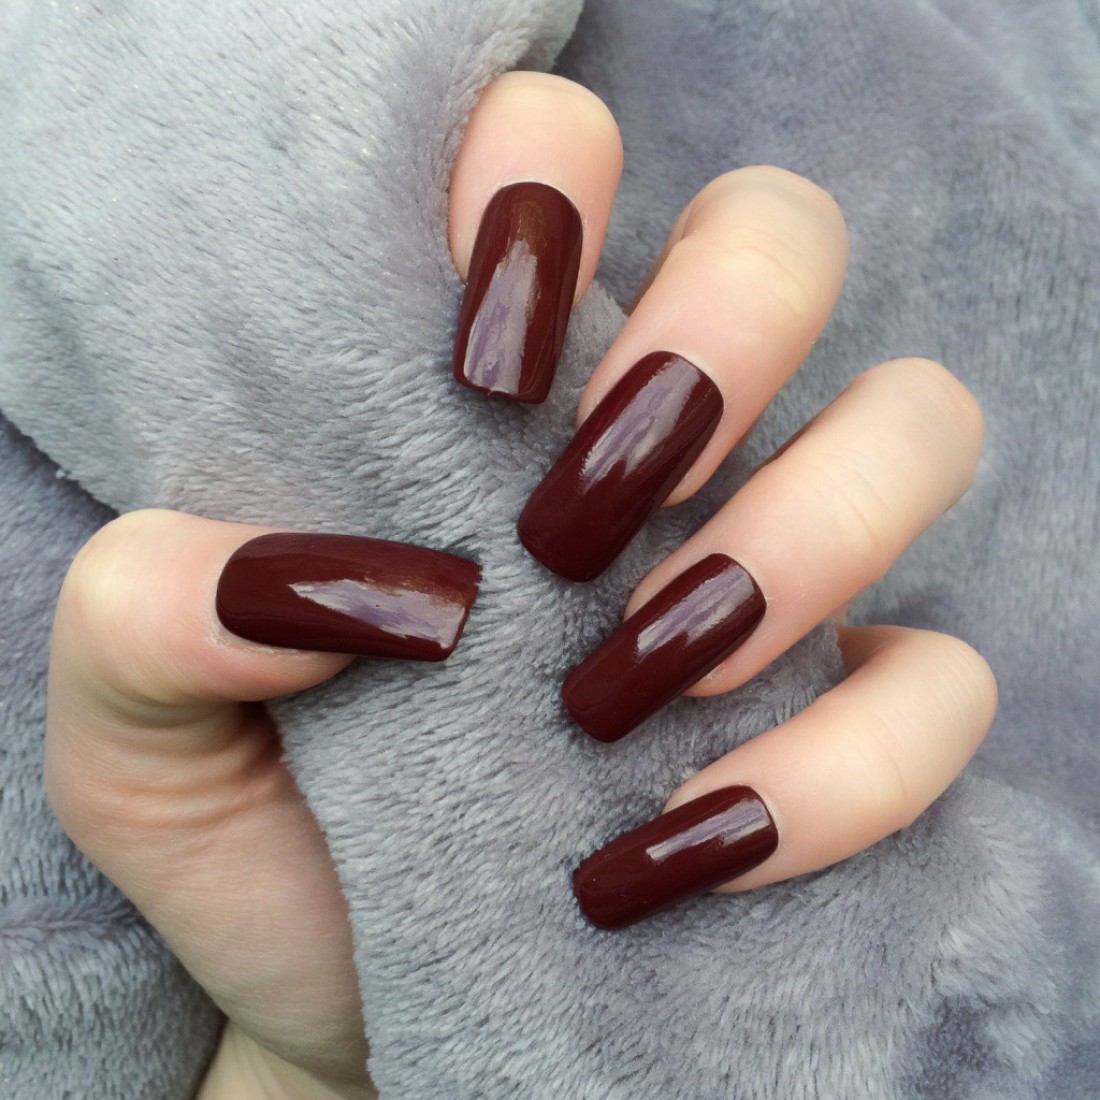
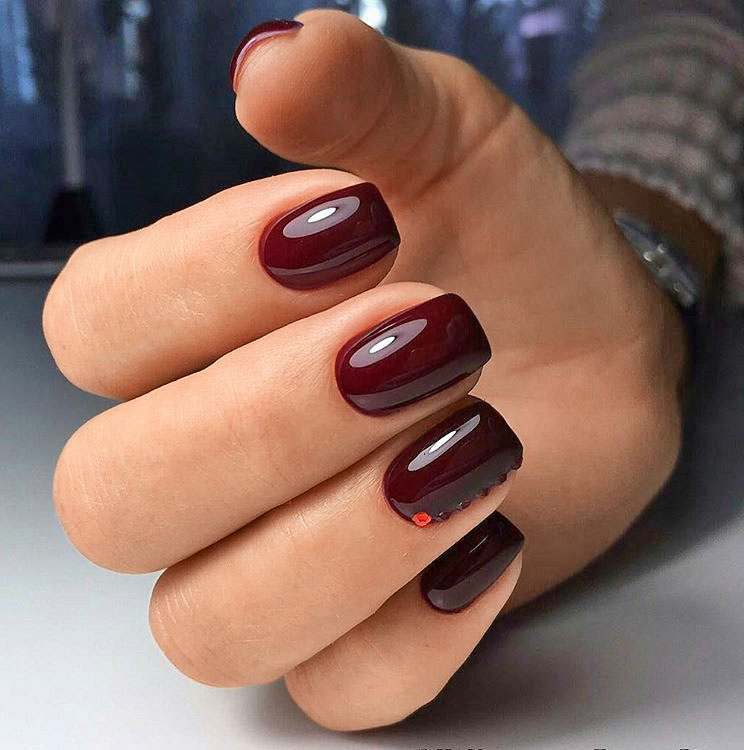
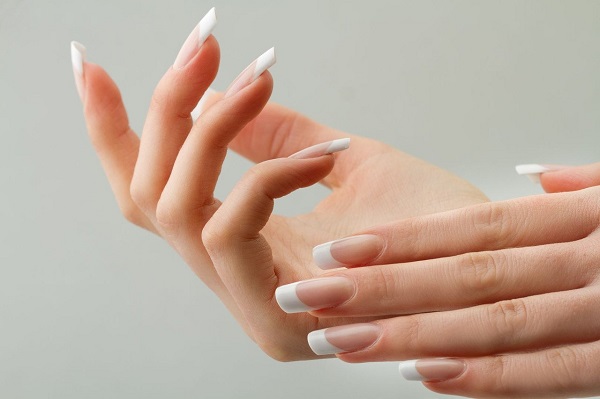
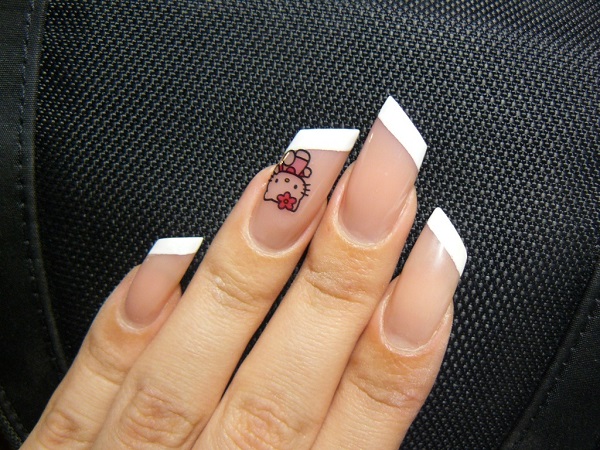
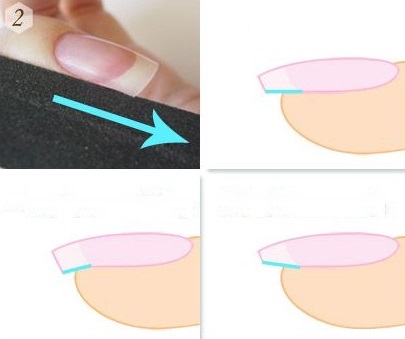
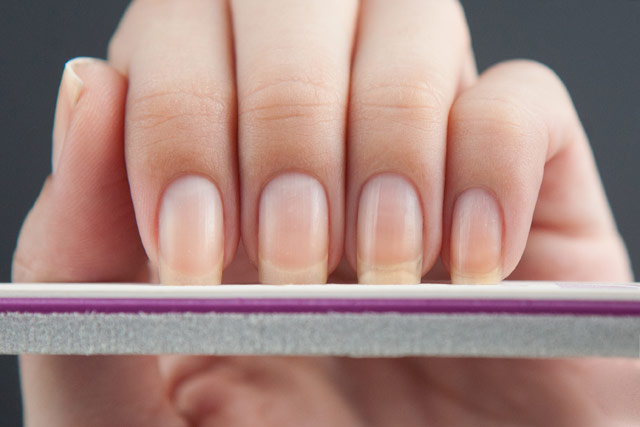
Square and soft square
If the nails have different lengths, then they must be leveled to begin with. It may also be difficult if you had a pointed form before. Cut edges will not create the correct square. Here you can advise either to choose the minimum length, or to give preference to a soft square with rounded edges. Sawdust is made at right angles. The edges should have a clear parallel to each other, that is, not even the slightest bias in one direction or the other is allowed. All this will be seen.
For a rectangular shape, the corners can be left fairly sharp. This is especially true for long marigolds. If you prefer medium or small length, it is better to make a soft square. To do this, just cut a little sharp edges, keeping a flat line on the main cut.
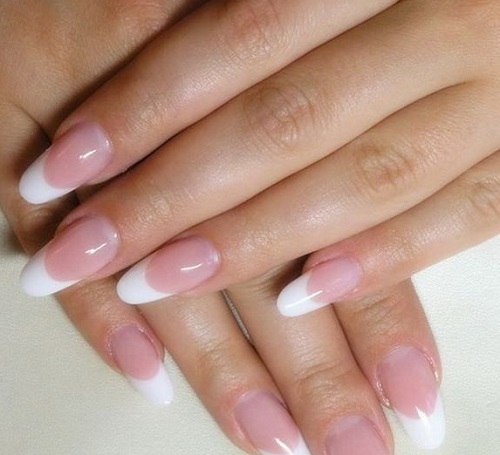
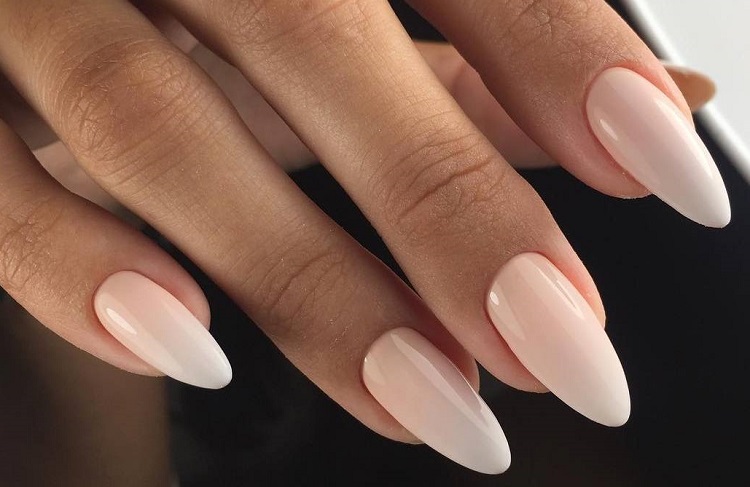
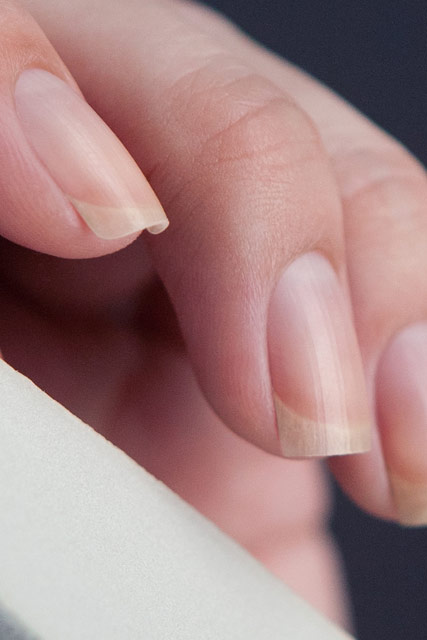
Almond
Oddly enough, but this form is also cut out of the square. Act as described above. The main task at this stage is to cut the correct square. Next, begin to file a nail at a slight angle. At the end you have a rather sharp tip. Its shape is adjusted at the last stage, rounding to the desired value. You can start creating almond shapes and not resorting to intermediate square shape, but this is much more difficult. After all, you will need to adjust the length and tilt, and clearly adhere to the center line so that there is no skew to one side.
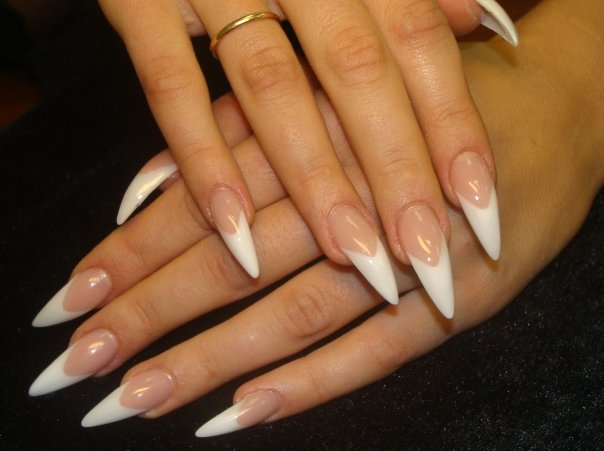
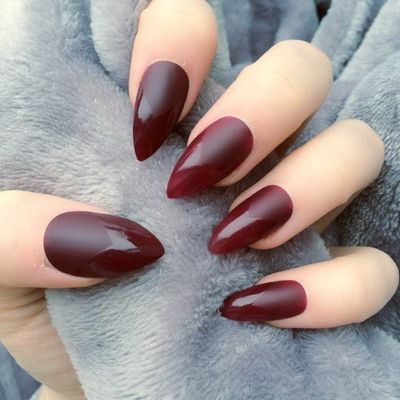
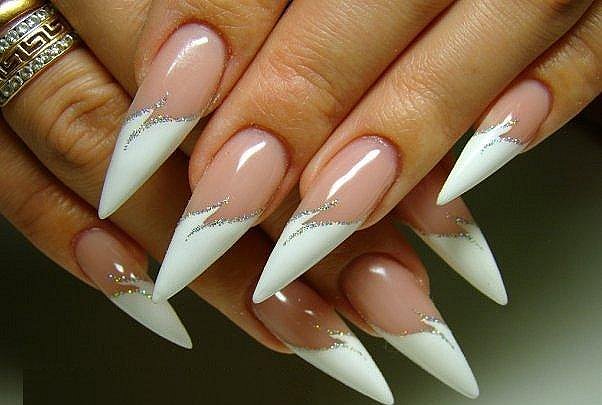
Stiletto (pointed marigolds)
Pointed marigolds, which are often referred to as “feline”, require quite an impressive length of the free edge. To create such an exquisite shape on short nails does not make sense (and it is impossible). The basic rule of shaping the stylet of the nail will be the correct definition of the central highest point of the nail. When you saw off all the nails to the desired length, you can begin to create a pointed shape. To do this, you need to move from the middle to the edges. Do not rush, otherwise you risk cutting too much. As a result, you should get a form with narrowed edges, leaving a sharp tip. The smoother the transition from the smile line to the edge, the more organic the manicure will look.
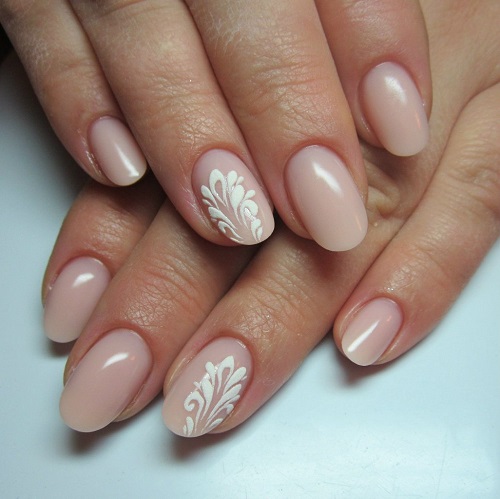
Oval
There are no special secrets and difficulties. One has only to adhere to the unshakable rule of a short nail. That is, the length is determined by the size of the shortest of the marigolds. When the size of all the nails will be adjusted, you can start cutting out the form itself. To do this, move from the center at the edges, creating a smooth arc (or oval). At the highest point of the nail should not be tapering, but a long straight line should also not be.
Correction of the nail plate
In addition to correcting the shape of the free edge, it is sometimes necessary to change the nail plate itself. The fact is that not all nature endowed with a beautiful bend and the correct structure. The most affordable way to change the nail plate and set the correct growth path is building up. It should be noted that the procedure must be performed by a professional. Only he can do his job well and provide the necessary correction.
The effect of correction in this case comes due to the rigid fixation of your nail in a certain position. Gel or acrylic just will not let it grow in the usual direction. Additionally used and arch modeling.

With it, set the desired bend. As a result, the nails have the correct shape. Its change takes time to nail accustomed to grow in a given direction.But no one forbids at the time to get rid of extended nails, so that their little rested.
In addition, on the feet often use special tools from the ingrown nail and the correction plate. These are braces and surgical steel. With it, the edges are raised and fixed. With prolonged wear, the shape and growth trajectory is corrected. In many ways, this is similar to the brackets that are mounted on the teeth.
Tips masters
Use the advice of professionals.
- Dry surface. The surface of the nail before the procedure should be dry. This rule is especially relevant if you apply steaming. To create the correct shape, it is necessary that the nail is well dried out, as its shape may slightly change under the influence of hot water.
- Do not saw too much. If the nail already has the desired length and shape, then you should not additionally expose it to mechanical stress. Walk along the surface of the nail plate with a buff to polish it. The same procedure should be done with a cut of the free edge. This will prevent delamination and breakage in the future.
- The use of quality materials. If you do not have the opportunity to purchase everything you need, it is better to contact the salon. After all, using materials and tools of poor quality, you risk only harm yourself. In the future, the correction of such errors will take much more time and money. Masters choose expensive quality materials not only because of their practicality, but also safety.
- The frequency of the procedure. Do not forget to do a manicure on time. If you prefer dyeing natural marigold varnish, then the procedure will have to be quite often. When using shellac or build-up, operation time is extended. But even in this case, you will have to update it every 3-4 weeks, since your nails will grow back.
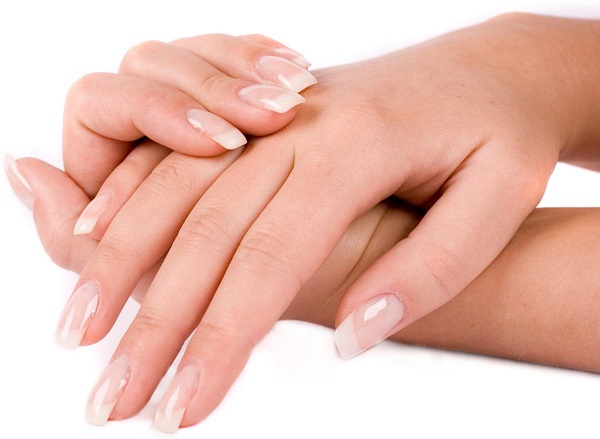
Beautiful manicure can be created both in the salon and at home. One has only to follow certain rules and use quality materials. Do not worry if you do not succeed the first time. After all, experience is also of great importance. It should be a little practice, then you will get very neat and beautiful.
On how to properly shape the nails, see the following video.


