
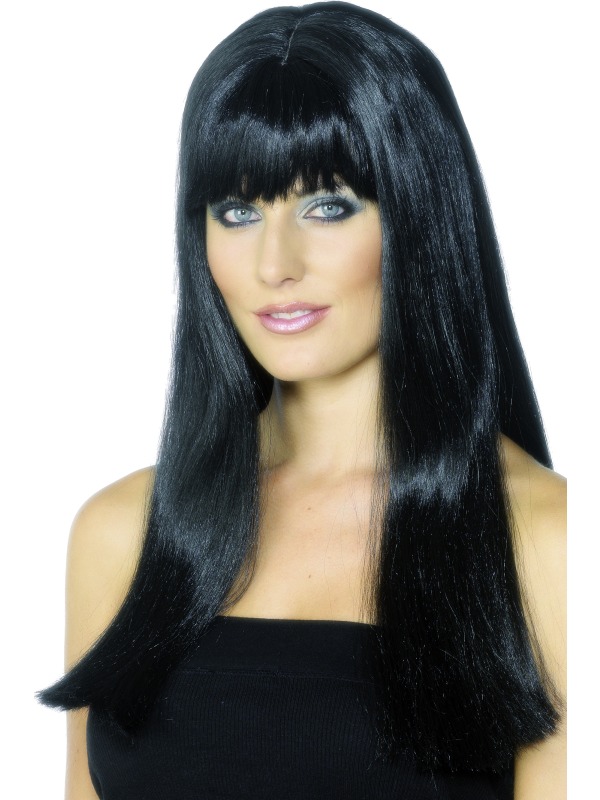
In the history of fashion wigs appeared with the advent of civilization. They were used by the beauties of the ancient Egyptian state and Babylon. However, it could only be worn by representatives of the government, emphasizing its authority and strength. Today the wig is widely available. For a fairly affordable price, you can buy it at any professional hair store or make it yourself at home.
Necessary tools and materials
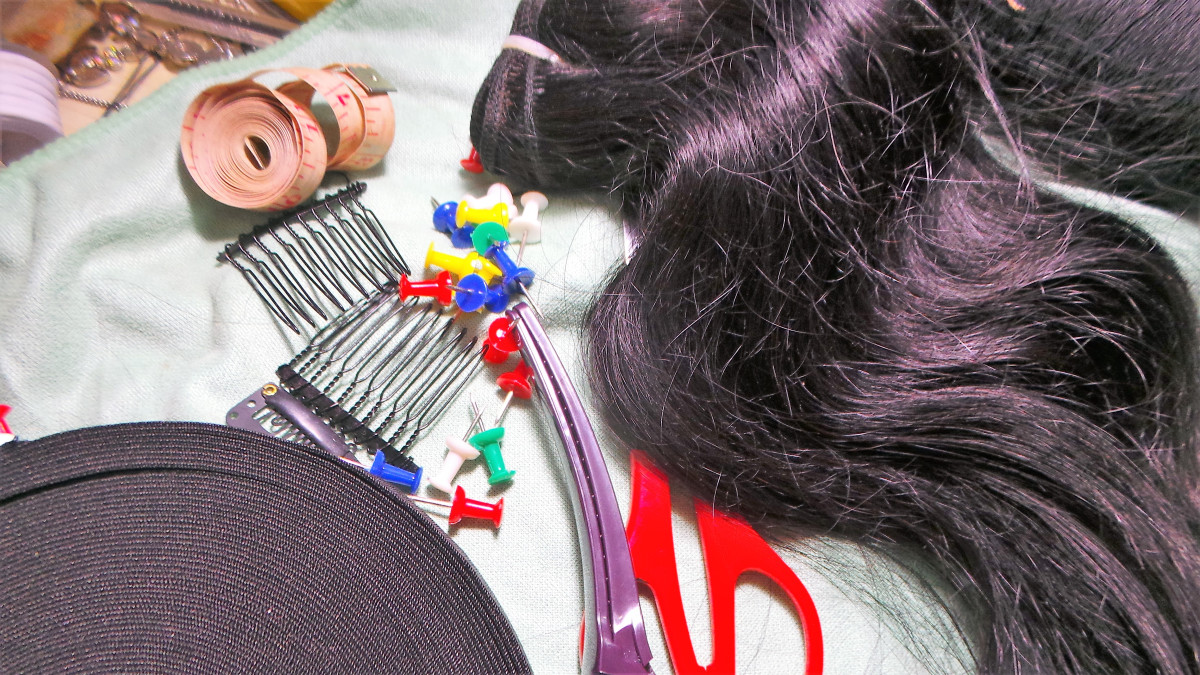
Before any business, it is advisable to prepare in advance all the necessary tools and materials, which will not only optimize the work, but also relieve from unnecessary worries associated with finding the necessary subject. So, for self-manufacturing wig need to acquire the following items, many of which can be found at home:
- tape measure;
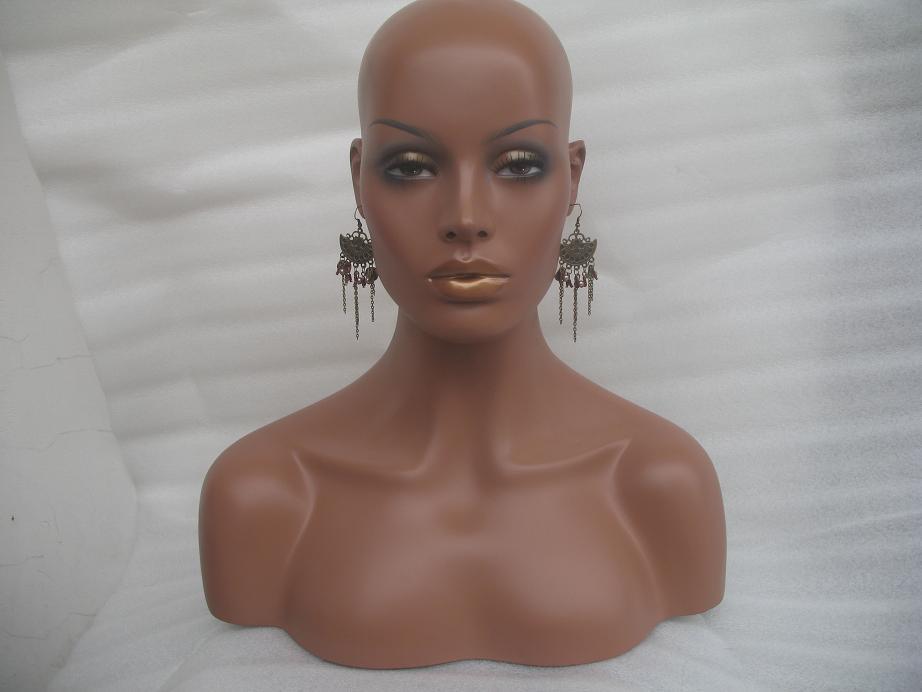
- dummy head;
- cotton ribbons;
- carnations;
- hammer;
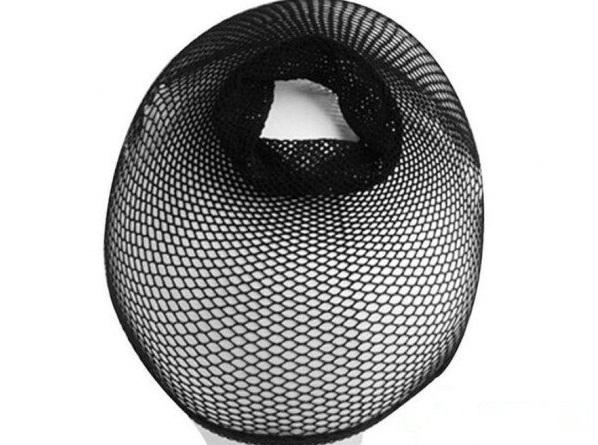
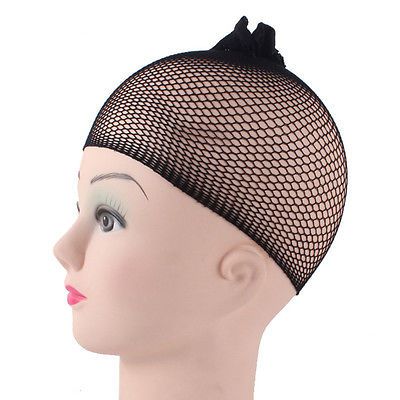
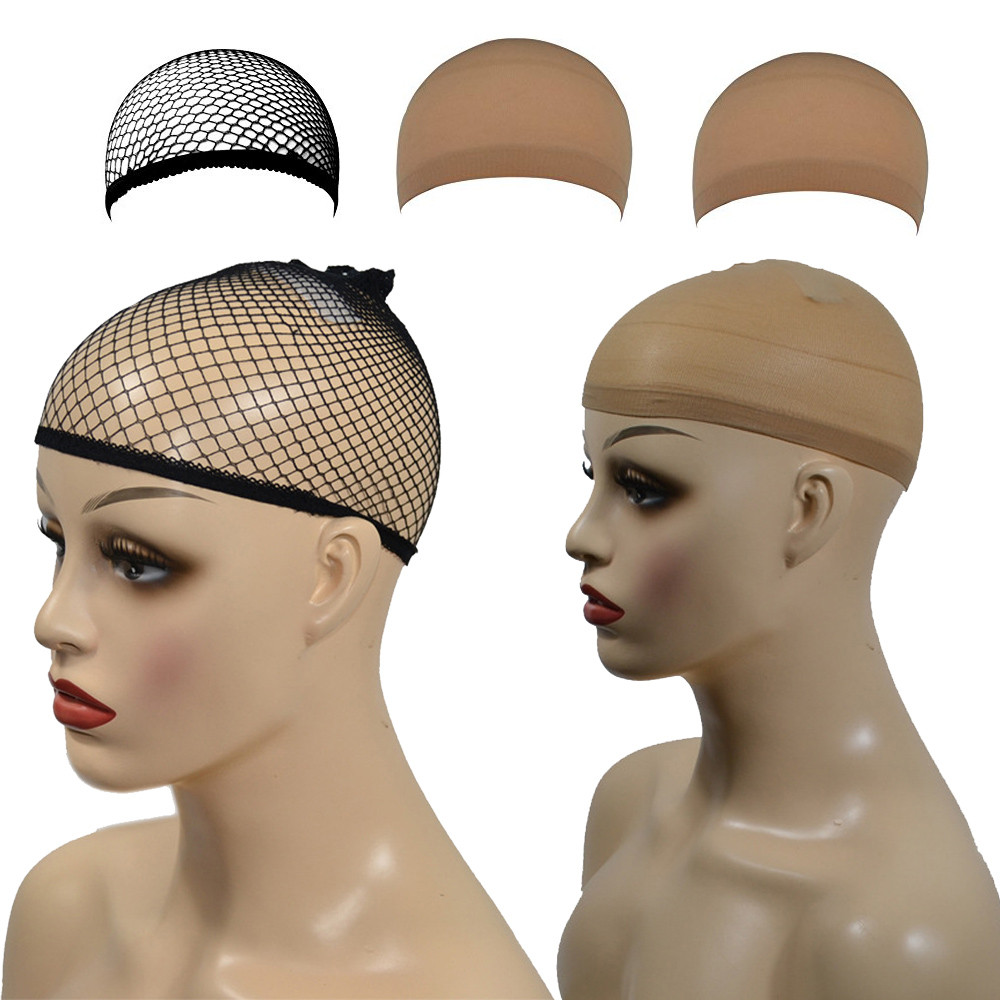
- mesh hat, specially designed for the manufacture of a wig, or lace cotton fabric;
- sewing needles;
- a thread that fits perfectly with the hair color of the future wig;
- safety pins;
- scissors;
- artificial or natural hair;
- metal comb for combing hair;
- special hook for fixing the hair to the base of the wig;
- steel springs;
- hairbrush.


Manufacturing technology
Making a wig on your own, which will be suitable for everyday wear, is quite a laborious process that can take several hours, so not everyone decides to take up this business. But for those who still decide to make a homemade wig, you will need to be patient and acquire the required tools. Wig manufacturing technology includes several stages.
Head measurement
First you need to take a measure of coverage of the surface of the head near the hairline. It is recommended to resort to using a measuring tape. In the case of its absence, you can use a regular lace or rope. Measuring the girth of the head, attach the cord to the ruler and determine the value of this indicator.
It is necessary to measure strictly along the base of the hairline, passing through the uppermost cervical vertebra and the highest point of the hairline on the surface of the forehead. The measuring tape should not be clamped when taking measurements. Make sure that it runs smoothly over the ears, while being lightly stretched.
The next measure to be taken is the center of the top of the head. To do this, attach the beginning of the measuring tape at the center of the upper point of the forehead and pull the tape through the crown to the lower point of the beginning of hair growth on the neck.
The measuring tape should not be overtightened or be too loose, otherwise the measurements taken will not be completely accurate.
The final measure for creating a wig will be the distance between the auricles. For this purpose, a measuring tape is stretched from one ear to the other. An important condition is the top of the crown, through which the tape must pass. A measuring tape should begin and end at the point where the handles of sunglasses usually pass.

Creating a model
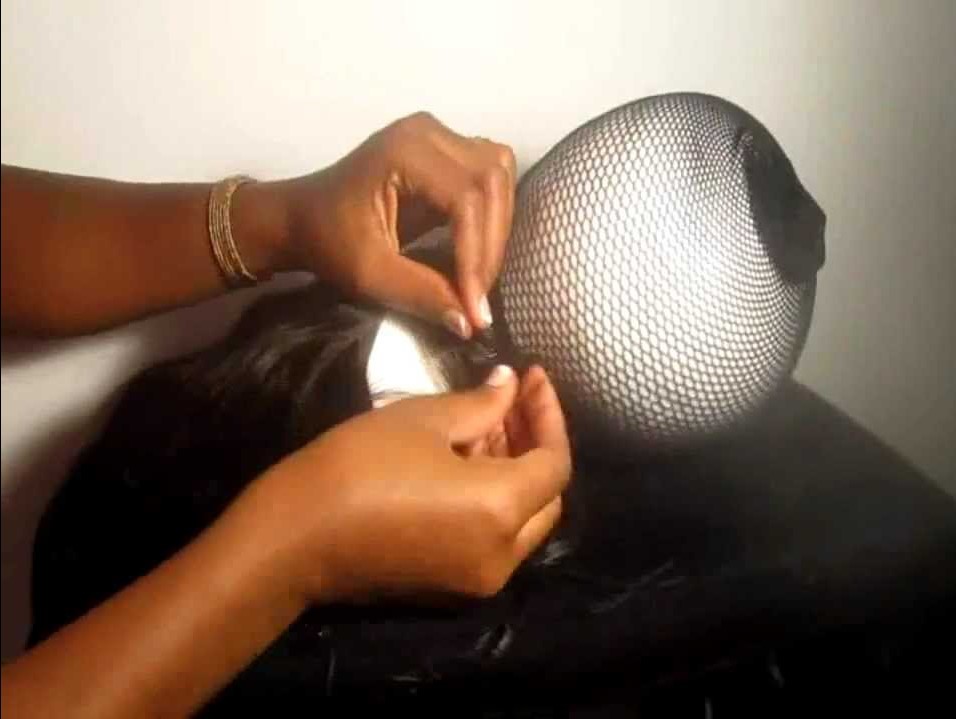
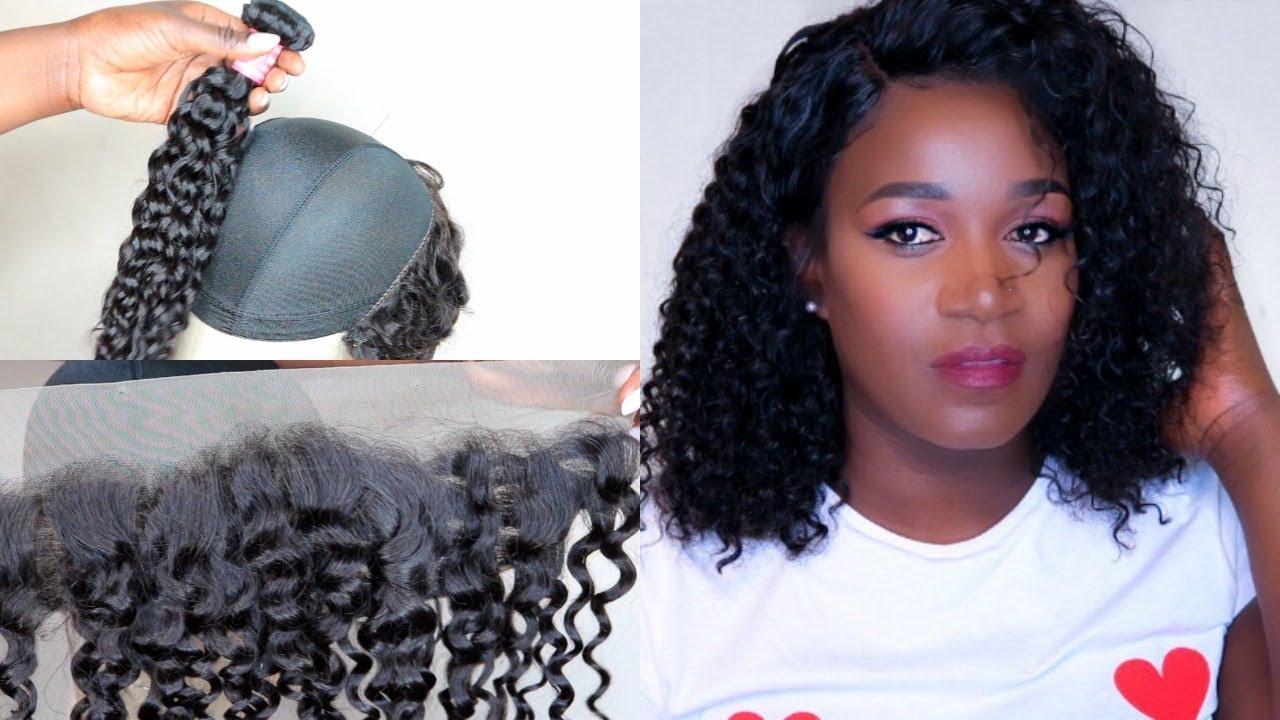
For the next stage, you will need an item such as a head dummy. Working with him will be much more comfortable and easier. So, first you need to transfer the measurements taken to the head dummy. To do this, based on the obtained figures, a mock head is drawn for the future of the wig.In addition, you will need lace or cotton mesh-cap. It should sit tight on the head, while not strongly pinch the skin. Put the mesh cap for the wig on the mannequin.
Having attached cotton ribbons along the perimeter of the previously drawn layout, they are hammered with the help of small studs right in the dummy. If a foam analogue is used instead of the dummy, the studs are replaced with ordinary safety pins. It is necessary to monitor the smooth fixation of cotton bands. To sew lace ribbons to the previously fixed cotton ribbon, they are abundantly moistened with a spray bottle, which will significantly speed up the process.
It is worth mentioning that the length of the lace ribbon does not equal the coverage of the head, it should be a little more. It is recommended to use as many ribbons as possible.
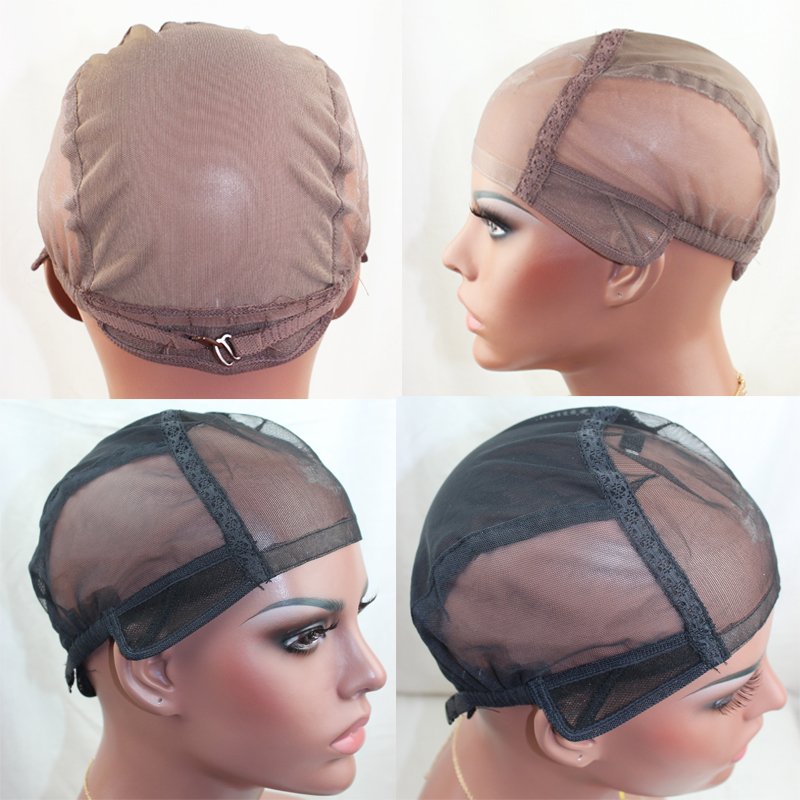

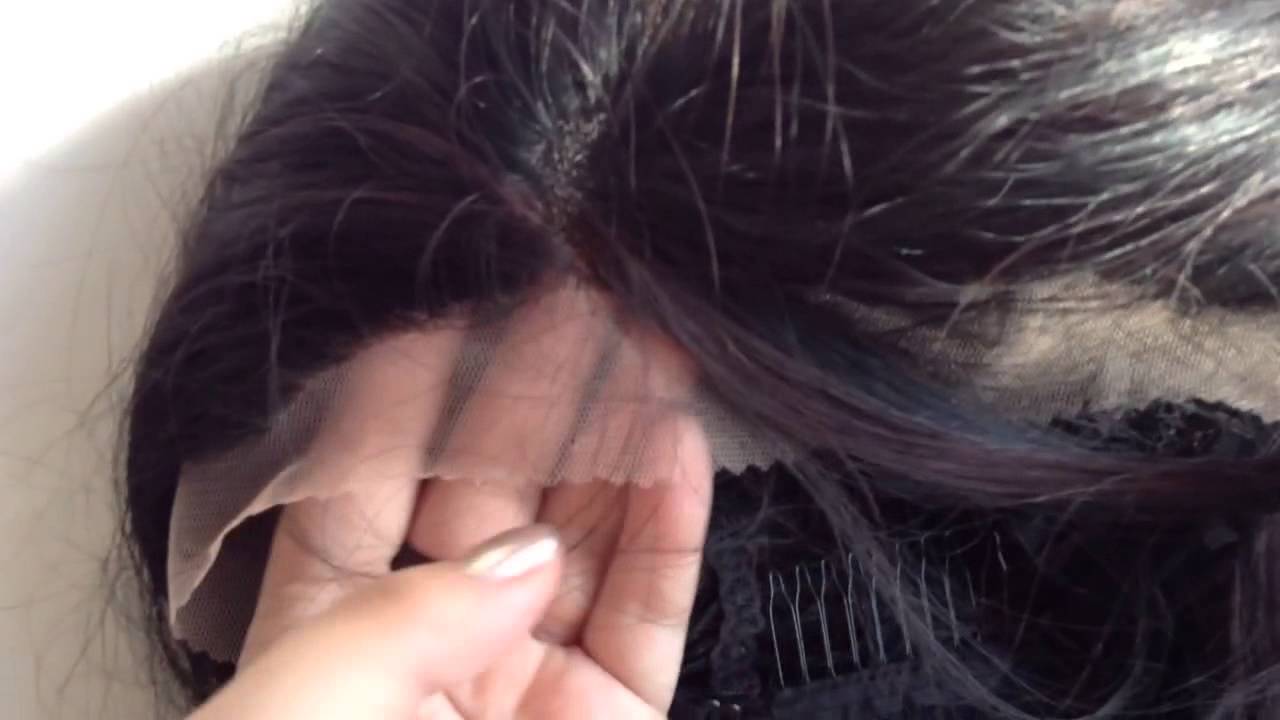
In order to prevent the ribbons from skewing, it is advisable to fix them with English pins to the cotton ribbon. Although sewing shops offer a wide range of lace in different colors and shapes, it is recommended to abandon the purchase of lace ribbons with an embroidered pattern. It is necessary to moisturize them so that they become more elastic and can take the necessary shape. Next, you need to try on the resulting base for a wig. After removing the cloves from the dummy and cotton ribbon, it is recommended to immediately try on the cap.
A well-made cap should sit tightly on the head, while not bringing discomfort and discomfort. If the foundation has any flaws, find out which ones and eliminate them. Return the mesh cap to the mannequin, fix it according to the layout made and correct the shortcomings. If the base of the village is perfect, it is necessary to cut off the excess part of the lace hanging from the tape edges.


Hair selection
At this stage, it is necessary to determine what kind of hair you will have to work with - artificial or natural. Each option has its own advantages and disadvantages. If the wig is made for everyday wear, then the choice should definitely fall on real natural hair. They look natural and stay longer. In addition, they are more comfortable to wear on a hot sunny day and easier to lay using special tools.
However, such hair requires a more careful attitude. From regular sun exposure, their color will begin to fade over time, and hair will inevitably cross-section.
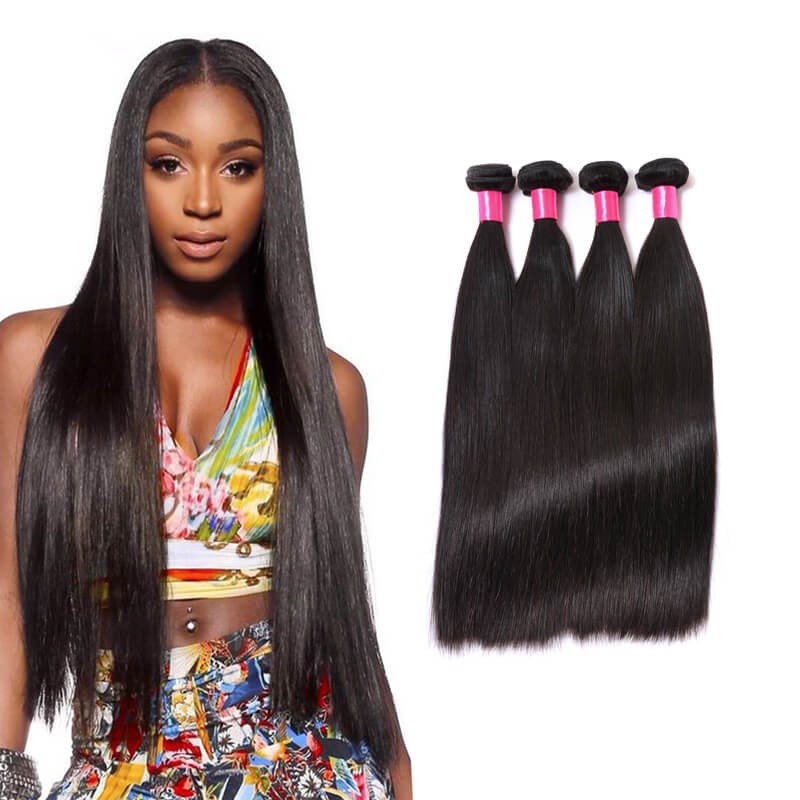

Non-natural hair is perfect for a wig, worn exclusively on festive or especially solemn occasions. They do not need regular styling, and the color is not subject to fading. But it is impossible to dye artificial hair, and in the sun it is better to stay at home. Having decided on hair, regardless of their origin, it is recommended to carefully comb it. Then tighten them with taut rubber bands on several bunches.


Making a wig
The most difficult in the home making wig is - the final stage. You will need to choose the right ventilated hook. The correctness of his choice depends on how much hair will be placed in one strand. In other words, for very thick hair strands, you need the largest hook and vice versa. If the lace base of the cap has holes of small size, it is advisable to give preference to a small hook.
A thick bunch of hair will give the wig pomp.
Making a wig consists of alternately pulling the hair bundles through the loops and fixing them on a lace basis. It is necessary to fix the hair on a single or binary node for each hole of the mesh cap using a hook. It is recommended to start fixing the hair from the neck. Starting from the bottom of the head to the top through the sides. The last place of fixation should be the crown of the head.
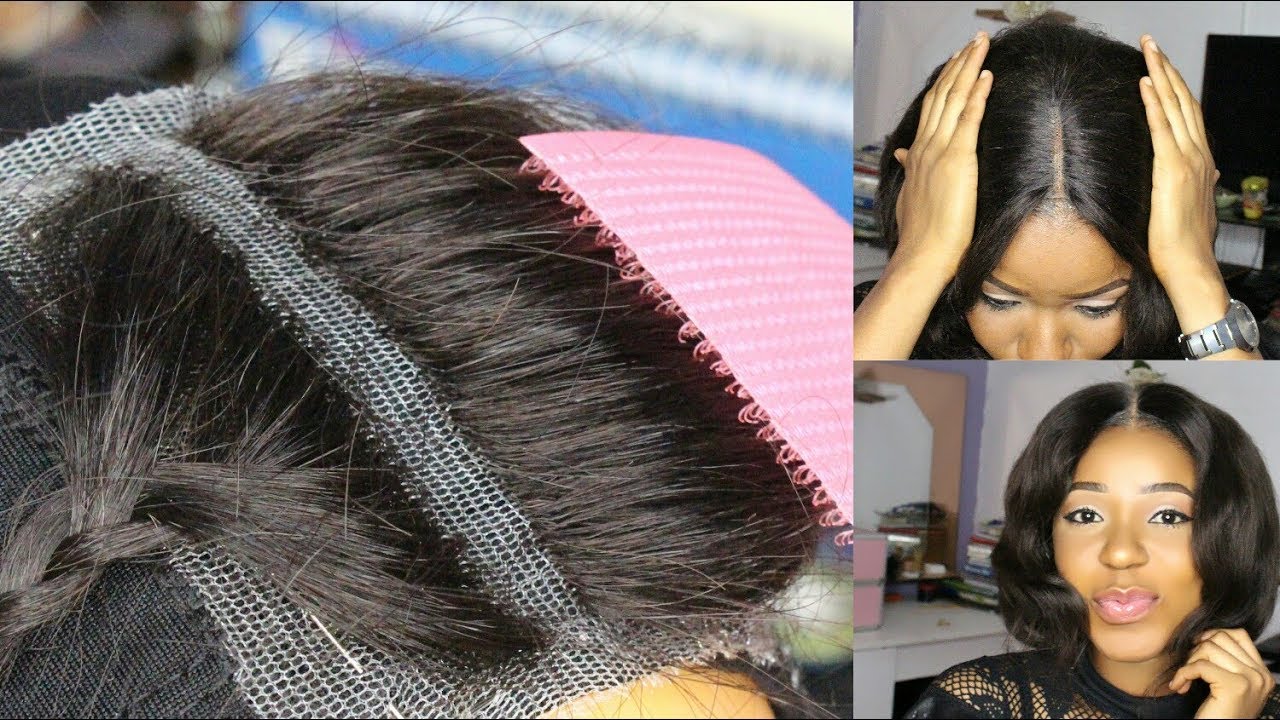

At the crown of the wig, it is necessary to visually divide the upper part of the head into five parts, after which the fastening of the hair bundles in each of them should be performed. This is necessary so that the hair does not make the impression of a wig, but looks more natural, since the hair falling in one direction looks unnatural. Then turn the wig on the wrong side and fix the hair along the inner edge of the wig. Thus, it will be possible to hide the front part of the hair behind a lace ribbon so that they do not crawl forward.
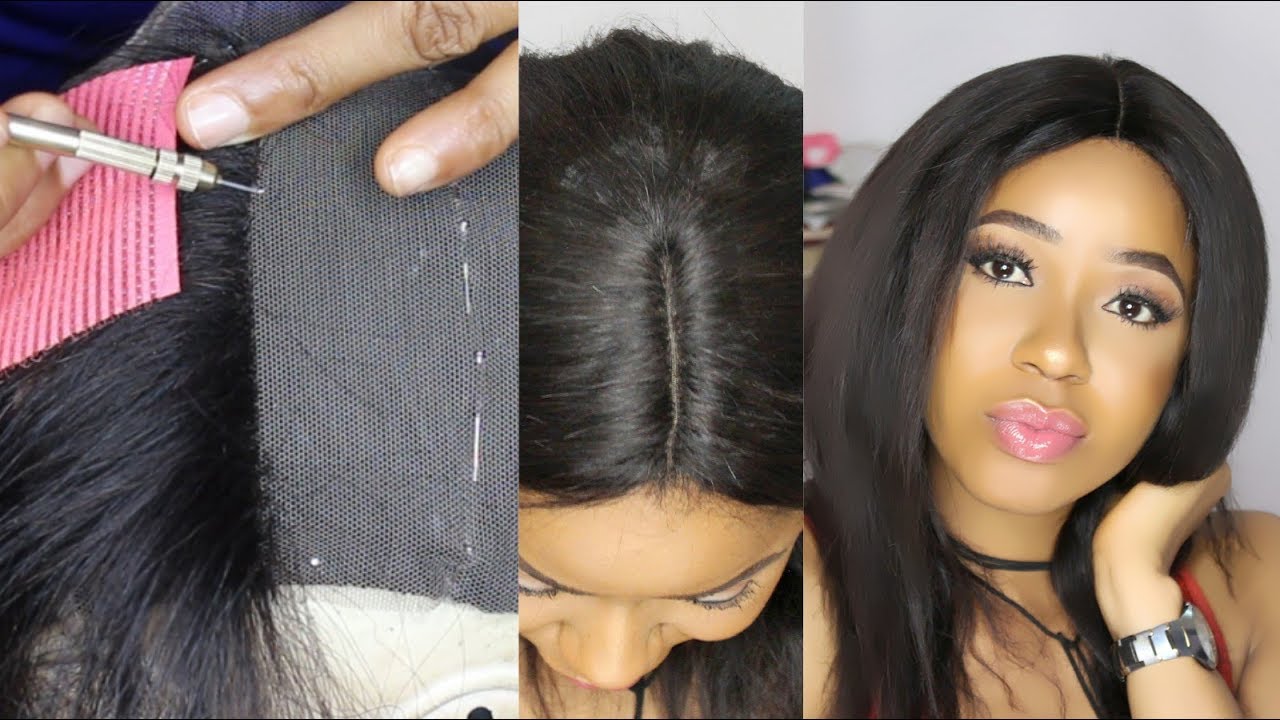
Then it is recommended to sew a steel spring at the temple, neck and frontal parts, which will allow the wig not only to sit tight, but also to create a hair sensation. Need only thread and needle. It is desirable to give preference to a wide spiral, while its springs should not be seen from the hair mass. Having fixed all the hair bundles, it will only be necessary to choose the necessary position of the parting and, if necessary, trim the hair to the required length.


Important! It is difficult to make an afroparik on a rigid basis with your own hands out of tresses, but it is possible, given all the above recommendations.
In the next video, see how to make a wig with your own hands.


