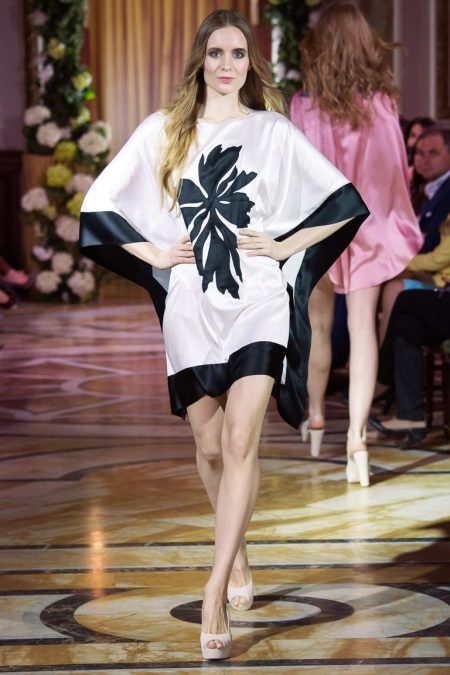
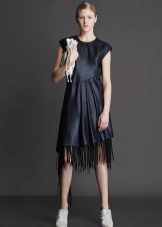
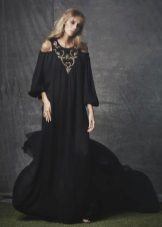
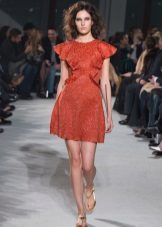
In this article, I would like to share the patterns of dresses with one-piece sleeves. Why with single cut? Because the proposed patterns are very simple and girls with basic sewing knowledge will easily sew an outfit.
There is no reason and no reason not to wear a dress with a single-cut sleeve. Romanticism will be expressed in a flying chiffon sleeve, status - in satin, femininity - in knitwear.
One-piece sleeves have a place in any style. So get down to business.
Simple pattern straight dress
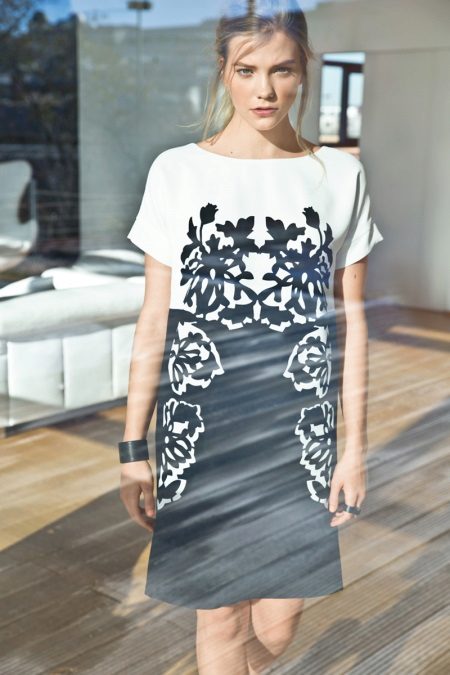
A simple cut is the perfect solution for fabrics with a rich appearance, with a fancy pattern or with just a beautiful print.
This model is attractive with one-piece sleeves with straps and a plunging neckline on the back.
Cutting
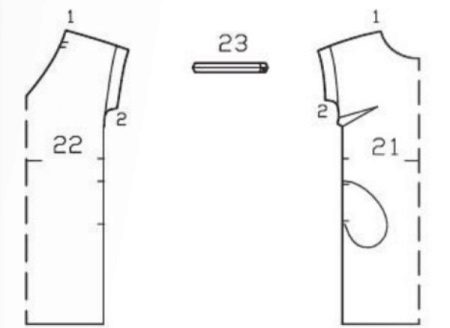
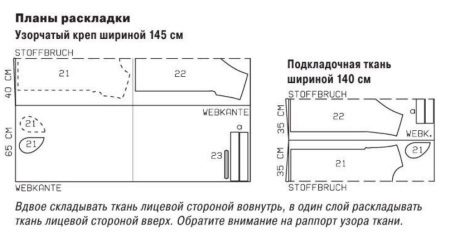
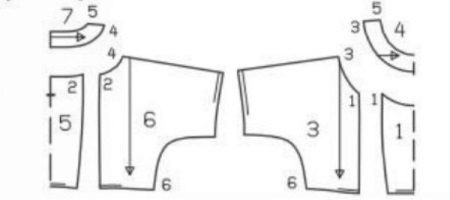
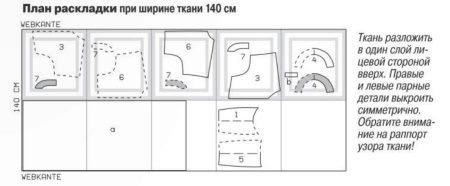
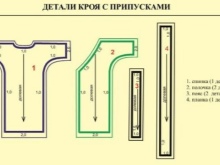
Cut from the lining and the main fabric in front and back with single-cut sleeves with a fold, 4 pieces of burlap pockets, jumpers for the back and straps for the sleeves.
Sewing
- At the front of the stitch tuck.
- Perform shoulder seams and seams on the sleeves. In the side seams leave space for the pocket.
- Pockets pockets in the side seams.
- Stitch the jumper and tack on the left edge of the back of the neck.
- On the lining stitch tuck, as well as perform the shoulder and side seams.
- Pin the lining to the slice of the neck of the main fabric and stitch.
- Trying on the dress, attach the open end of the jumper under the right edge of the neck of the back.
- Under the left edge of the neckline, fix the jumper with the button.
- Details of the lining of the sleeve and main fabrics stitch along the lower sections, then stitch short ones.
- Stitch open sections of the strap to the sleeves, aligning the seams.
For full
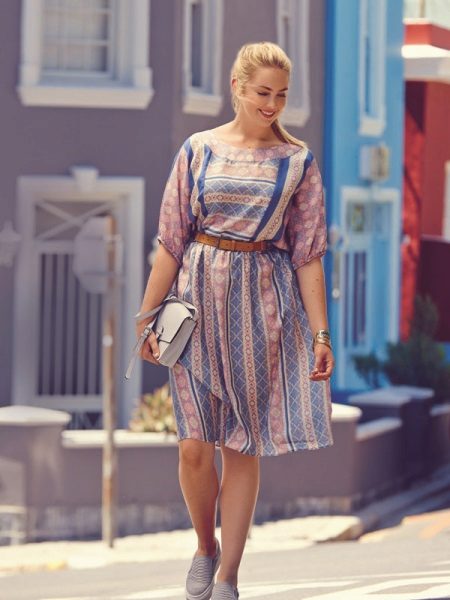
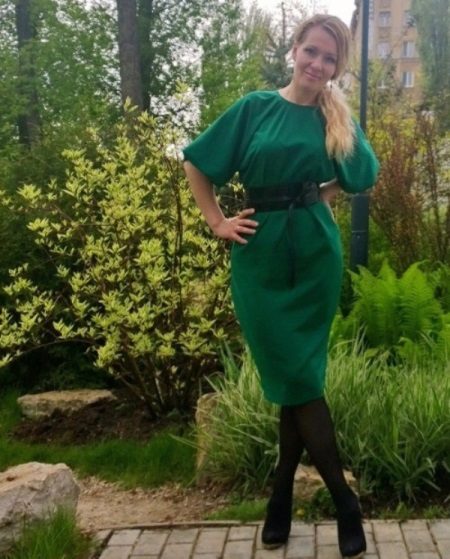
An airy dress with a scarf print and wide sleeves envelops you with ease and at the same time with elegance. And the elastic belt favorably emphasizes a waist.
From silk cambricum open all the details, adjusting in size.
The back and front consist of 3 parts: one central and two lateral. Bake is not a single cut. And still need a button.
Back incision
Mark the incision on the central part of the upper backrest. A cut-out rectangle of 12 * 4 cm, which is superimposed on the marked line of the cut and sewn, can serve as a section cut.
You can separately carve out a one-piece trim for the neck of the back with a slit.
Sewing
- Lateral parts of the bodice stitch with the center, do the same with the details of the back.
- Stitch bake to the neck of the back and before, if the incision was ground separately.
- Stitch the shoulder seams and the upper seams of the sleeves.
- Turn the neck.
- Sew the side seams and bottom seams on the sleeves.
- Sew a skirt and stitch to the top of the dress.
- Allow the seam on the skirt and the hem of the sleeves, tuck and scribble for the drawstring. Pull the elastic band or elastic band into the drawstring and gash open areas.
- Make the bottom of the skirt.
Autumn
There is another version of the dress with a one-piece sleeve and a detachable top. He has all the chances to faithfully serve as a little black dress. And if you want, you can experiment with colors, for example, a black top and a white bottom.
Fabric is better to take a medium density with a high content of elastane.
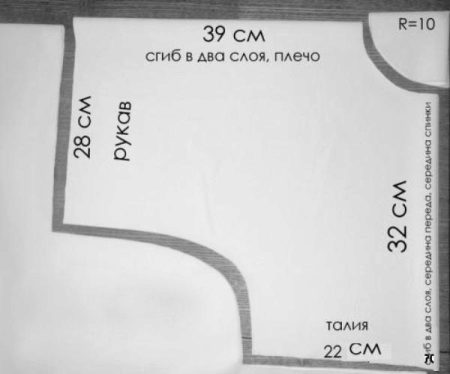
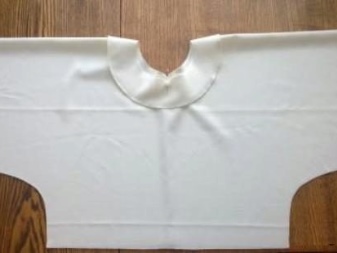
The top of the dress is cut out on the fabric folded in half, so the sleeves will be solid.Be sure to place the labels in the center of the back and front.
A dress without a lining, so you need a facing glued with dulerin.
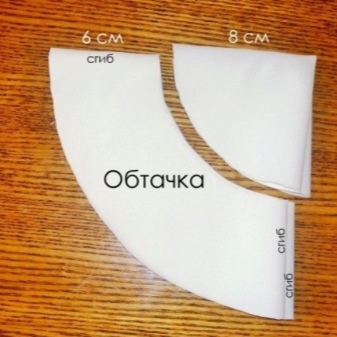
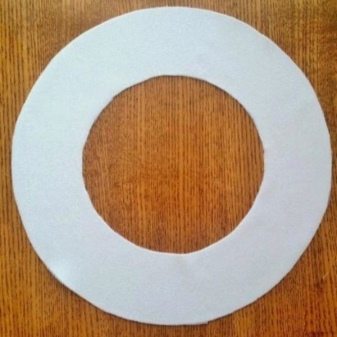
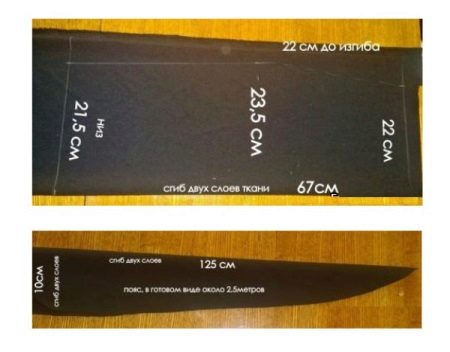
Open up the skirt by folding the fabric over the lobe in 4 layers. If you wish, you can carve out a belt. Its length will be 2.5 m.
Let's start stitching the parts:
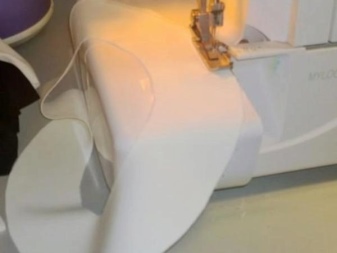
- handle on overlock facing;
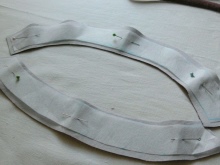
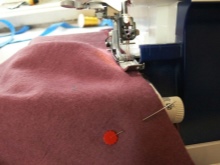
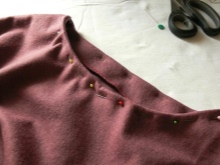
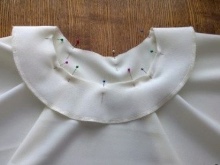
- fix the facing on the neck of the top of the dress with pins, aligning the tags. At the same time, the edge of the neck should be larger than the facing;
- form the folds on the neck;
- stitch a facing and make notches so that it does not turn outwards;
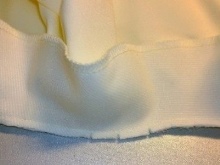
- sew the top on the sides and process the edges of the sleeves and fold it 1 cm to thread the elastic;
- sew a skirt;
- stitch off the skirt and top by connecting the side seams.
Knitwear with short sleeves
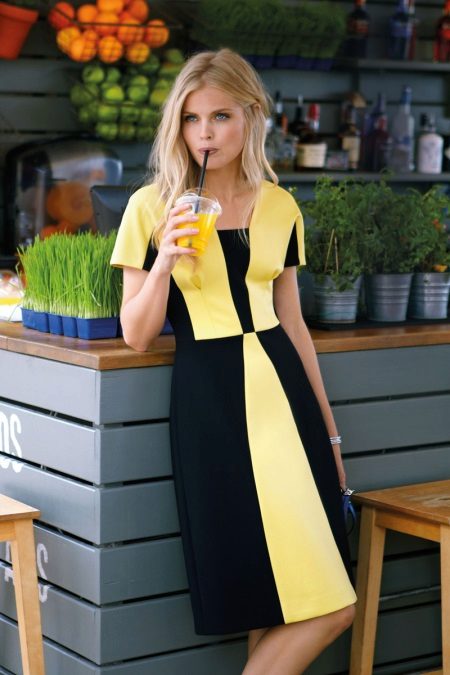
The fitted dress in the color-blocking style due to the relief seams allows you to play with the color palette, and most importantly it fits any shape.
The dress is very practical, if you wear each, because it is made of high-tech non-creasing knitwear.
Sewing
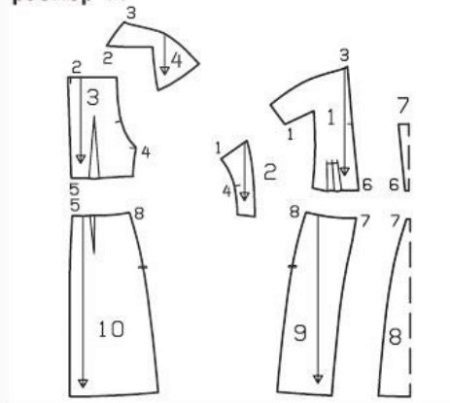
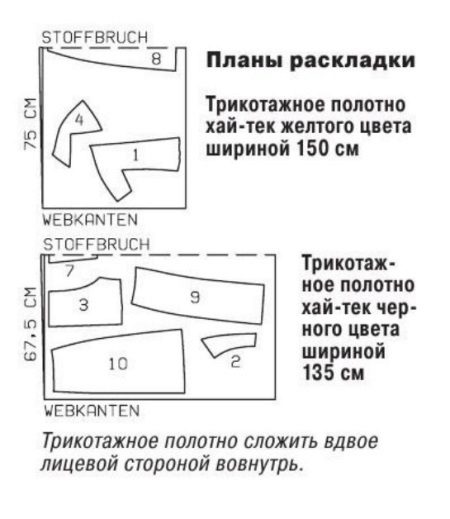
Black and yellow knit fabric carve out all the details.
- Lay the folds on the middle details of the top of the front.
- The sides of the shelves, start with the average from the control marks to the corners.
- Allow the notches in the corners, then stitch off the shelves from the corners to the lower cuts.
- On the details of the back of the bodice, sew the tucks and sew both halves.
- Perform shoulder seams from check marks.
- Press and sew the upper cut of the front panel by hand. Stitch the insert from the bottom to the transverse marks.
- Allow the neck cuts up to the seams to attach the back yoke and press and sew by hand.
- Stitch yoke to the back to the tags. Allow the corner allowances and continue the stitching line.
- On the bodice of the dress, perform the side seam from the check mark.
- Cut and hem the cut of the armhole and the bottom of the one-piece sleeves.
- On the skirt stitch tuck. On the back panel, make the middle seam, and on the front panel - relief.
- On the skirt, perform the right side seam.
- Skirt and bodice stitch.
- Sew a zipper and make the bottom of the skirt.
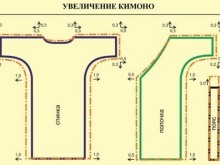
Long sleeve kimono dress
Probably, it makes no sense to repeat and lay out the next pattern of a straight dress, only with a long one-piece sleeve. Indeed, in any pattern you like, you can lengthen the sleeve and adjust its pomp. Another thing is the dress-kimono, gentle and feminine.
Here is an example of modeling patterns.
Video
How can I sew a charming dress without a pattern, look here.
Methods for sewing dresses with one-piece sleeves are very different. And this allows, on the basis of available patterns, to create new and unique models.
