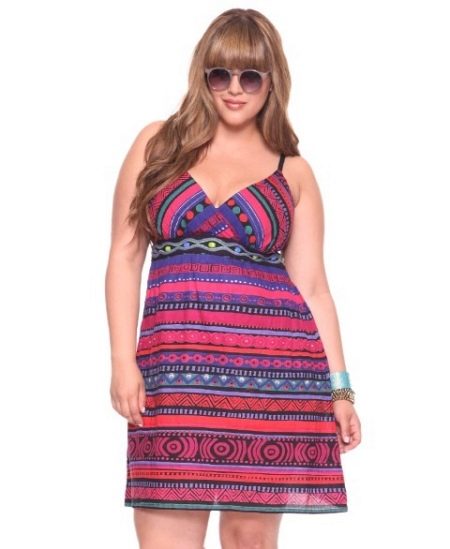
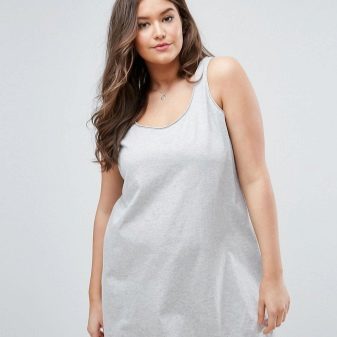
Girls and women with curvaceous forms, very often suffer from the lack of a variety of sundresses for their attractive figures. After all, styles designed for slender ladies are not always suitable for girls of size XL. But this problem is solved. With the help of special patterns, you can sew more than one sundress with your own hands.
Patterns in the style of boho
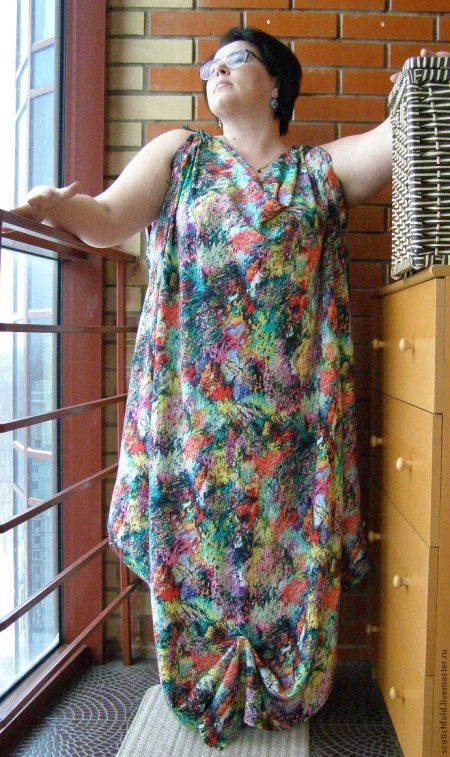
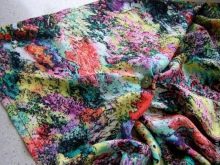
In order to sew a dress in this style, you need to buy a 3 m cut of any light fabric 150 cm wide. In addition to the fabric, you will need a decorative cord 1.5 m long, two buttons to match the selected fabric, thread, pins and of course a sewing machine.
Before we open it is better to soak the fabric, especially if it contains a large percentage of cotton.
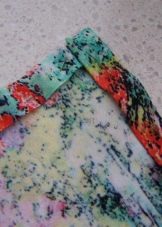
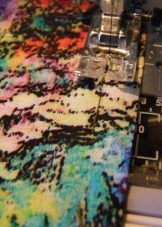
Prepared fabric folded in half and cut into two equal squares. It is necessary to cut the edge of each blank so that the fabric is not warped during sewing. Then you need to process all sides of each square. In order for the future seam to be even, it is better to first iron it and then sweep. After that, flash each side.
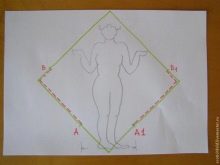
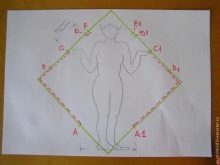
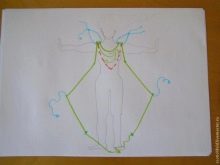
We’ve got two squares with dimensions of 145x145 cm. Then we put both canvases in the form of a rhombus on each other and mark two points on each side, retreating from the corner to each side half of your wide stride. The distance from one point to another will be equal to the magnitude of the wide step. Then try on the workpiece and randomly mark two more points on each side in the upper part. The distance from the corner to the point is only needed to hold the fabric.
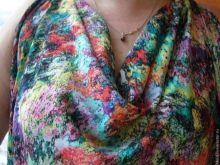
The most important thing is to map out the place where shoulder seams will be located. On the chest should be soft flowing folds. Also when fitting, you must decide on the length of the armhole.
We plot the length of the armhole and the width of the shoulder seam (5 cm), having previously bent the corner of the fabric inward. We mix each side and try it on again to make sure that the intended size of the armhole and shoulder seams are correct.
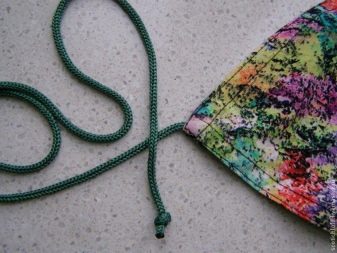
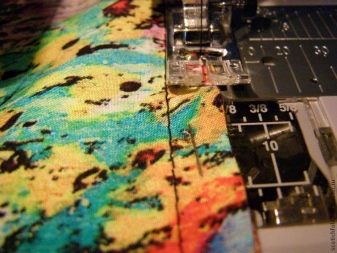
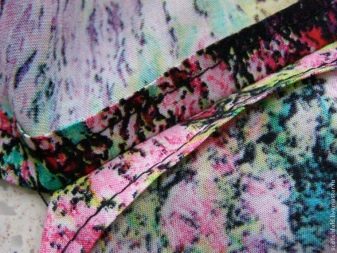
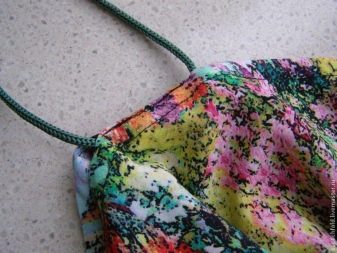
Before you sew both blanks, you must first prepare the cord, dividing it into 4 parts. Then insert 2 parts into the corners under the armhole and sew the side and shoulder seams. It is possible to stitch cloths both from seamy side, and from front, having receded from edge of 1 mm. The seam on the front side provides some advantages: it saves time, fixes the wing well on each side, and if necessary, you can quickly unplug the seam.
Now you can insert the remaining two parts in the shoulder seams, manually from the wrong side. They perform two functions: they fix the sundress by tying a bra to the strap and drape the fabric on the chest.
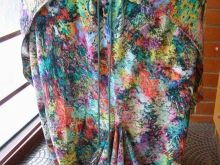
We try on a sundress and fix the fabric with the help of laces in the corners, we tie it in the back, like an apron. If desired, you can tie the fabric in front. The bottom corner of a sundress is fixed with a button.
We sew a summer dress sundress
To sew a summer dress-sundress you need 1 meter of light fabric with a width of 150 cm. This length is sufficient for sizes from 52 to 58.
We take the fabric and, departing from the edge of the width of 10 cm, we cut off a strip (future strap) equal to the length of the cut - 1 m. We stitch a strap, previously having bent cuts inside. After that, fold the fabric in half and cut out rectangular blanks measuring 70x100 cm. We sew the side seams, departing 20 cm from the top edge.
We bend the bottom of the future sundress and process the armhole on each side. Now you can proceed to the processing of the upper edge. To do this, bend the edge of the upper part by 15 mm, for convenience, you can iron out and stitch on a typewriter.In the resulting bend insert the prepared strap and try on.
If desired, you can slightly expand the bottom of the sundress, especially if the fabric is cotton.
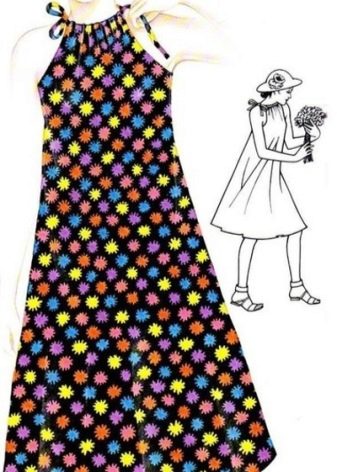
Variants of a simple beach dress
In order to sew a simple beach dress does not take much time.
We take 2 or 3 m of fabric, it all depends on your size, a standard width of 150 cm. In order to calculate the length, add 3-4 cm needed for free-standing to the size of the hips, and add a few centimeters to the drape. The width of 150 cm is used for the length of a sundress.
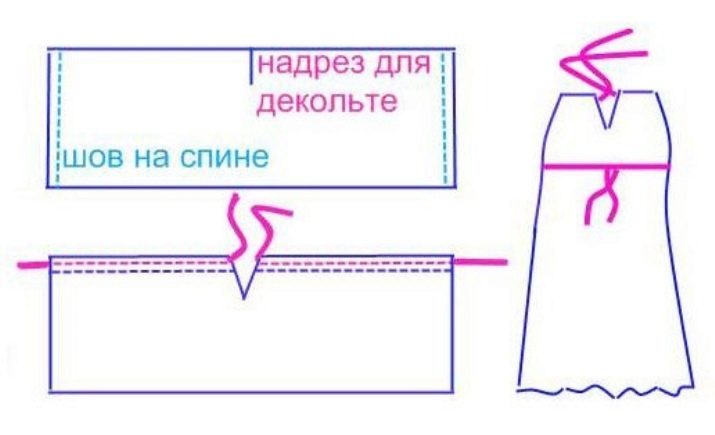
We fold the fabric and make a cut for the future neckline. In this model, the seam will be only one, and will be located on the back. It is unnecessary to finish the seam up to the end, there should be a segment equal to the length of the cut neckline.
Now we process the incision. It can either be bent inward and stitch, or processed with an oblique bei. The bottom of the product bends, and then hemmed to a height convenient for you. The upper part of the sundress is folded and processed under the drawstring. Insert ribbon and sundress ready.
Dress can be worn in different ways. If the neckline cut is positioned in front, then the seam will be in the back. But you can also flip the cut-out neckline, shift it to the side and it will become an armhole, and the seam will be on the side.
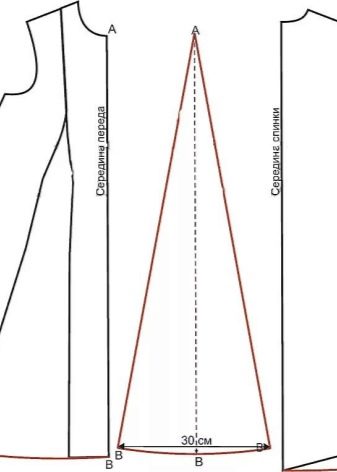
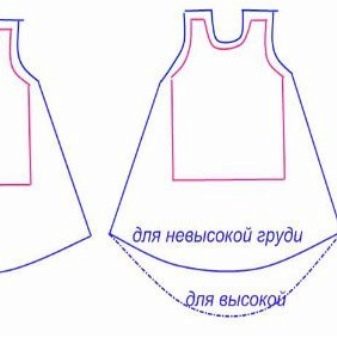
You can sew a sundress on the straps, where the T-shirt of its size is taken as a basis. We take the fabric, fold it in half, and apply a T-shirt to it. Carefully draw the upper part, taking into account the seam allowances, and from the armhole draw a straight line to the full width of the fabric. You should have a trapezoidal figure. To check the symmetry, fold in half and trim. If the breast is large, then the front needs to be cut longer. This is necessary so that it does not rise up.
Now we sweep the side and shoulder seams, try on, and if everything suits, then we stitch.
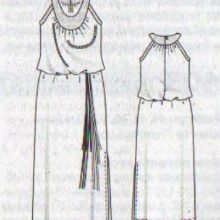
Floor model
For tailoring a sundress to the floor, you will need a piece of light fabric depending on your size. For size 44-46 - 180 cm, 48-50 - 325 cm, 52-54 - 330 cm with a standard width of 150 cm.
To finish:
- 60 cm tuss silk in width 135 cm;
- elastic tape 120 cm wide 1 cm;
- satin ribbons five cuts of 150 cm;
- interlining;
- secret lightning of 60 cm.
To begin with, we cut out the blanks from the main fabric: in front of - 1 pc., Backrest - 2 pcs., Strip for the drawstring 3.5 cm wide, 1.34-1.38 m long for 44-46 size, 1.45-1.51 m for 48-50 size, 1.58-1.65 m for 52-54 size. We cut out the neck detail from the silk of the velvet - 2 pcs., The detail for finishing the armhole in front - 4 pcs., For the backrest - 4 pcs. On the details of the finishing fabric glue interlining.
Connect the back and front, stitched on the sides, on the left side to leave a cut. The stitching of the armholes and the neck sew side seams. On each part of the trim trim the allowances close to the line, then put under the inner part and stitch close to the seam. The inside parts of the additional parts are turned on the seamy side and the edges are stripped. Combine the open sections of the threads and sew them into the armholes, and then cut off the seam allowances close to the seam, baste and iron.
The neck and back of the main fabric to collect, while taking into account the compliance of the location of marks 1 and 2 on the main parts and additional facing for the neck. Then sew the finishing part of the neck to the main part. According to allowance pass iron. Now we fasten the zipper.
Take the inner part of the finishing bake of the neck (not duplicated) and make the seam allowance along the long section. Sew the neck, and then put the prepared inner part and sew it to the straps of the zipper. Inner part with pre-tucked edges to sweep. From the front side along the seam attachment, make the line as close as possible to the seam and also along the side edges.
Sew a drawstring along the waistline. Now we process the bottom of the sundress. We fold the edges, press and wean them, retreating 3 cm. Now it is necessary to process the previously left incision, located on the left side.We turn the edges, press and wean, leaving 2 cm from the edge. In the upper parts do cross stitches.
Now we decorate with rhinestones, depending on the location of the ornament. The prepared satin ribbons are inserted into the drawstring, and the edges must be of different lengths. You can simply attach them to the side seam on the drawstring line.
Simulation of a winter business dress
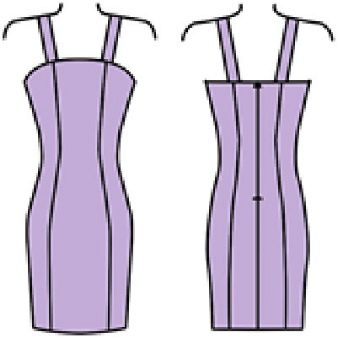
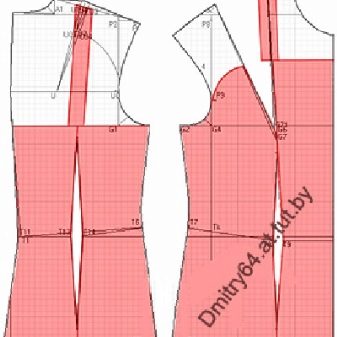
In the cold season you can sew a dress with undercuts on the basis of a fitted dress. The main thing is to make changes on the back and shelf.
At first we make changes to a detail of a back. From the point located in the center of the line of the neck, retreat 10 cm and put a point. Then from the top of the neck lay 4 cm (on the shoulder). From the resulting point we measure down 8 cm. Then you need to connect the last obtained point with located below the neck in the center. Unnecessary upper back is cut.
Now measure the points on the shelf. Just as in the back from the center point we descend by 13 cm. Now we mark 2 cm from the top point of the neck, also 15 cm along the shoulder and down. We postpone 17 cm along the tuck line, starting from the top. Now we sequentially connect the obtained points located below the neck. Cut off the top. Along the undercut line we make an incision.
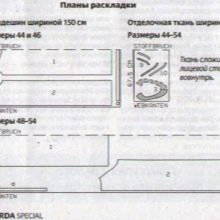
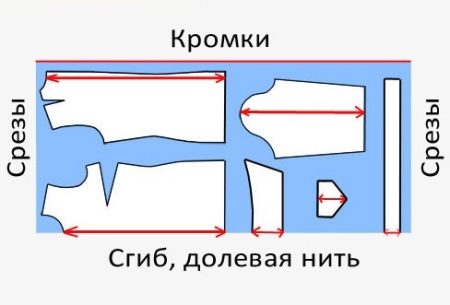
The resulting pattern is laid out on the fabric so that the center of the back and the shelf goes exactly along the fold of the fabric. Example of layout patterns on the fabric, see below.
When describing the details do not forget to allow for seams. Bottom - 5-6 cm, side lines - 3 cm, armhole - 1.5 cm, shoulder line - 2 cm, neck line - 1 cm.
How to sew a dress without a pattern? A big surprise prepared by girls who are just beginning to comprehend the basics of sewing.
